A Celebrity Tanner Wants Everyone to Stop Making These 10 Tanning Mistakes

Self-tanning can be dangerous territory. Whether you've got streaky legs or glowing palms, it can be hard to get a tan right unless you're at the hands of a seasoned professional. Thankfully, there are so many tanning formulations for the body and face that have made tanning at home so much easier. Whether we opt for a gradual tanner, a facial tan or a self-tan that develops overnight (that won't ruin our bed linens), we're spoiled for choice.
Having a summer glow can often make us feel more inclined tap into those summer fashion trends we're seeing everywhere at the moment, and with the right maintenance, your glow can last for days. This is ideal when your diary is packed with weddings, holidays and summer soirées.
However, if you're a beginner, it can be daunting to pick up your tanning mitt. So I enlisted the help of Jules Von Hep, a celebrity tanner and the founder of Isle of Paradise, to help pave the way to nailing your self-tan every time. These tips will guarantee that your tan looks professional (and realistic) every step of the way, from preparation to application to maintenance.
Mistake 1: Not Prepping the Skin
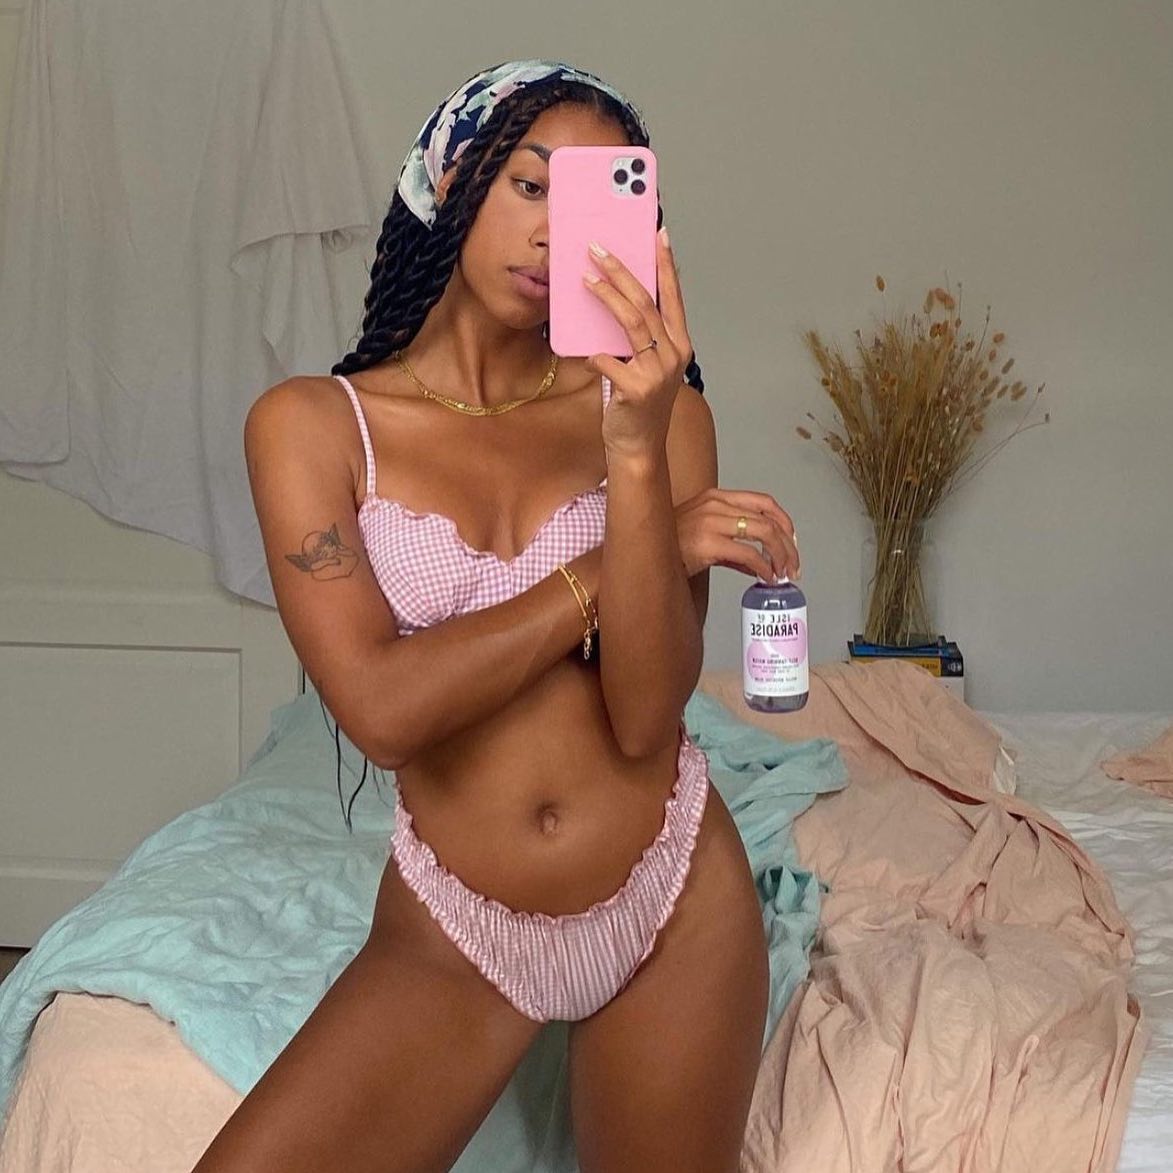
What's the biggest make? "Forgetting to moisturise your hands and just 'winging it,'" warns Von Hep. "Repeat after me: If I don't moisturise my hands, I will be left with tanned knuckles. Shaving, scrubbing, and removal of deodorant must be done at this time, too," he adds.
The same goes if you're turning up for a spray tan in a salon. "Turning up for a tan wearing skinny jeans, leggings, gladiator sandals, sports bras—this is not tanning attire," he says. "You want loose, floaty, effortless, chic clothes. My clients who work in fashion always wear jumpsuits."
Mistake 2: Tanning in Between Fingertips
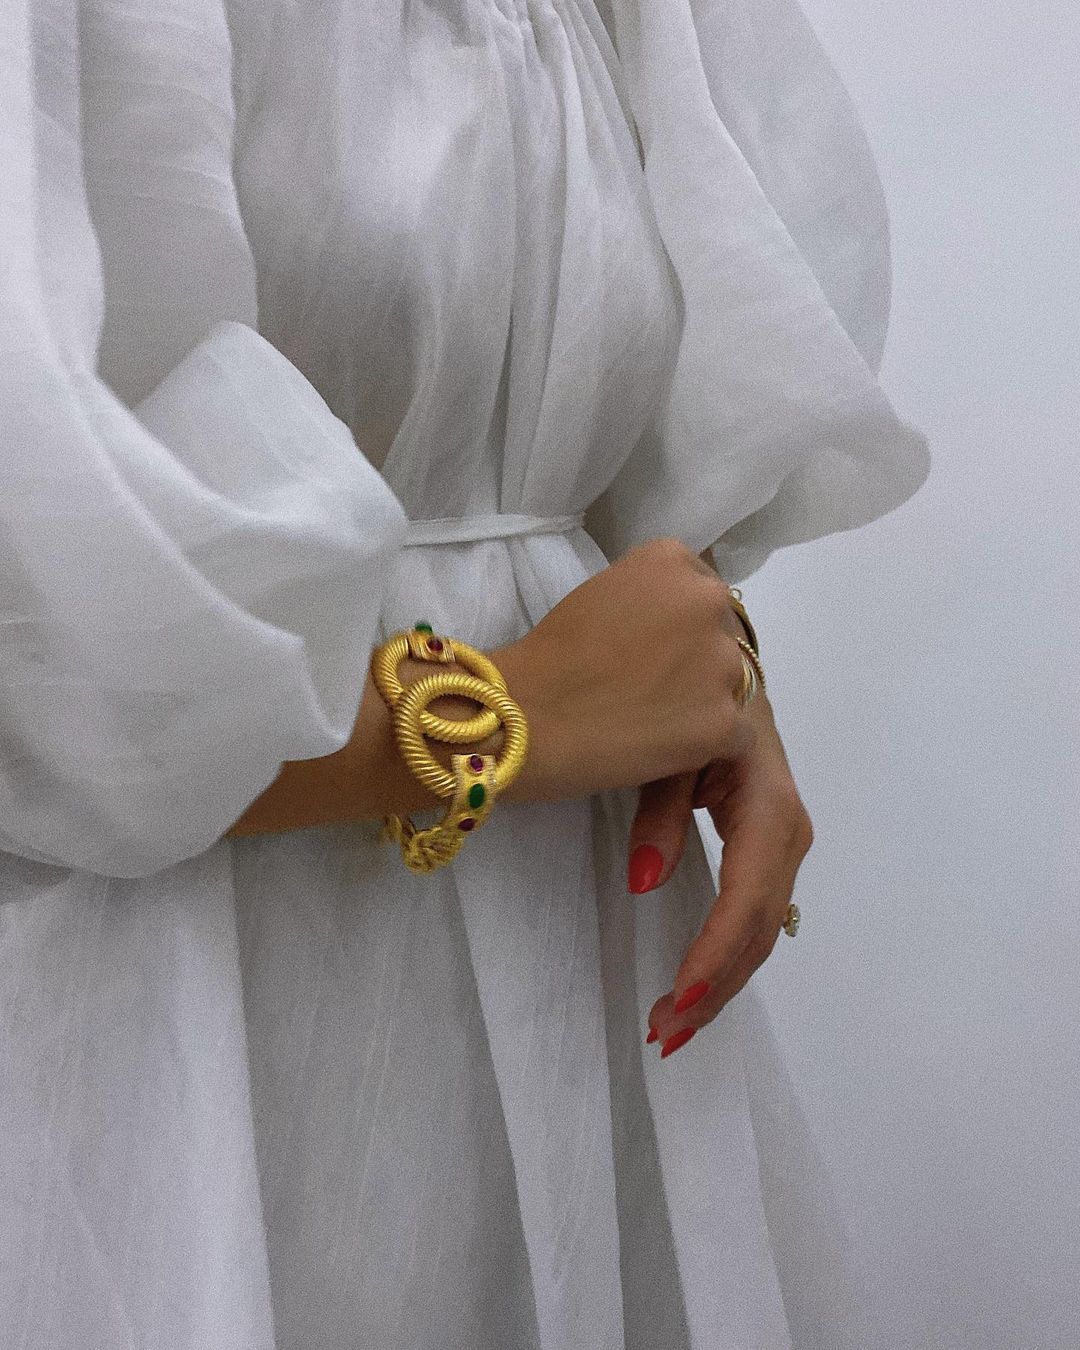
Orange fingertips are a dead giveaway, according to Von Hep. "The trick here is to ensure you moisturise the hands and feet prior to tan application," he says. "That way, there will be no tan-over (my term for that moment where you wake up and realize you've messed up your tan). Immediately after you have applied your tan, remember to wipe your palms and in between your fingers and buff your knuckles on a dry towel to remove excess tan," he adds. "My favourite trick of all is to hang a towel on the back of your door and rub your wrists together. This removes those pesky telltale tan lines."
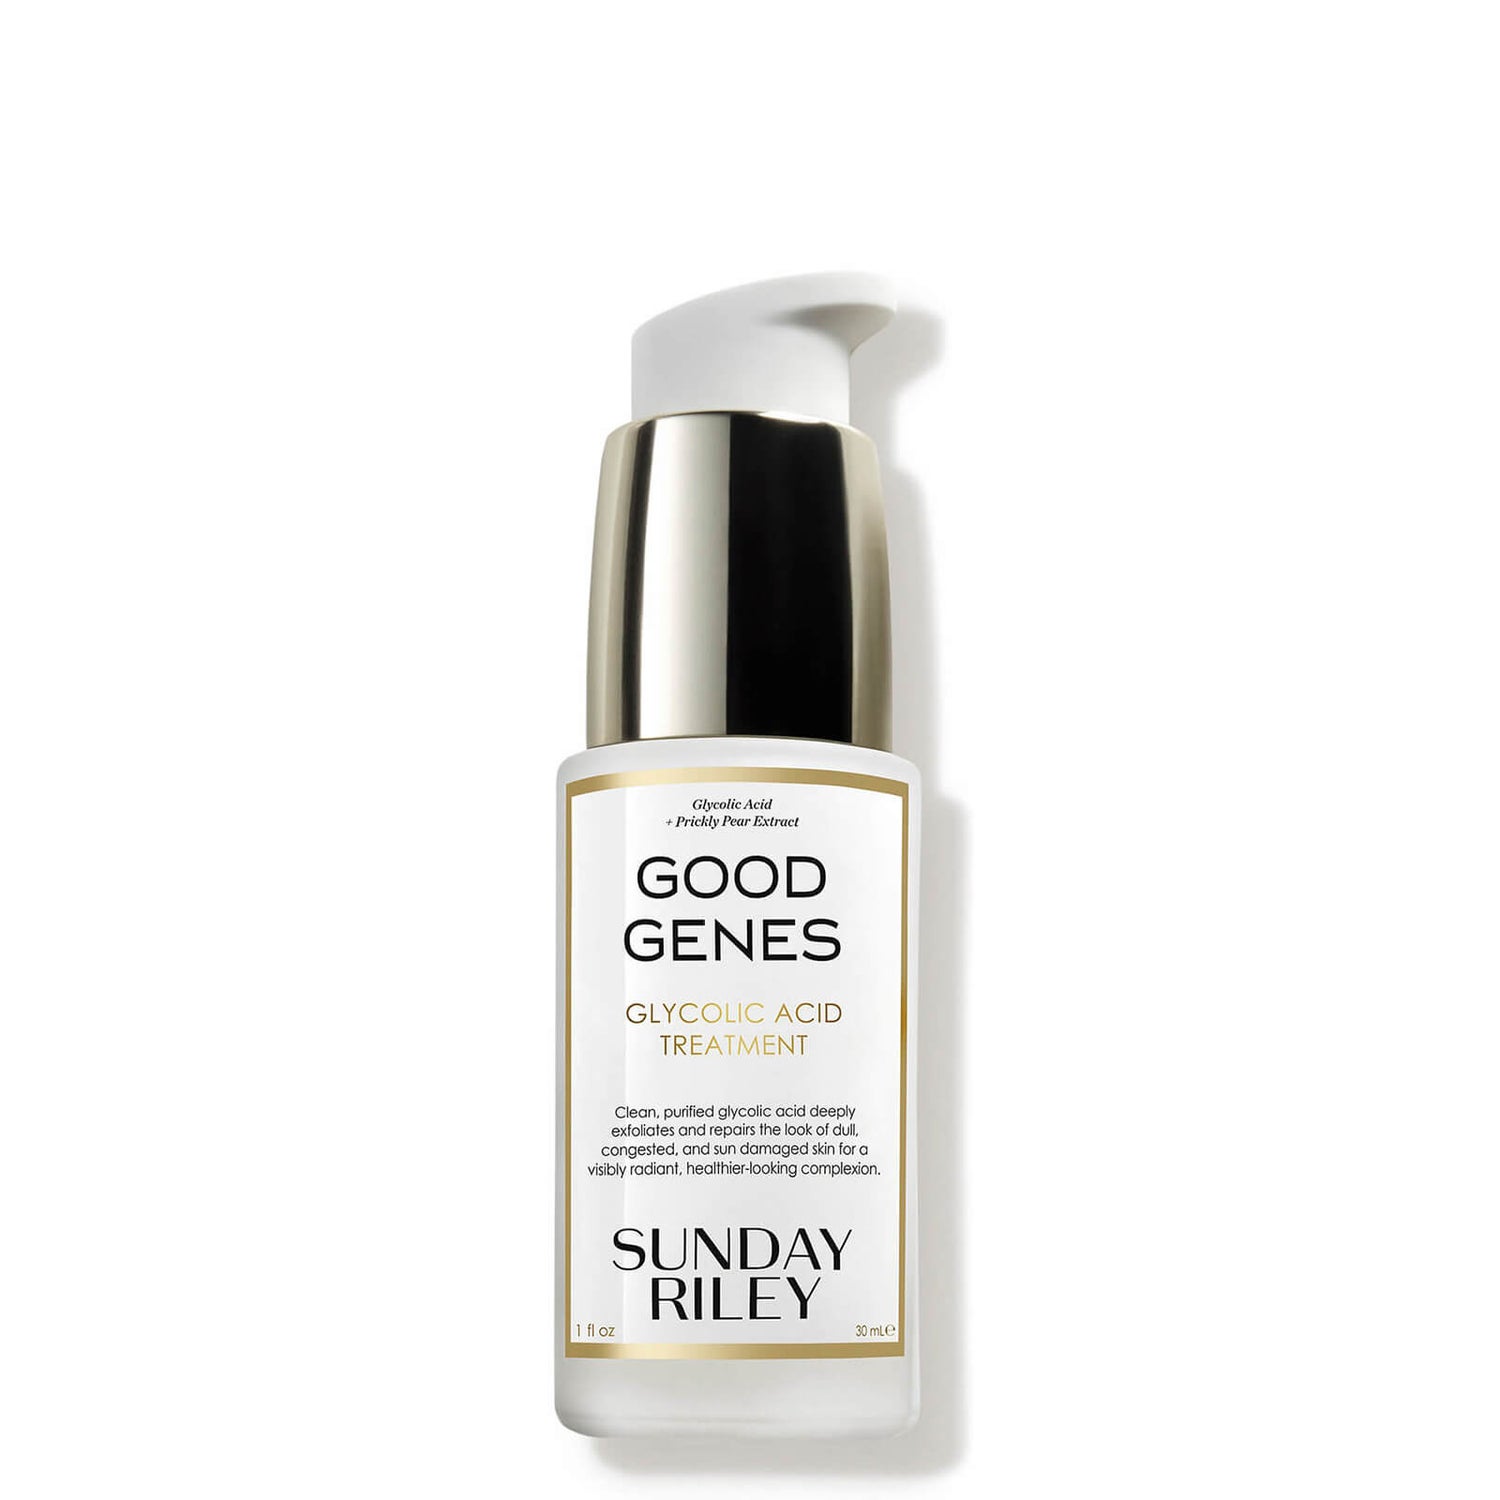
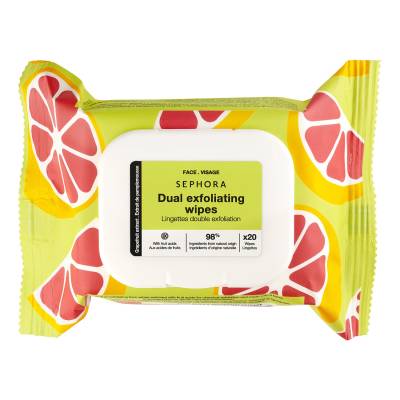
And if you've woken up with luminous fingers, don't fret. If you have an exfoliating serum to hand, this can help to remove build-up. "If you need results fast, use Sunday Riley Good Genes Lactic Acid on the surface of your hands followed by an exfoliating makeup wipe. It won't completely strip it off, but it'll fade the tan rapidly," he says.
Mistake 3: Orange Feet
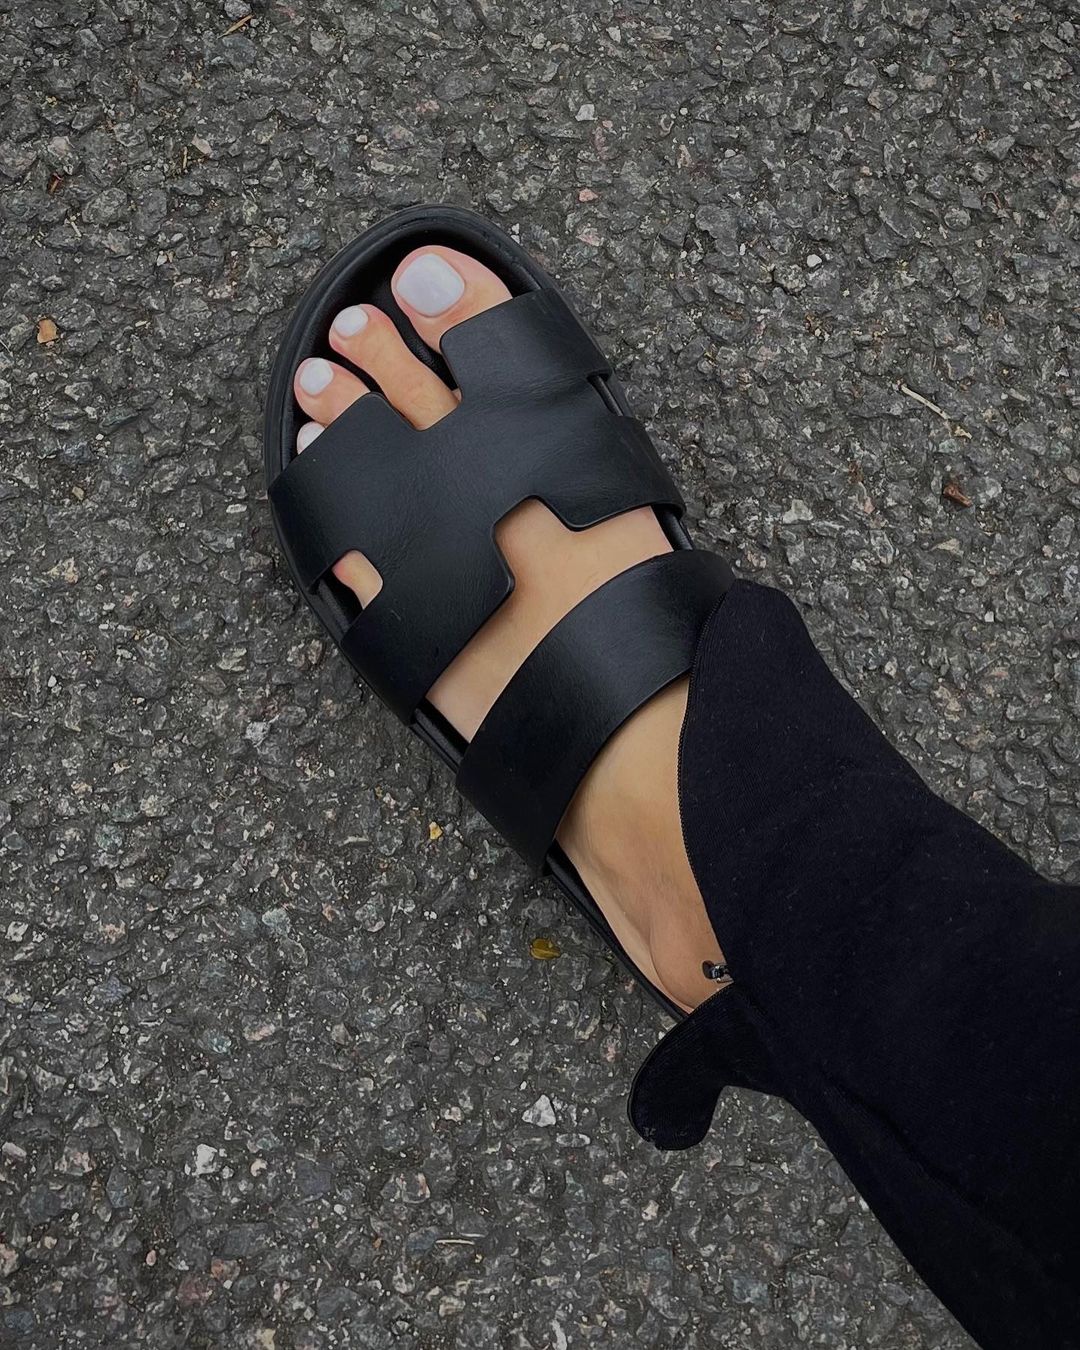
Much like hands, the feet are another tricky area to tackle. "With all tans, apply two coats to the body and one to the face. Starting at the ankles and working your way up means that tan will be dry enough to apply a second coat after a couple of minutes. Just start again from the ankles for the second layer," says Von Hep. "Use what is left on the mitt to apply to hands and feet, and remember to wipe in between fingers and toes and over nails with a damp cloth or makeup wipe after application."
Mistake 4: Removing Hair After Tanning

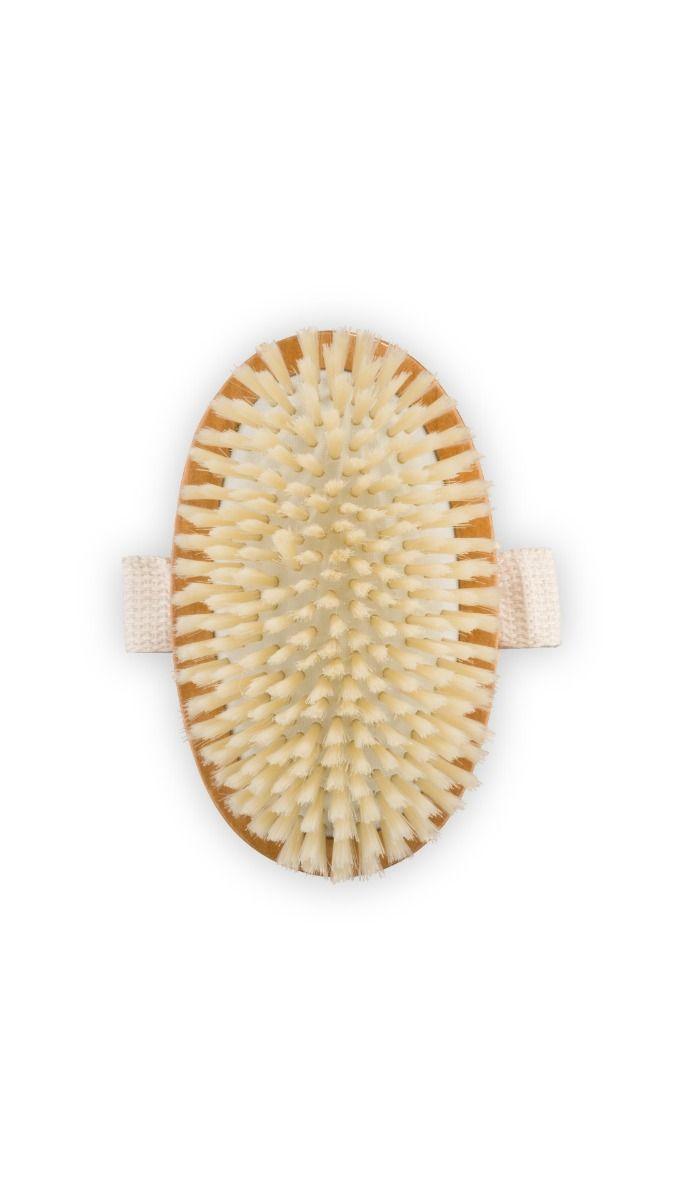
If you choose to remove your body hair, it's important to do this before you do your tan. "The trick to a truly flawless glow is all in the prep. Shave or wax at least 24 hours prior to application, and ensure skin is exfoliated with a dry brush or scrub," Von Hep advises. "This means your skin will have an even surface, so the final result will be even, and more importantly, it will fade evenly like a natural tan would."
Mistake 5: Not Applying Tan Correctly
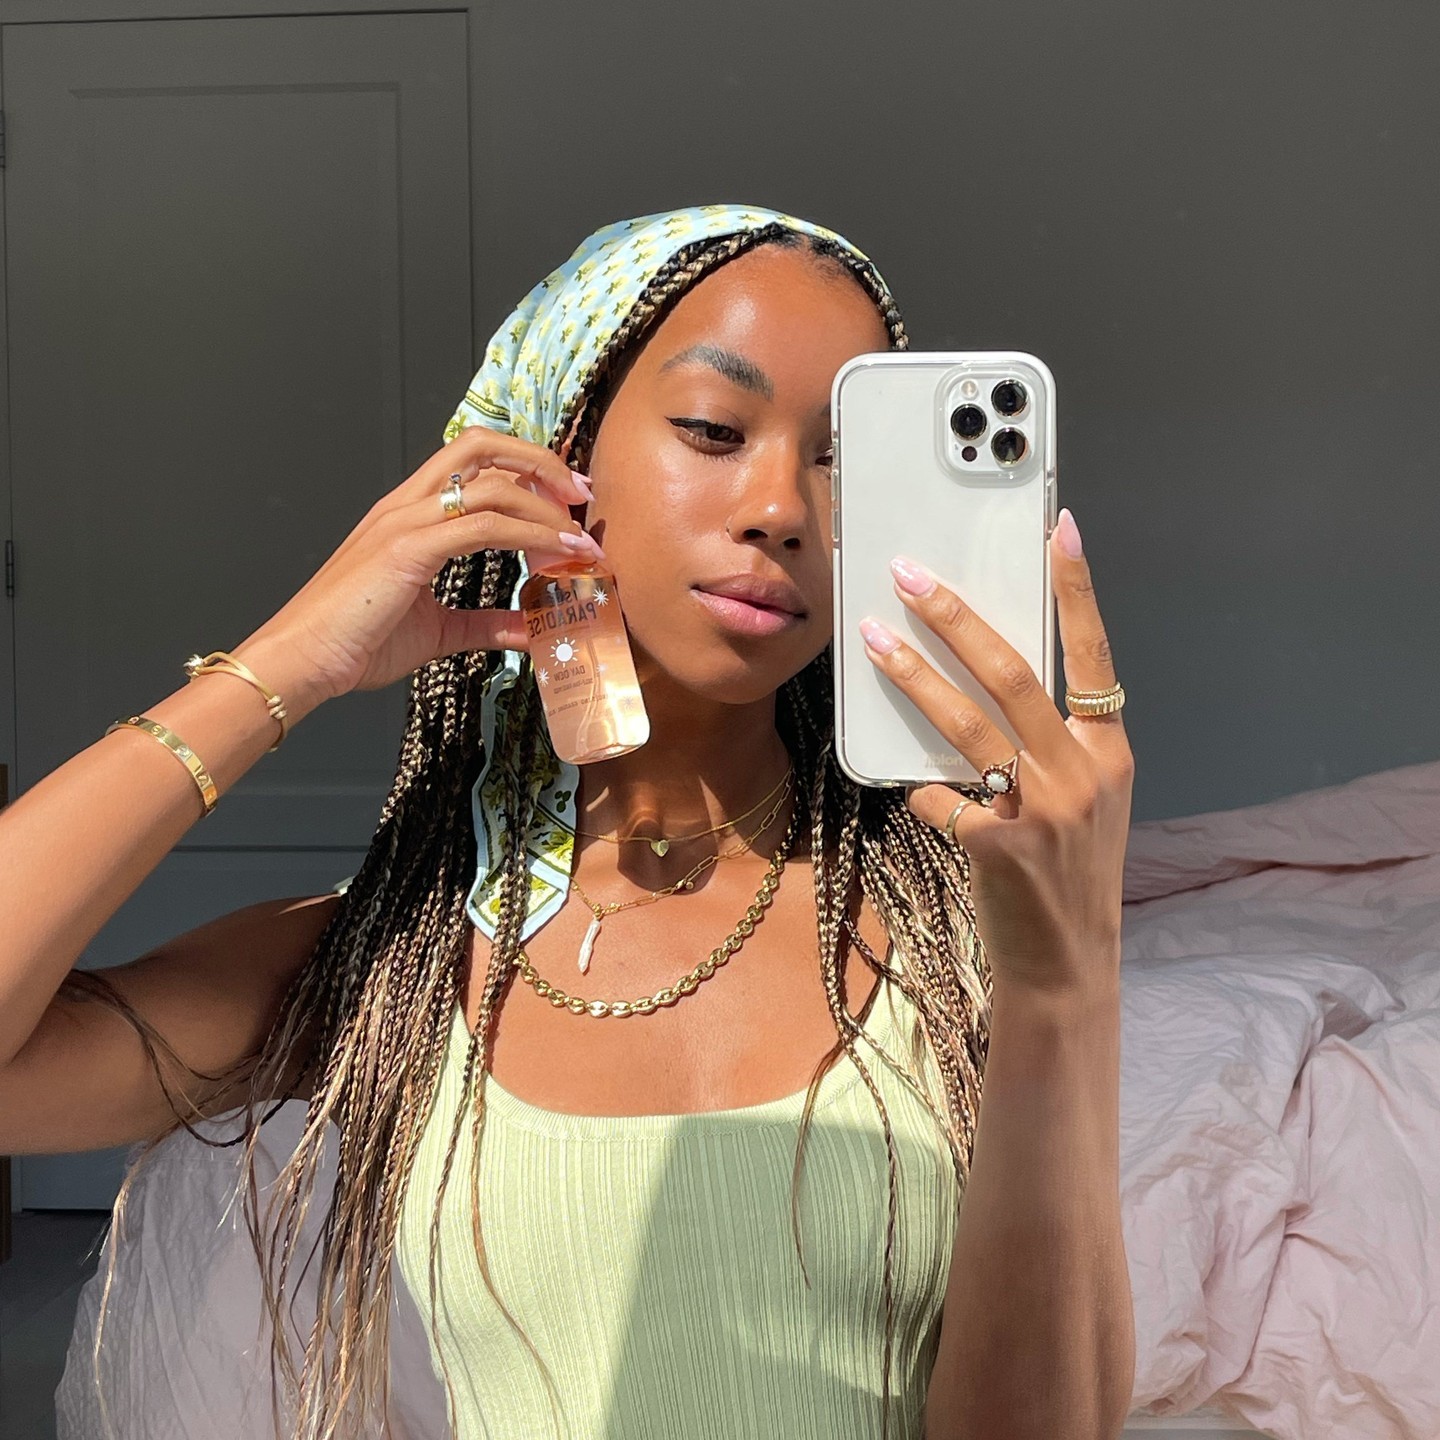
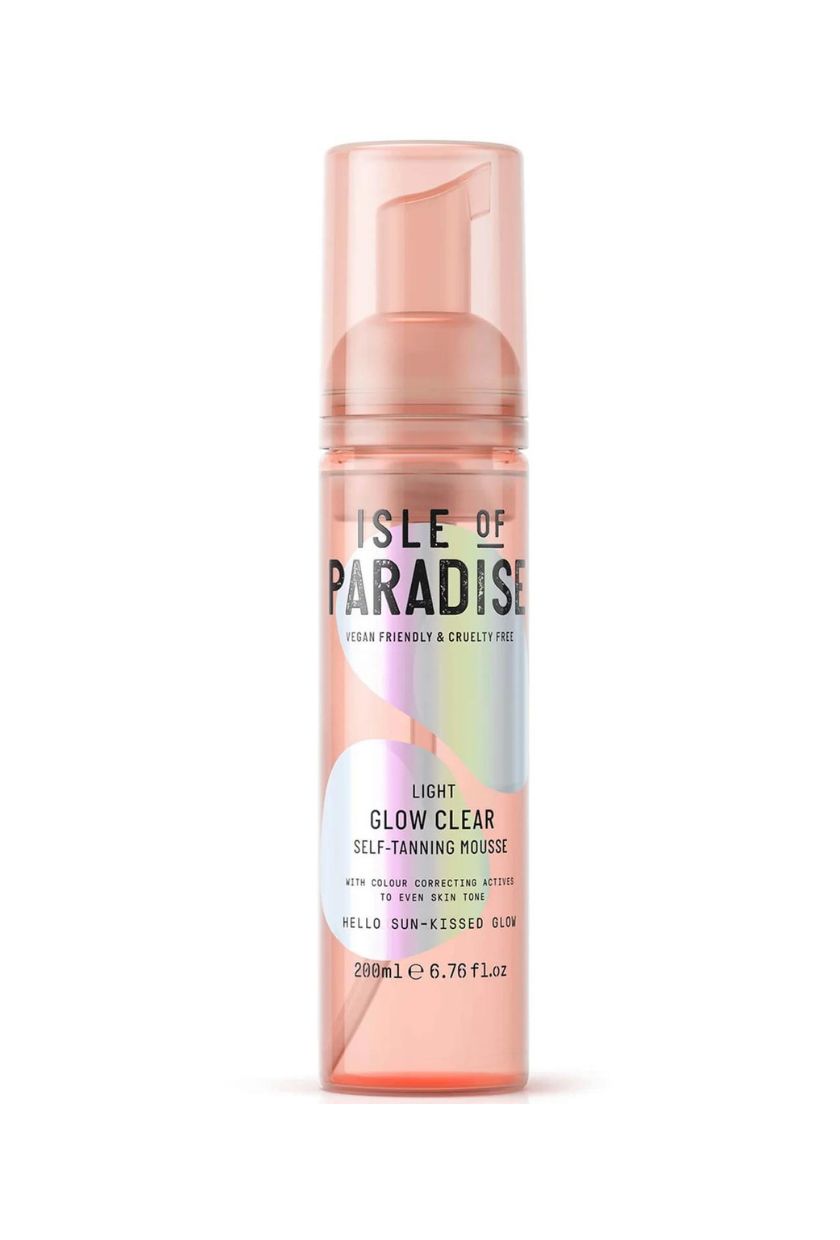
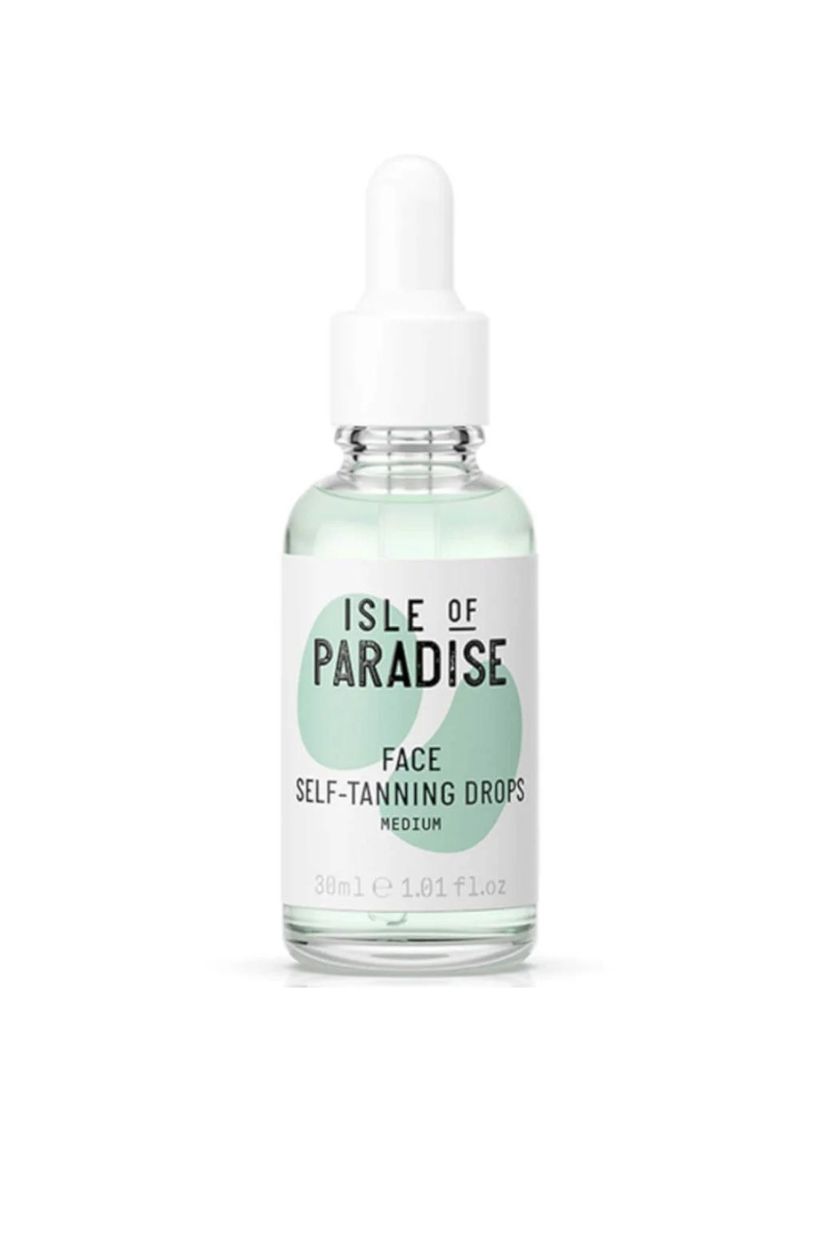
Choosing the right tanning formula and applying it correctly is key. "Isle of Paradise has three types of texture to choose from, each with a slightly different application technique," says Von Hep. "The texture you choose all comes down to personal preference. Within the range, we have mousse, tanning water and tanning drops, so there are plenty of choices for every tan lover!"
He adds that "mousse is applied directly onto a mitt and transferred onto skin. Water is sprayed directly onto skin, drenching it before being buffed with a mitt, and drops are applied into your daily face and body moisturiser for added hydration and glow," he explains. His golden rule is to apply 12 drops per limb on the body and four for the face.
Once you've picked your tanning formula, it's time to perfect your application. "Whichever texture of tan you choose to use, always start from the ankles (not the feet. These come last) and work your way up to the heart and chest," he advises. "Always apply your tan in sweeping motions over the body, never circular. This ensures that product is distributed evenly for the most natural, even-looking tan. When it comes to tanning the back, you can do this alone. Just turn your mitt backwards and apply product directly onto the skin, sweeping from side to side."
Mistake 6: Orange Palms
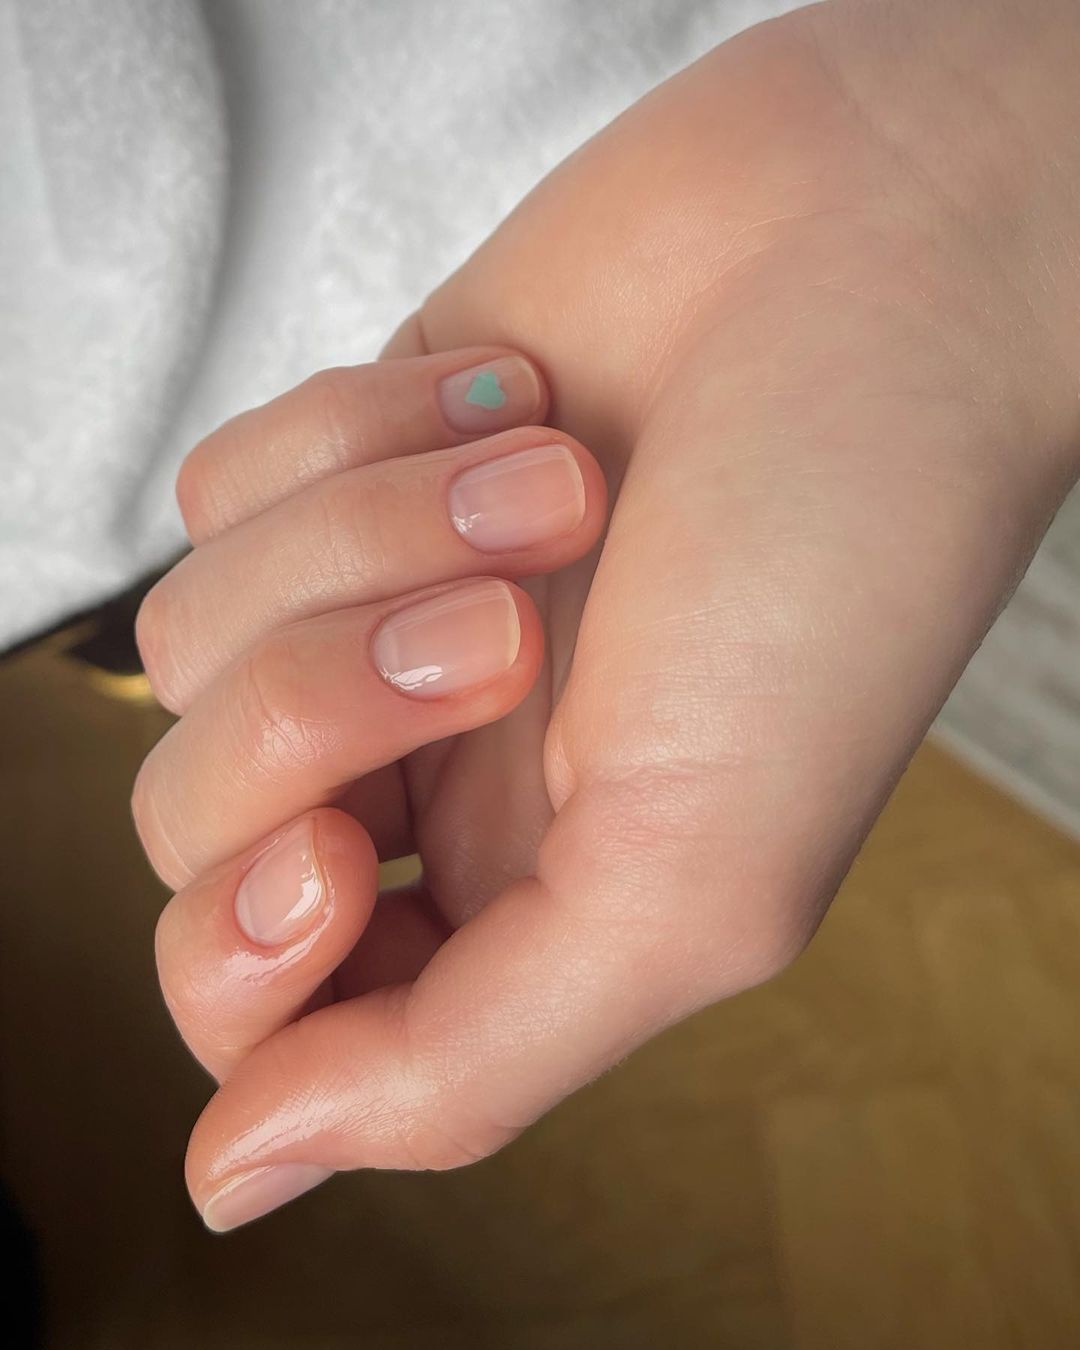
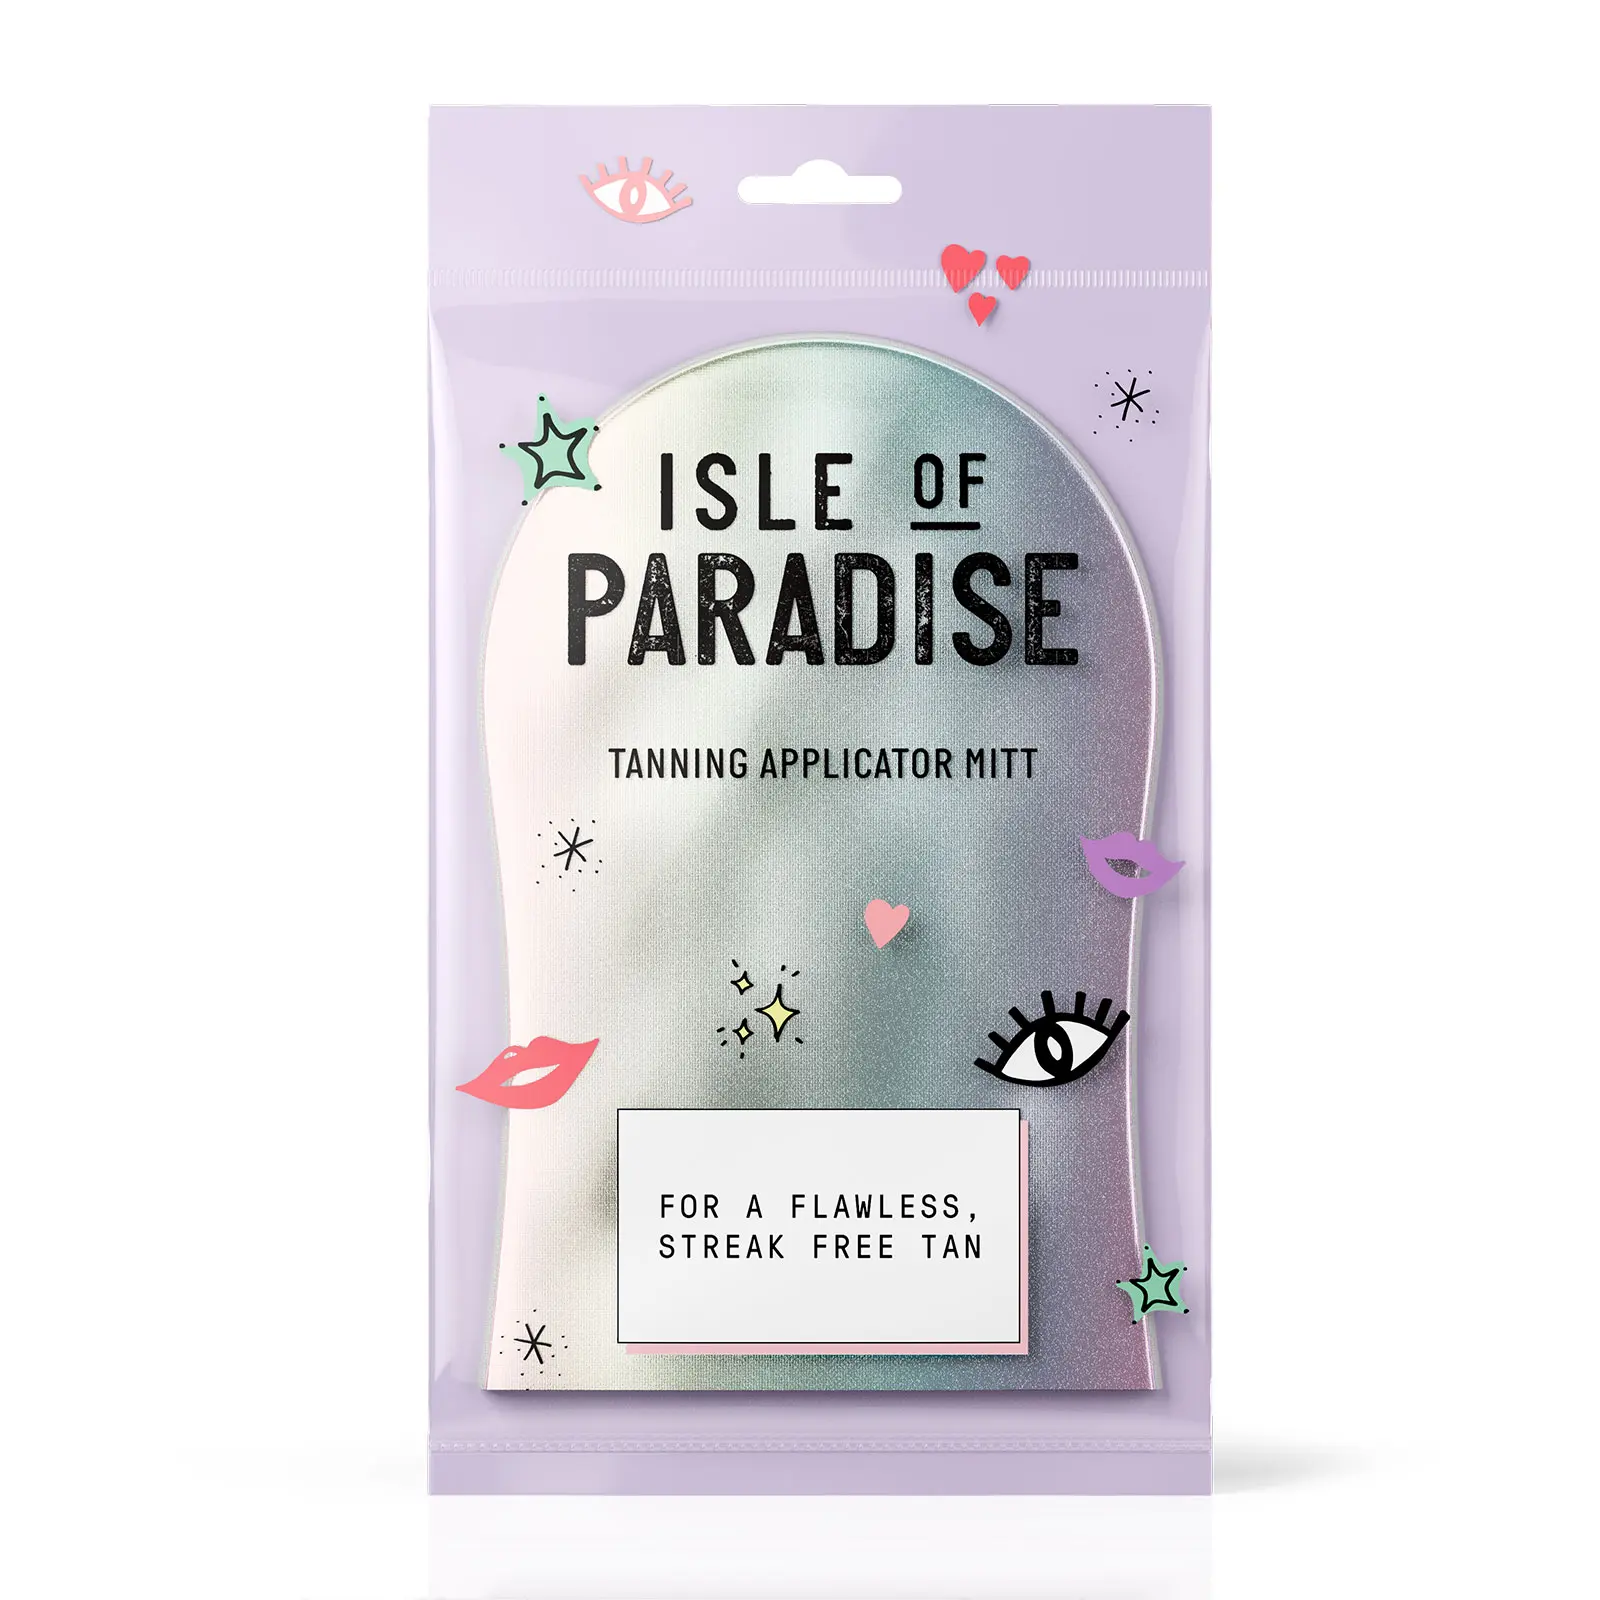
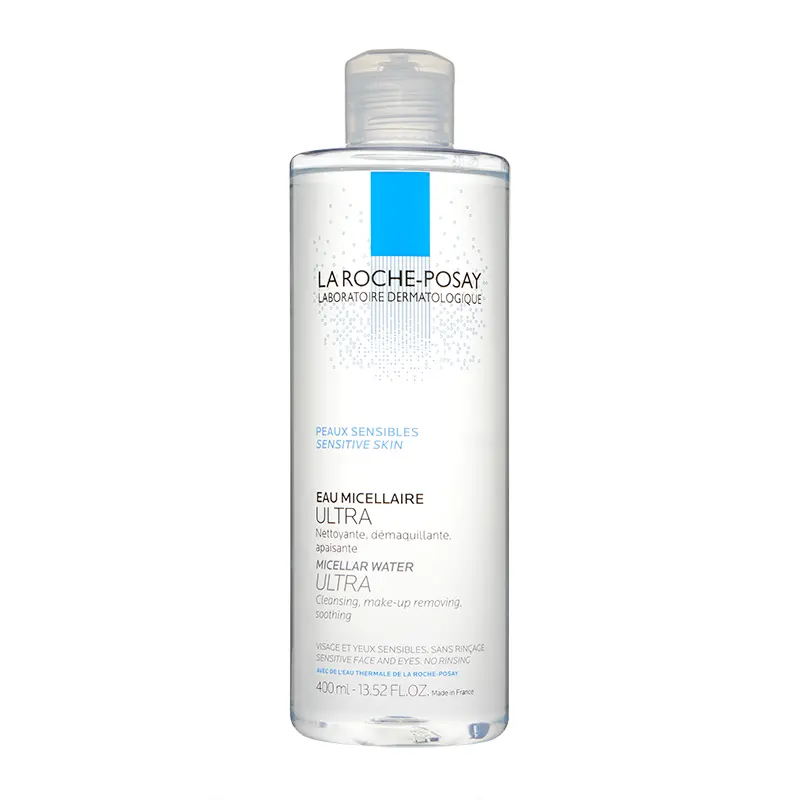
Orange palms can be easily avoided, according to Von Hep. "A mitt protects the tan from absorbing into the hands but also helps evenly distribute the product. If you're using tanning drops or water, you can rub it in using your hands. Just wash your palms with micellar water afterwards. But as a rule, I always use a mitt."
Mistake 7: Going Too Dark on Your Face
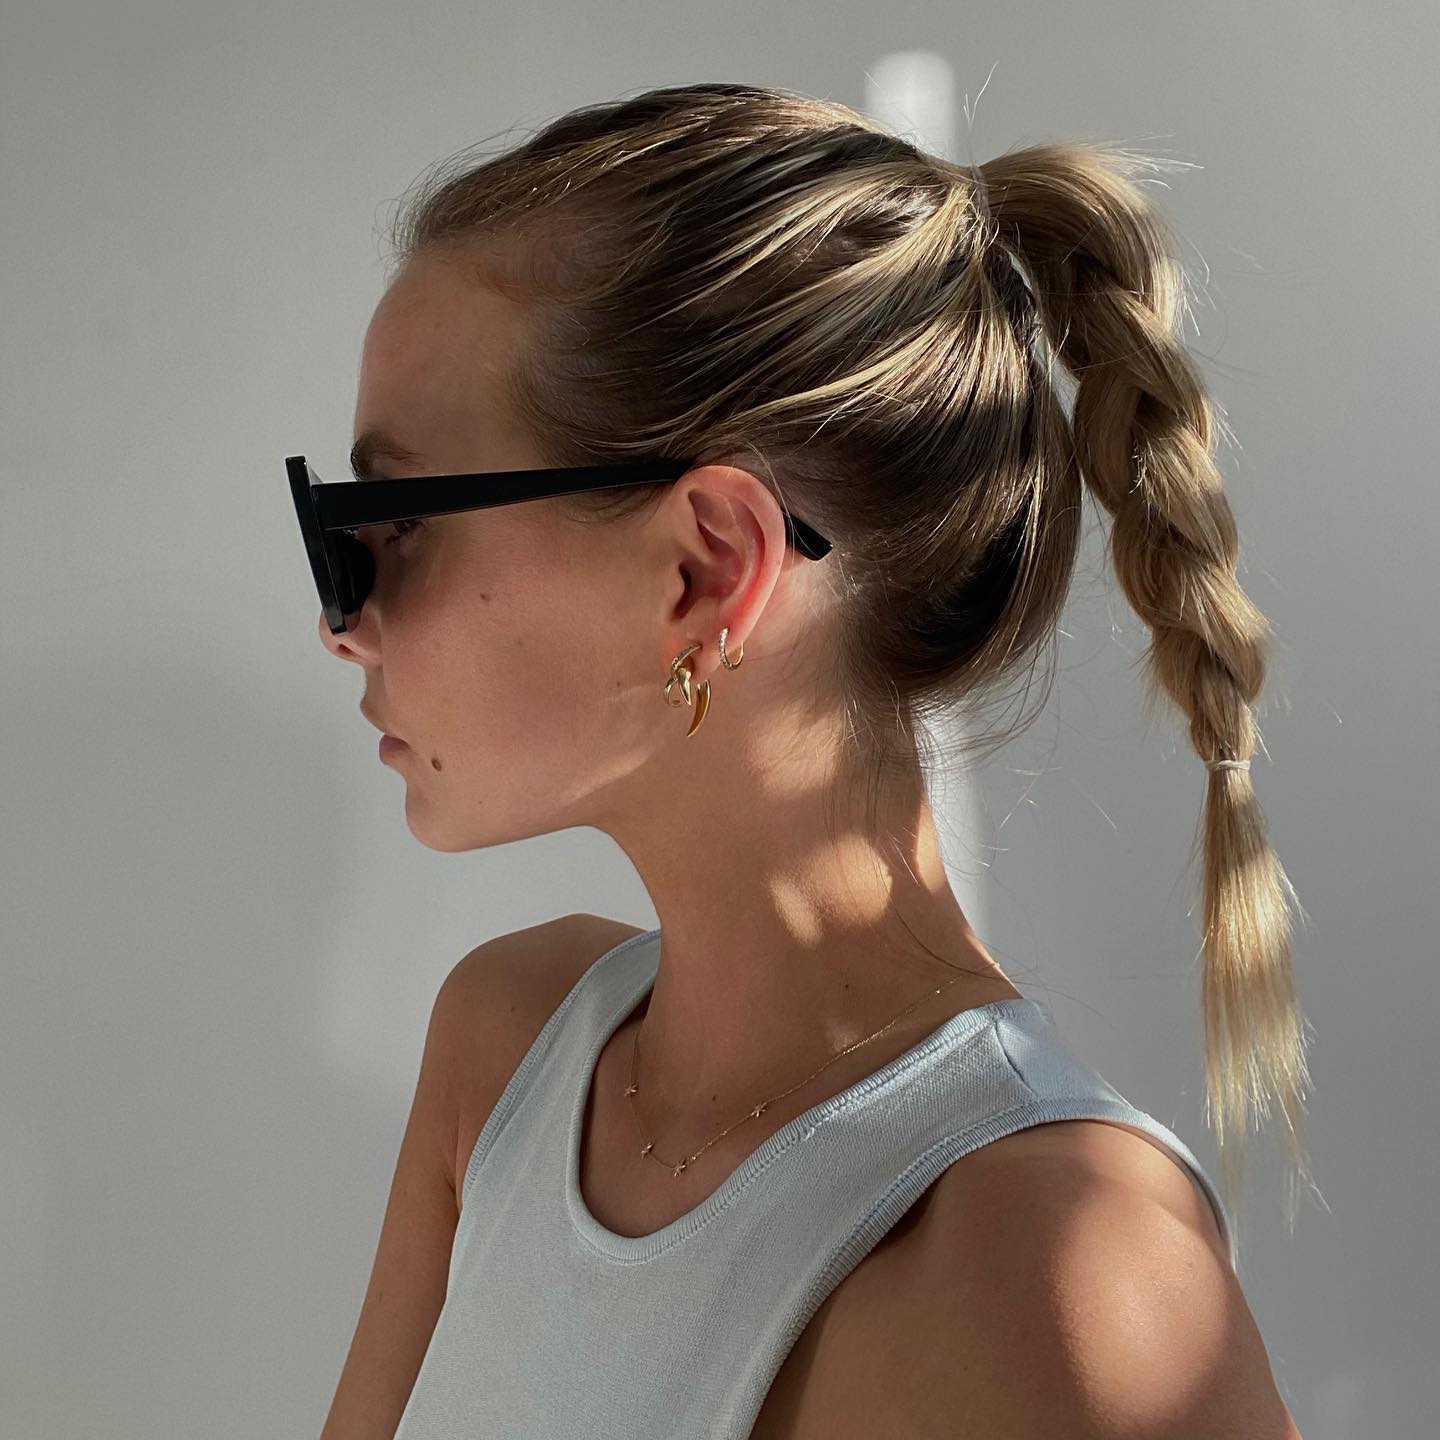
"Repeat after me: Two coats on the body, one on the face," says Von Hep. "Faces that have too much self-tan on look unnatural. Ensure your face is cleansed thoroughly. Exfoliating will help deliver a uniform skin tone," he says. "Splash the face with cold water to close pores, and then apply your serum as usual, but note that exfoliating acids and retinol cannot be used with self-tan."
So if you're tanning, you'll want to pause on any actives for a couple of days if you want your tan to last longer. You can keep it topped up by adding some tanning drops into your usual serum or moisturiser.
He also advises brushing your teeth prior to tan application, as toothpaste can collect at the sides of your mouth and remove tan.
Mistake 8: Forgetting to Tan Your Ears
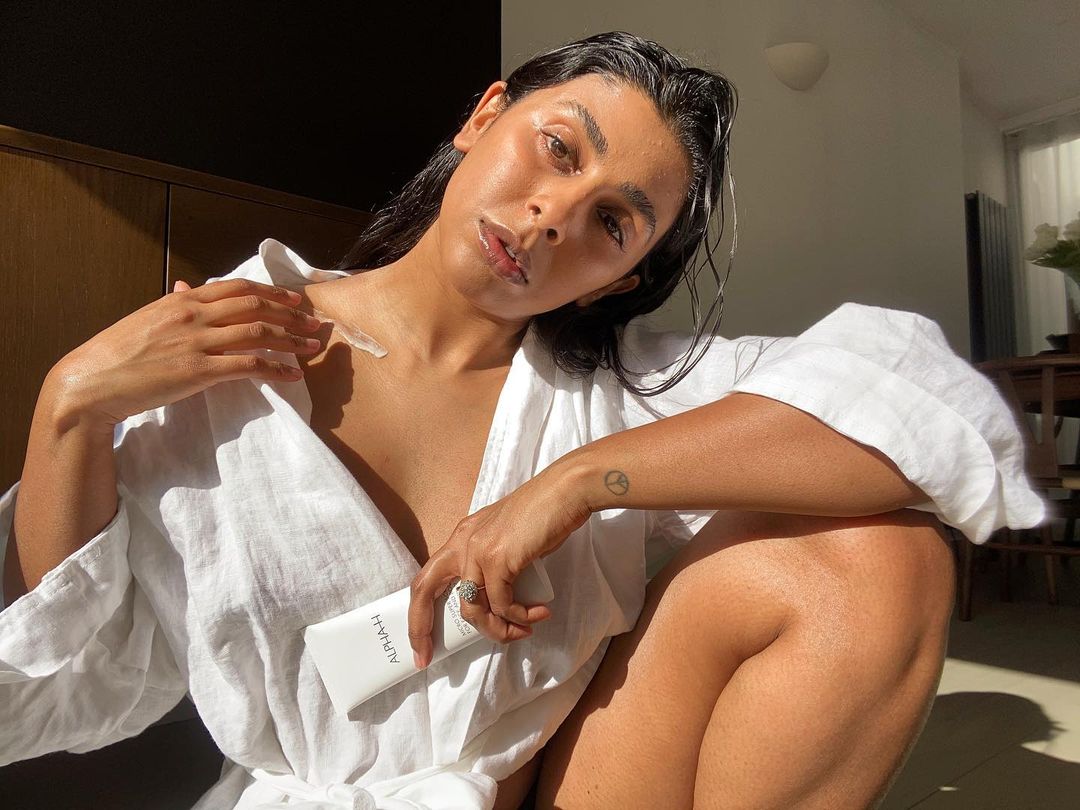
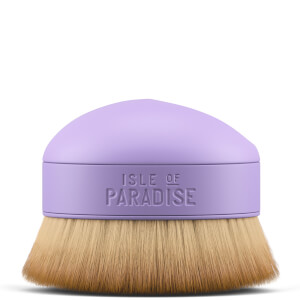
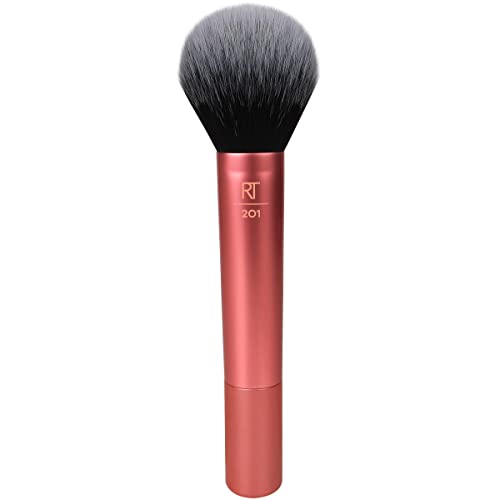
"When applying tan to the face, don't forget to do your ears!" says Von Hep. "Take a short fibre makeup brush like Isle of Paradise's Big Blending Brush and lightly buff off the excess from your face and sweep lightly around your ears."
Mistake 9: Tanning Brows and Hairline
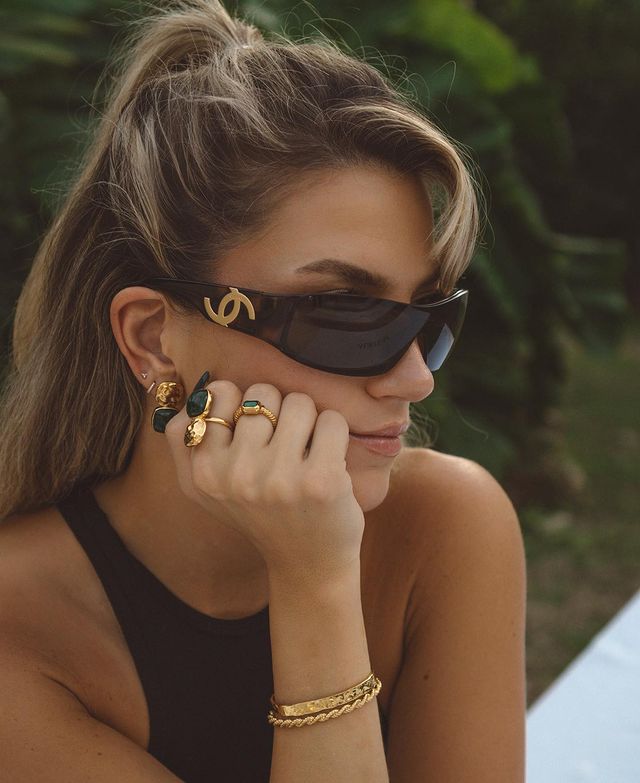
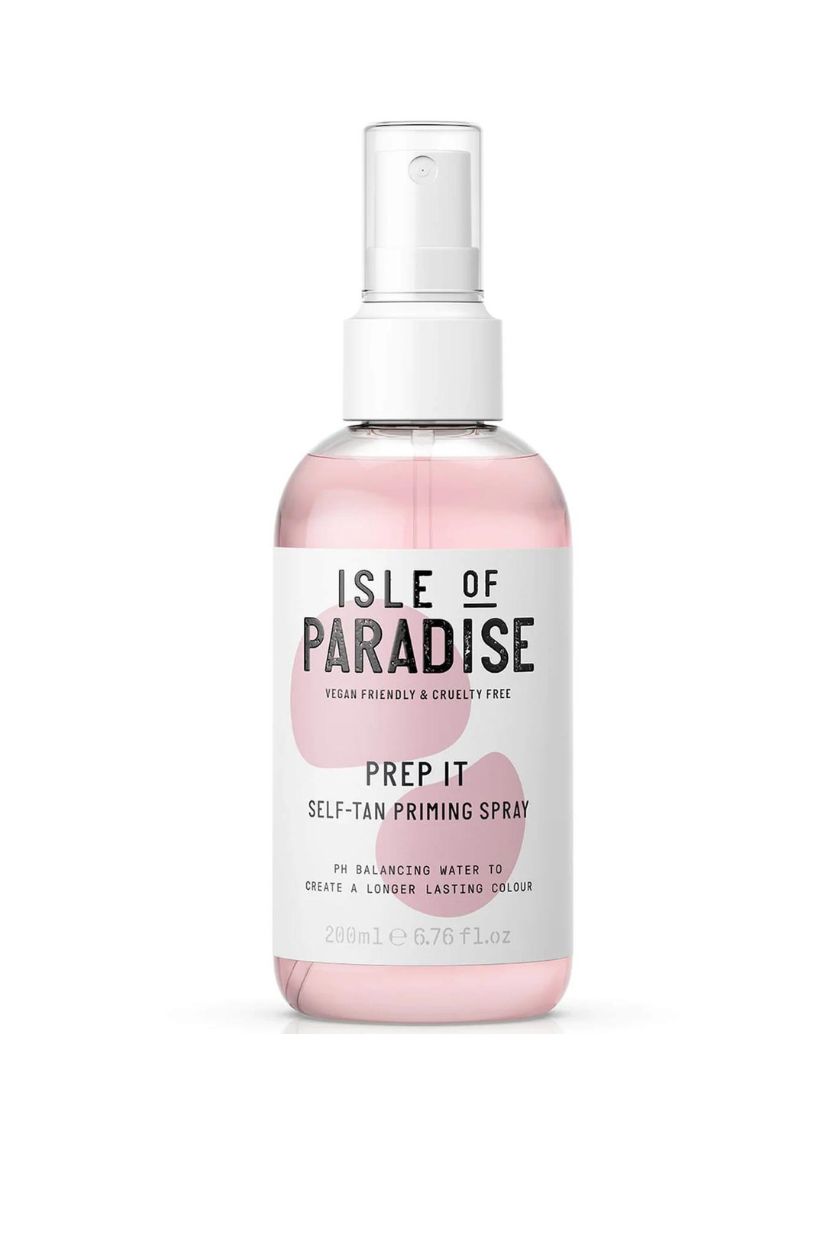
If you're fair-haired, you'll want to take care not to unintentionally tan your brows and hairline. Applying moisturiser or a balm to these areas will help prevent tan from clinging. "Prime your skin using Isle of Paradise pH Balance Spray, and if you are fair-haired, apply some to your hairline and eyebrows," Von Hep advises.
Mistake 10: Not Maintaining Your Tan

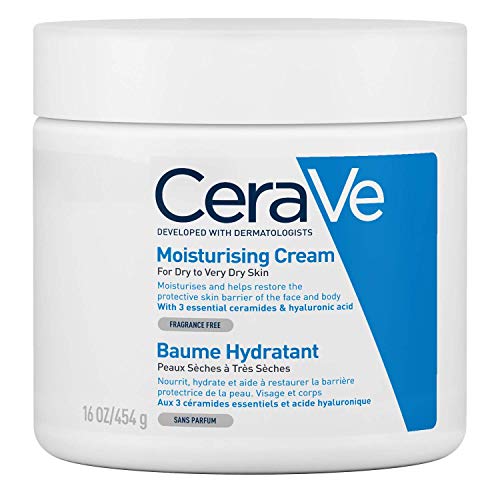
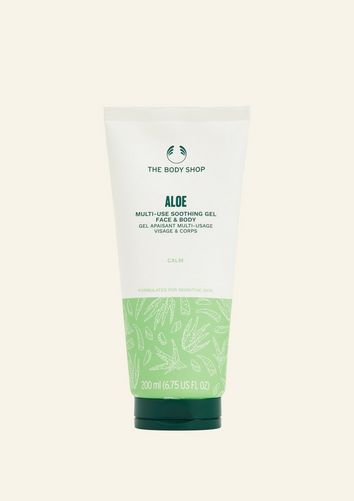
"One of the best ways to prolong your tan is to keep hydrated," says Von Hep. "Drink that water and moisturise your skin every day using an aloe vera–based body lotion or butter. Hydrated skin won't shed and will hold onto the colour for longer." It's also worth noting that oil-based products will also fade your tan more quickly, so opt for water-based lotions.
To maintain the tan on your face, you'll want to steer clear of certain skincare ingredients. "When tanning, you should avoid using retinol or exfoliating AHAs or BHAs on your skin as these encourage cell turnover on the skin and will cause the tan to fade more quickly," says Von Hep.
You'll also want to avoid harsh exfoliation on your body. "By this I mean exfoliating scrubs, gloves and bathing in warm water with bath oils," says Von Hep. "However, a tip I refer to as 'the tickle technique' is where you use an exfoliating body wash to 'tickle' the tan off after it has been on your skin for four to five days. This will help the tan fade more evenly," he recommends. "Self-tan is a bit like hair colouring. Our colour fades, but we can pick it back up again. If your colour just needs that little boost, apply a secondary lighter coat of self-tan four days after you initially tanned."
Up Next: I Hate Fake Tan, But This One Product Gets Me the Most Compliments

Eleanor Vousden is the beauty editor for Who What Wear UK. She was previously deputy editor at Hairdressers Journal, health writer at Woman & Home and junior beauty editor at Powder. She has also contributed to Wallpaper and Elle Collections.
With a degree in fashion journalism from the London College of Fashion, she has 10 years of industry experience and has been highly commended at the BSME Talent Awards for her work on Powder and also contributed to the title winning Website of the Year at the PPA Awards.
Eleanor’s journalistic focus is providing readers with honest and helpful beauty content. She has interviewed celebrity makeup artists, hairstylists and dermatologists throughout her career, as well as celebrities such as Hailey Bieber, Sarah Jessica Parker and Scarlett Johansson.
