It's Officially Bouncy-Blow-Dry Season—Here's How to Do It at Home
Want to know how to do a bouncy blow-dry at home? Our beauty editor walks you through it, step-by-step.
Welcome to How to Hair. Think of this series as your go-to guide to achieve your best hair yet. Whether you want to master a certain hair tool, work out how to wear a new hairstyle or if you're just in need of some hair inspiration, our beauty editor Eleanor Vousden is here to talk you through what you need to know, step-by-step, with plenty of insider intel along the way. Allow How to Hair to become your trusted guide on the journey to great hair days—every day.
With Google searches for "bouncy blowdry" up over 5,000% this month, it's unsurprising that so many of us want to know how to do a bouncy blowdry right now, especially for the party season. However, a bouncy blowout isn't one of the easiest of hairstyles to do. Hairstylists train for years to learn how to blow-dry hair and master the technique of using a round brush with a hair dryer to create '90s-supermodel levels of volume and bounce. But, thankfully for us non-professionals, the rise in hot brushes and hair multi-stylers means that achieving a salon-worthy bouncy blow-dry at home is easier than ever before.
However, there is absolutely an art to creating a bouncy blow-dry at home. And having sat in the chair of many top hairstylists in my decade as a beauty journalist, I've kept a keen eye on the expert tips and tricks that take your blow-dry to the next level. So, I called upon the expertise of Luke Hersheson, celebrity hairstylist and founder of Hershesons, to give me all the expert intel on how to do a bouncy blow-dry at home.
How to Do a Bouncy Blowdry

1. Prep Hair
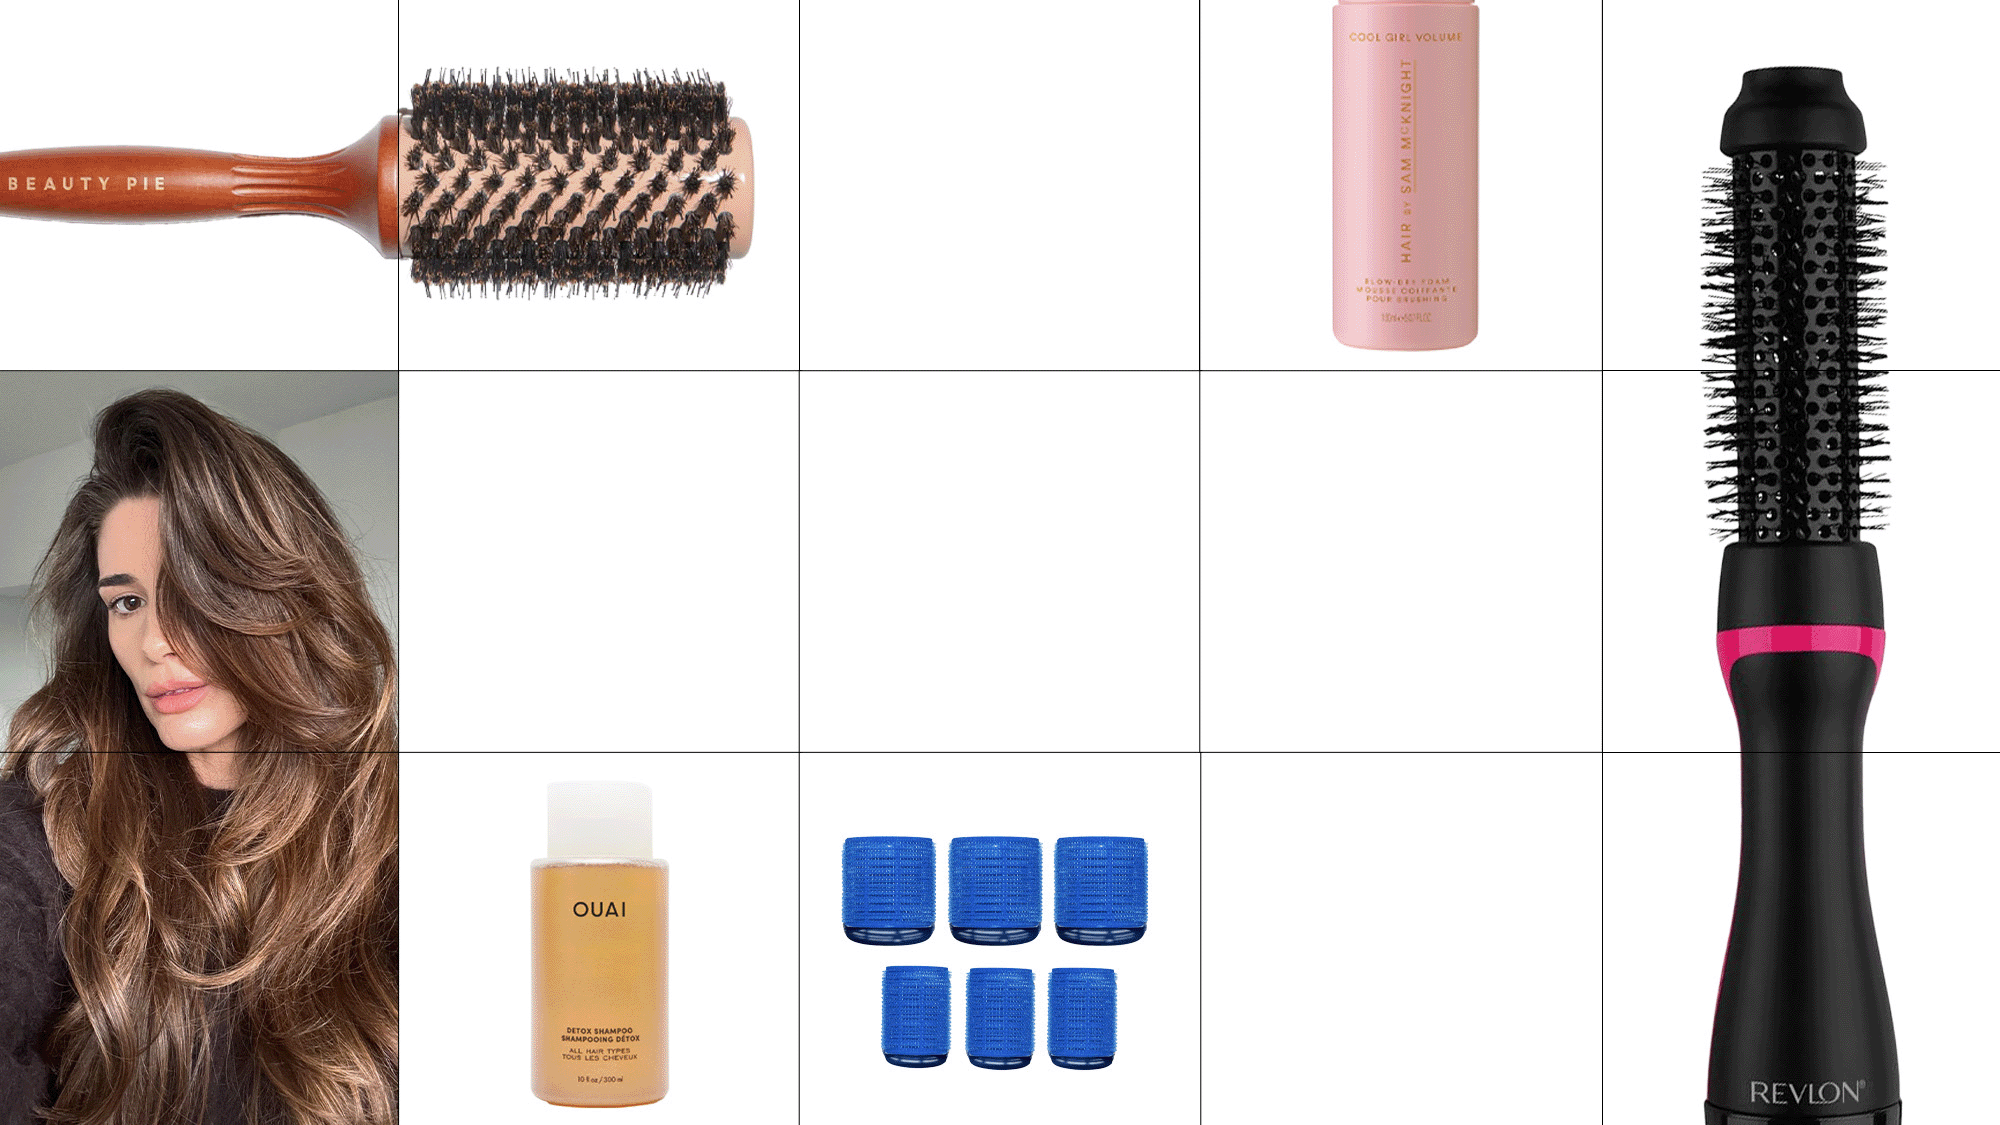
I would argue that this is one of the most crucial steps to ensure your blow-dry is bouncy. Firstly, thoroughly wash your hair with shampoo twice. Ideally, I'd opt for a clarifying shampoo, such as Ouai Detox Shampoo (£28), which removes buildup from the roots and ensures that no lingering product or oil on the scalp can weigh down your hair. Use a lightweight conditioner just on the ends and thoroughly rinse to keep your hair feeling as light as possible.
After towel-drying, I prefer to use one or two styling or volumising hair products at most before blow-drying. I like Hair by Sam McKnight's Cool Girl Volume Blow Dry Foam (£28), which has a non-tacky, aerated texture to add volume, hold and oomph without the heavy stickiness of traditional hair mousse. If you have fine hair, then L'Oreal Professionnel Pli (£17) is a great lightweight styling spray to help lock in your style. I see this product in every hairstylist's kit bag, and it is a favourite of the pros for a reason.
And because we're using heat on our hair, I recommend misting through a hair heat protector such as K18's Biomimetic Hairscience Heatbounce Conditioning Heat Protectant (£48) to shield your lengths as you style. Hersheson's top pick is the Zhoosh Foam (£16). "It gives instant lift and movement without crunch, which makes the whole process easier," he says.
Shop Hair Prep:


2. Rough-Dry
When you're doing a bouncy blow-dry, you want to work with hair that's 80-90% dry. "It will make your life a lot harder if you're starting with wet hair," says Hersheson. "Rough-dry first so you’re working on damp, not wet hair, and use the right product," he says. Concentrating on the roots, I like to flip my hair to the opposite side of where it naturally falls and the hair dryer nozzle to create lift and volume. You can also tip your head upside down and point your hair dryer upwards to the roots to encourage more lift.
3. Section Hair
I'd highly recommend sectioning your hair before blow-drying, as it will make your life so much easier. If you have long or thick hair, I'd especially recommend that you don't skip this step! I like to section off my hair into two parts by clipping the top half of my hair on top of my head before working on the bottom half of my hair first. You could also split your hair into quarters if you're blessed with a lot of hair. This will help you effectively blow-dry each section without battling with other parts of your hair getting in the way.
4. Blow-Dry
Now you're ready to blow-dry, you have two choices. You can use a hot brush or hair multi-styler with a round brush attachment to style, or, if you're particularly dexterous, you can use a traditional round brush with your hair dryer. I usually opt for the former; otherwise, it can become quite the arm workout!
"For the technique, think 90s supermodel: width, movement and confidence, not perfection. Work in medium sections, wrap, heat and set," says Hersheson. Start with taking a small section (around an inch or so is ideal—it should be able to comfortably fit around the round brush) and wrap the length around the brush. I like to roll the brush under and above the hair a couple of times to dry and polish the hair to add shine.
The direction you roll the hair into will also dictate the effect. Rolling it with your hair on top of the brush will result in more volume at the root. Rolling it with the hair sitting on the underside of your hair will give a face-framing effect. Another top tip is to hold the brush horizontally, rather than vertically, for extra volume at the root and more body through the lengths.
Ensure you're creating a comfortable amount of tension to help shape the hair as you dry each section. Take your time on each section, ensuring it's thoroughly dry before winding it all the way up. Then, you can roll the section all the way up the brush and hold it in place for a few seconds to lock in the style.
Shop Hair Tools:


5. Use Cold Shot
Whether you use your cold shot setting on your hot brush or hair dryer will make or break whether your bouncy blow-dry holds or falls flat. Heating your hair allows you to manipulate the shape, but cooling it back down again is paramount to locking it in. "The setting stage is what makes the blow-dry last," says Hersheson. "And if you’re short on time, focus on the front. Shaping the face frame instantly makes the whole look feel more polished," he says.
I like to use the cold shot button on my hot brush for 10 seconds, or until the hair feels cooler to the touch, before unravelling the section from the brush. Don't skip this step, as it will ensure your style stays bouncy.
6. Set in Rollers
Using some Velcro rollers will help to further set your hair in place. That’s what locks everything in and gives you glossy, touchable bounce that lasts. I like to do this as soon as I've released my hair from the brush after using the cold shot setting. Wrap the end of the section around the roller and gently roll it up the length of your hair. You'll want to follow the same direction you used to blow-dry the section, and then use a hair clip to secure the roller in place. Repeat steps four to six on each section and pop it in a roller as soon as you've blow-dried it.
Like the round brush or hot brush you're using, the size of the rollers will also dictate the outcome. For a bouncy blow-dry, you want to use medium to large-sized rollers for maximum body and bounce. Smaller rollers, on the other hand, will create a tighter curl. If you need a refresher on hair rollers, read our guide on how to use hair rollers.
Shop Hair Rollers:


7. Leave to Cool
Now your hair is set in rollers, you want to leave them in for as long as you possibly can, but at a minimum for 15-30 minutes. The longer they're in your hair, the longer your style will last, so don't be tempted to take them out too early. To help speed up the process, you can use the cold shot button on your hair dryer at a low speed to gently cool your hair while it sets in the rollers.
8. Remove Rollers
Now it's time for the big reveal. Start on the underside of your head and gently unclip each roller, gently rolling it down to remove it, and you should have some bouncy curls. Personally, I'd avoid using a hairbrush at this stage and instead use your fingers to gently coax your hair into place without disturbing the shape of the hair too much. "When brushing out, don’t panic at large curls," says Hersheson. "It’s easier to take out volume than add it. Use a wide-toothed comb instead of a flat brush, and stop combing when you hit the movement you want," he says.
For extra volume and root lift, you can flip your hair into a side parting. If you already wear your hair in a side parting, try flipping it over to the opposite side for more root lift. I like to push the front section back and allow it to naturally fall into place. But the beauty of a bouncy blow-dry is that whichever way you wear it, you should have lots of bouncy volume.
9. Finishing Products
Now that you have removed all of your rollers, you can mist through some hairspray to lock in the style. You could even use some texturising spray or a volumising spray at the roots for extra root lift, but avoid overloading the hair with too much product. Applying too much can weigh down the lengths and cause your bouncy blow-dry to drop. So avoid undoing your hard work and start with a light misting and build up.


10. The Result
And there you have your bouncy blow-dry! To make it last, I'd avoid touching your hair too much (which can make the bounce drop) and, if you want to retain the volume the next day, you can wear your hair in a low, loose bun tied with a satiny scrunchie, or by sleeping on a silk pillowcase. Both help to reduce friction on your hair, so you can enjoy your bouncy blow-dry well into your second-day hair.
Shop Silk Hair Accessories:


