
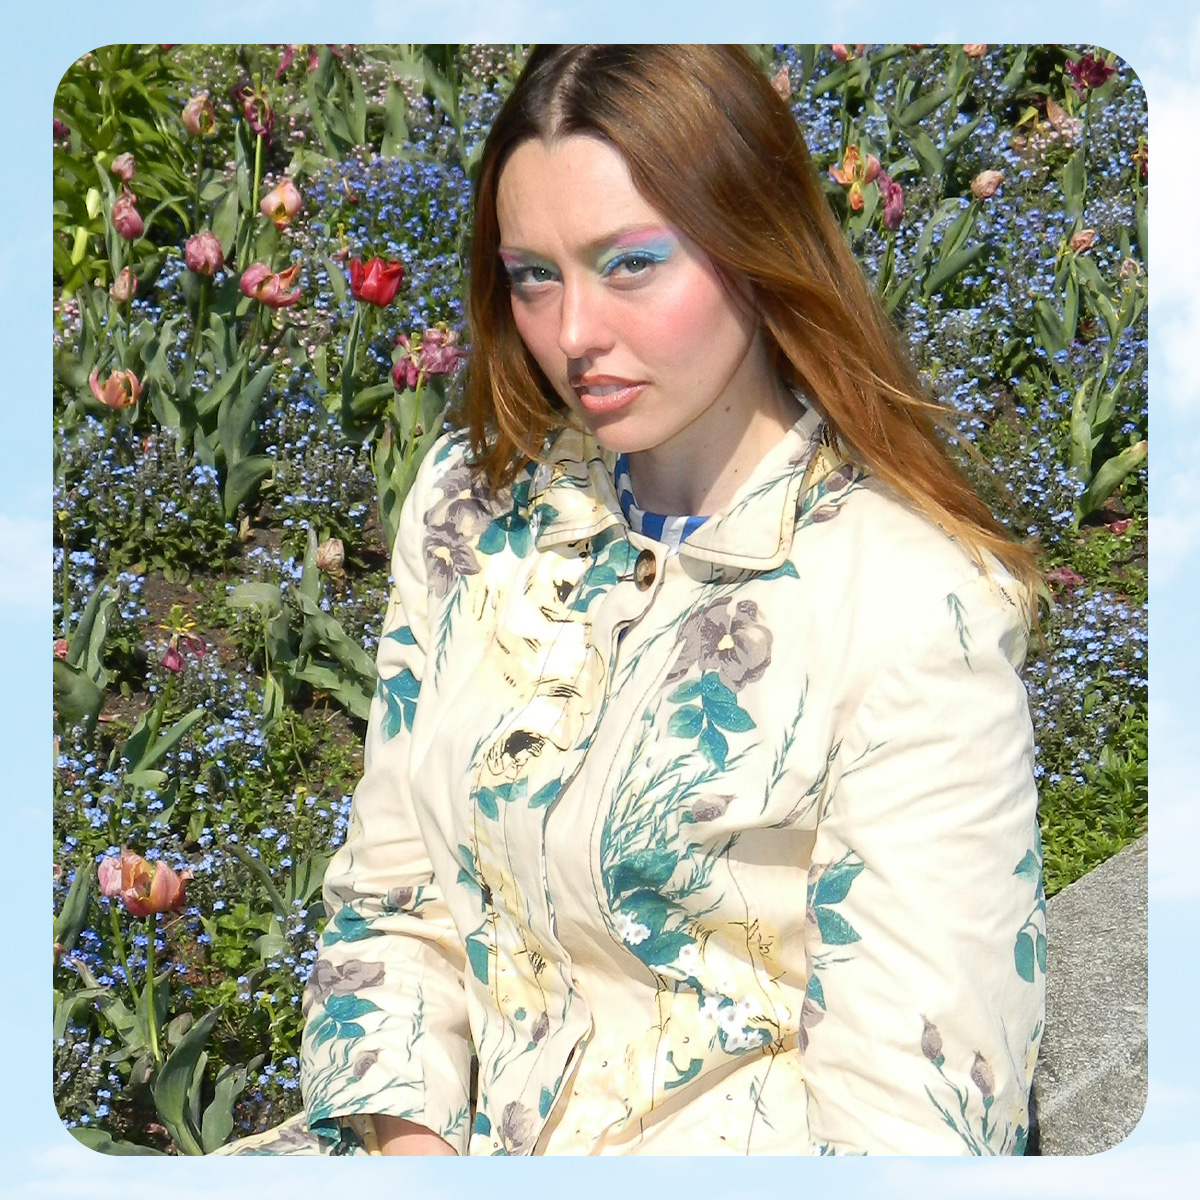
Welcome to Five or Fewer, a new Who What Wear series that brings you the best A-list beauty looks in five (or fewer!) easy-to-follow steps. To break down each hair or makeup look, we invite the industry's top beauty talent—such as Margot Robbie's hairstylist— to demonstrate an easy how-to on themselves or our beauty editors, Erin Jahns and Courtney Higgs. Next up, celebrity makeup artist Jo Baker walks us through an easy, universally flattering smokey eye tutorial (inspired by the above look on Naomi Scott) that only requires one eye shadow. Even though the how-to was originally captured via IG Live, we saved all the footage and took detailed notes in case you missed it. Keep scrolling for the gorgeous play-by-play and to shop the exact products Jo and Erin used.


Skin Prep + Foundation/Concealer
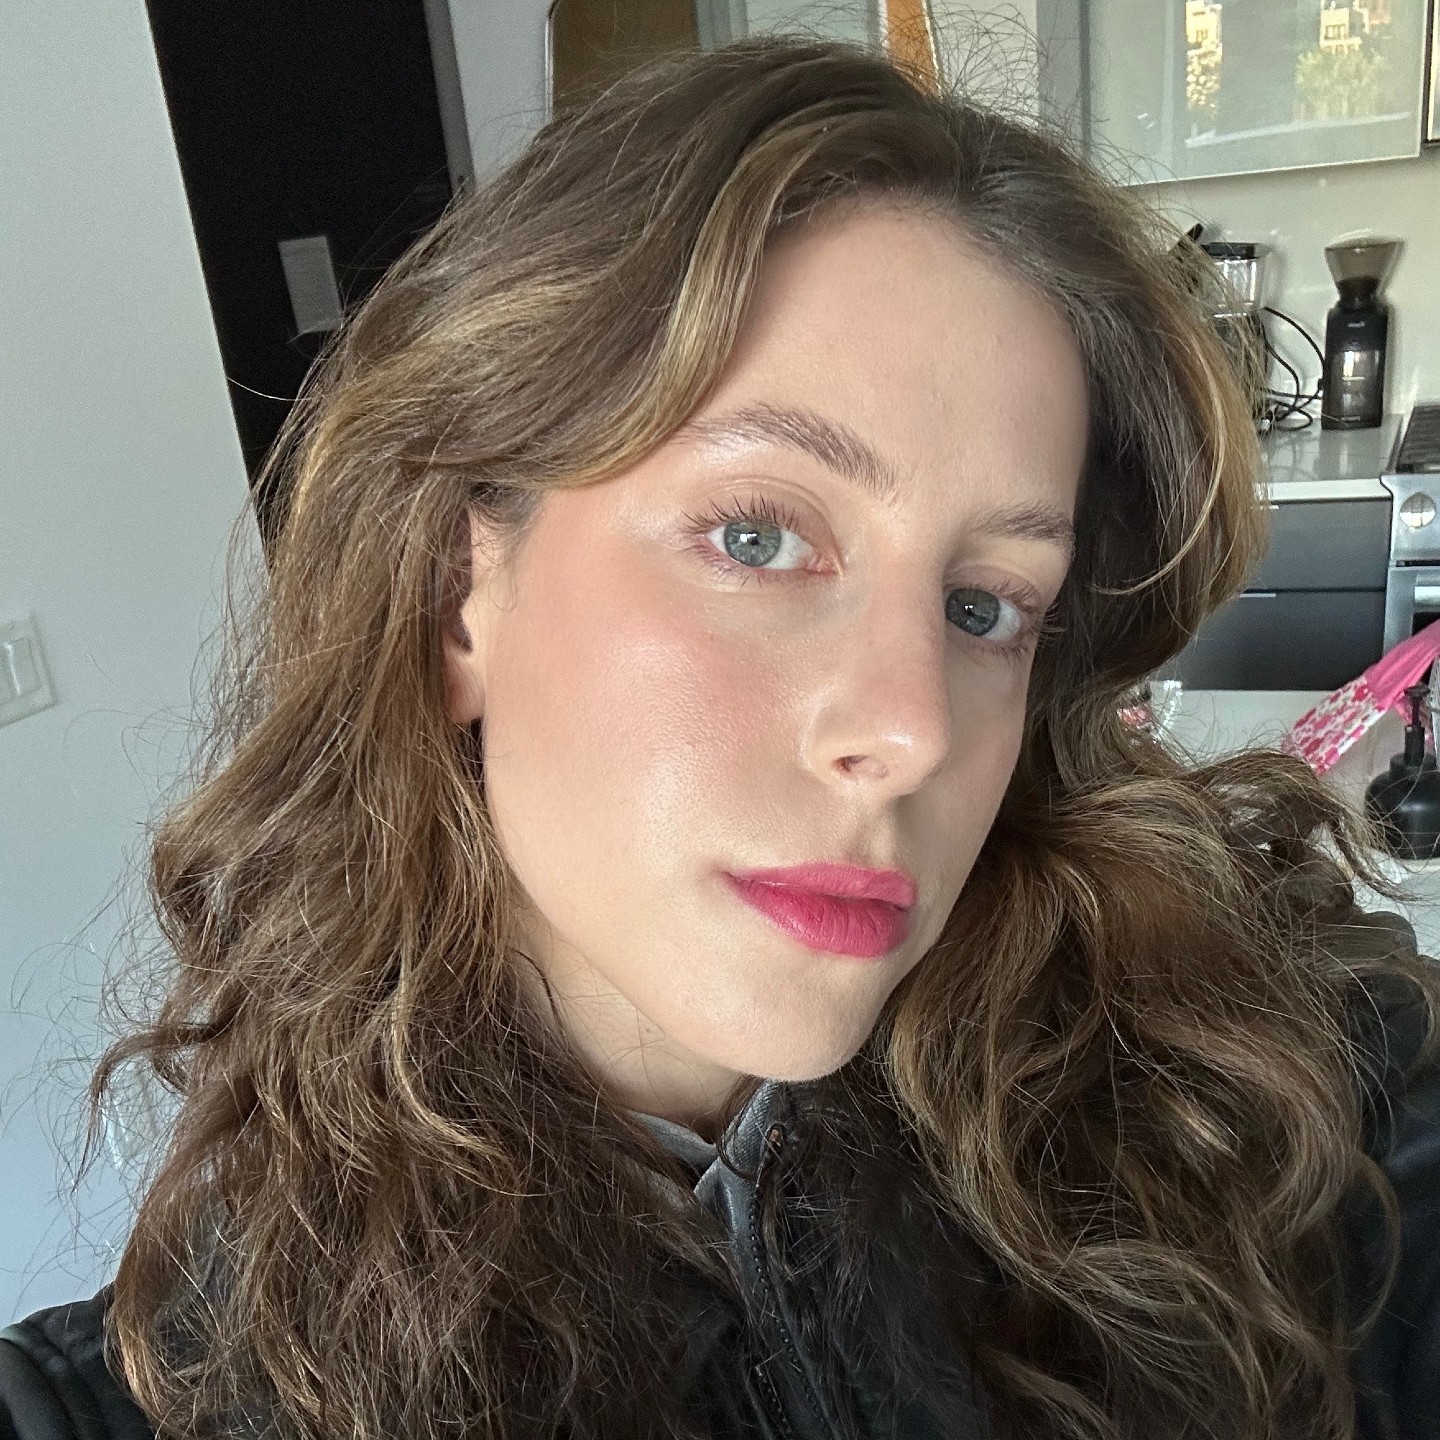
I had the chance to chat with Jo before our IG live, and she instructed me to do my normal skin prep and to apply a light layer of foundation and concealer before diving into the eye shadow application.
Jo's expert tip: "I always love to put my eye patches back on once I've done my foundation. I feel like it just adds even more hydration on top." (Plus, it will catch any shadow fallout!)
What Jo Used:


What I Used:


Step 1: Apply a Satin-Finish, Dark-Brown Eye Shadow
After seeing Naomi Scott's stunning smoky eye, I was truly shocked when Jo revealed it involved one shadow and one shadow only. Granted, it's an amazing shadow from Chanel that has a very particular finish (satin versus matte or glittery) and a universally flattering tone Jo describes as "a satiny, dark brown." Also, make sure you have at least one (or five) fluffy eye shadow brushes on hand for blending.
"I really wanted to make this simple for everybody, I think a lot of red carpet looks appear really complicated or hard to obtain, but in theory, when the look is really simple like this, it shows you can get a dramatic and cool eye that works from day to night with just one wash of color," Jo tells me. "If you can learn how to make a single shadow look really beautifully blended, that's a good little trick to have in your arsenal."
Jo's expert tip: "To apply your shadow, smush your finger directly into the pigment, and then smush it into a flat area of your thumb or palm," instructs Jo. "You won't get any fall-off because your finger has kind of turned into an absorbant, smudging pad. Using your finger, press it on quite hard all over your lid and just keep layering it. Don't worry about this being perfect—the first layer is all about creating intense color and an even coat."
What Jo Used:

Jo used the stunning brown shade on the lower right-hand side of this quad.
What I Used:


To Enhance This Step: Blend, Baby, Blend
"Once you've applied the shadow to your lid with your fingertip, the best thing is to blend it while it's on the skin," explains Jo. Start creating the shape by blending and buffing the shadow upwards and outwards, and spend a lot of time intensifying and blending the crease. To prevent a sagging effect, pretend like you have a piece of tape extending from the outer corner of your eye up and out to the end of your eyebrow. Don't blend your shadow below that—you want your smoky eye to look lifted! "You want to have this lovely shape just wafting up—like a haze, I do love the smoky haze," she continues.
Jo's expert tip: If you have big or really round eyes, create a lot of shade and contour along the inner part of the crease, closest to your nose. If you have smaller eyes, concentrate your circular blend on the outer part of the crease instead.
Also, if at any point you get a little too heavy-handed with your shadow (as I did on my second eye), you can always grab a clean backup blender brush to blend away the excess, working it up and concentrating it in the crease as much as possible.
What Jo Used:

What I Used:

And "Tickle" Your Lower Lash Line
Jo explains that now is a good time to rehydrate your under-eyes and to also add some definition to your lower lashes before applying mascara. She recommends taking a damp makeup sponge (either rose water or regular water will do) and just lightly tapping it over your under-eye area. This keeps your base from looking heavy and caked—two symptoms that can immediately make a smoky eye look dated.
Jo's expert tip: To help balance out your smoky eye, "tickle" your lower lash line with the same blending brush you used to blend the shadow on your eyelid.
"This is creating a uniform finish to the eye—you don't want to have heaviness, and you're not adding any extra product on, but without this step, your lower lash line will look too clean and bright. I call this step the 'dirty brush haze'! The larger you can make your eyes look, the less stark the shadow looks. If it's soft and dreamy, it looks so much more flattering."
Step 2: Curl Your Lashes & Apply Mascara
"I always love to curl my lashes before adding mascara because if you don't, they get a little heavy from the weight of the product," shares Jo. "Really make sure you don't forget the outer lashes! Also, if you notice some of the shadow comes off after you've curled, you can just run your blender brush over your lid again to add and blend back anything you took away."
For mascara, Jo recommends opting for a volumizing black mascara on top and brown mascara on the bottom. "It's a really subtle difference, but what it will do is keep the lower lash line looking really full but not feeling heavy and spidery."
Jo's expert tip: With mascara application, start in the middle where you want the most lift, which will create a round, doe-eyed effect. That said, if you want a winged, fanned-out look, concentrate on the outer lashes. Oh, and don't forget to add lots and lots of coats!
Another hot mascara tip: If you make a mistake and get the formula anywhere on your eye where you don't want it, wait a few minutes and let it dry before you remove it with a damp Q-tip. This way, it neatly comes off with zero smear. (And you won't ruin the makeup you've already spent time perfecting.)
What Jo Used:


What I Used:


To Enhance This Step: "Highlight" Your Eyes With Concealer
With a super-light hand (and with your fingers), Jo recommends taking the time to go in with a concealer that's a shade or two lighter than your normal formula, applying it underneath the eye and out and up toward your temple and above your cheekbone. This creates a non-shimmery highlight effect that's flattering and adds some extra lift to the eye area. Use any extra that's on your finger, and apply it below your brow.
What Jo Used:

What I Used:

Step 3: Build Your Bronze
"This is one of the most decadent products," Jo gushes. "Using a featherlight touch and a brush that has flat, fluffy top, start buffing this into your skin using tight circular motions, concentrating on the outer corners of the face." (Think underneath your cheekbones, jawline, and temples.) "You want to feel like you're adorning your skin with deliciousness."
Jo's expert tip: "If you're someone who has really great skin and doesn't like a lot of base, you can actually use this product instead of foundation to create really dewy, sun-kissed skin."
What We Both Used:

Step 4: Boost Your Brows
"I like to use a brow pencil to lift the center of the brow and extend the shape with a little bit of a pull on the inner part of the brow, toward the nose," Jo says.
Jo's expert tip: "When in doubt while choosing the shade of your brow product color, pick a shade that's the closest to your natural color, referencing your root or hairline. Always go lighter and cooler than you think you need to for brows!"
What Jo Used:

What I Used:

Step 5: Lips
"To create Naomi's look, I used my favorite nude du jour, which is called Deepness by Chanel," says Jo. "Even though it looks like a black lipstick, it has a really sheeny, balmy finish. It's going to read balmy, it's going to read sheer, and it's going to look really cool and fashiony. For me, this is the ultimate 2020 nude. I've used it on so many red carpets, and it looks just slightly different, but extremely beautiful, on every single person I've used it on."
Jo's expert tip: If you want a lipstick that looks less nude and has more color, try the shade called Mood, instead, which is a bit more berry. Also, if you don't have the lipstick, you can apply a clear, glossy lip balm to the back of your hand, and rub the same shadow you used on your eye into it to blend. Once it's completely mixed, apply it to your lips with your fingertip, and voilà!
"This is a really cool way to utilize the products you have and create a beautiful monochromatic look—you can even mix your eye shadow with the same bronzer to create the ultimate contour for more cheek sculpt," she adds. "Products, if you invest in them, can do multiple things—especially if the texture is really good and they're blendable."
What Jo Used:

Or:

Or:

And:

What I Used:

And:


-
 I've Been Inspired By Maximalist MUAs for Years—3 Pros You Should Have Been Following Yesterday
Putting the "art" in makeup artist.
-
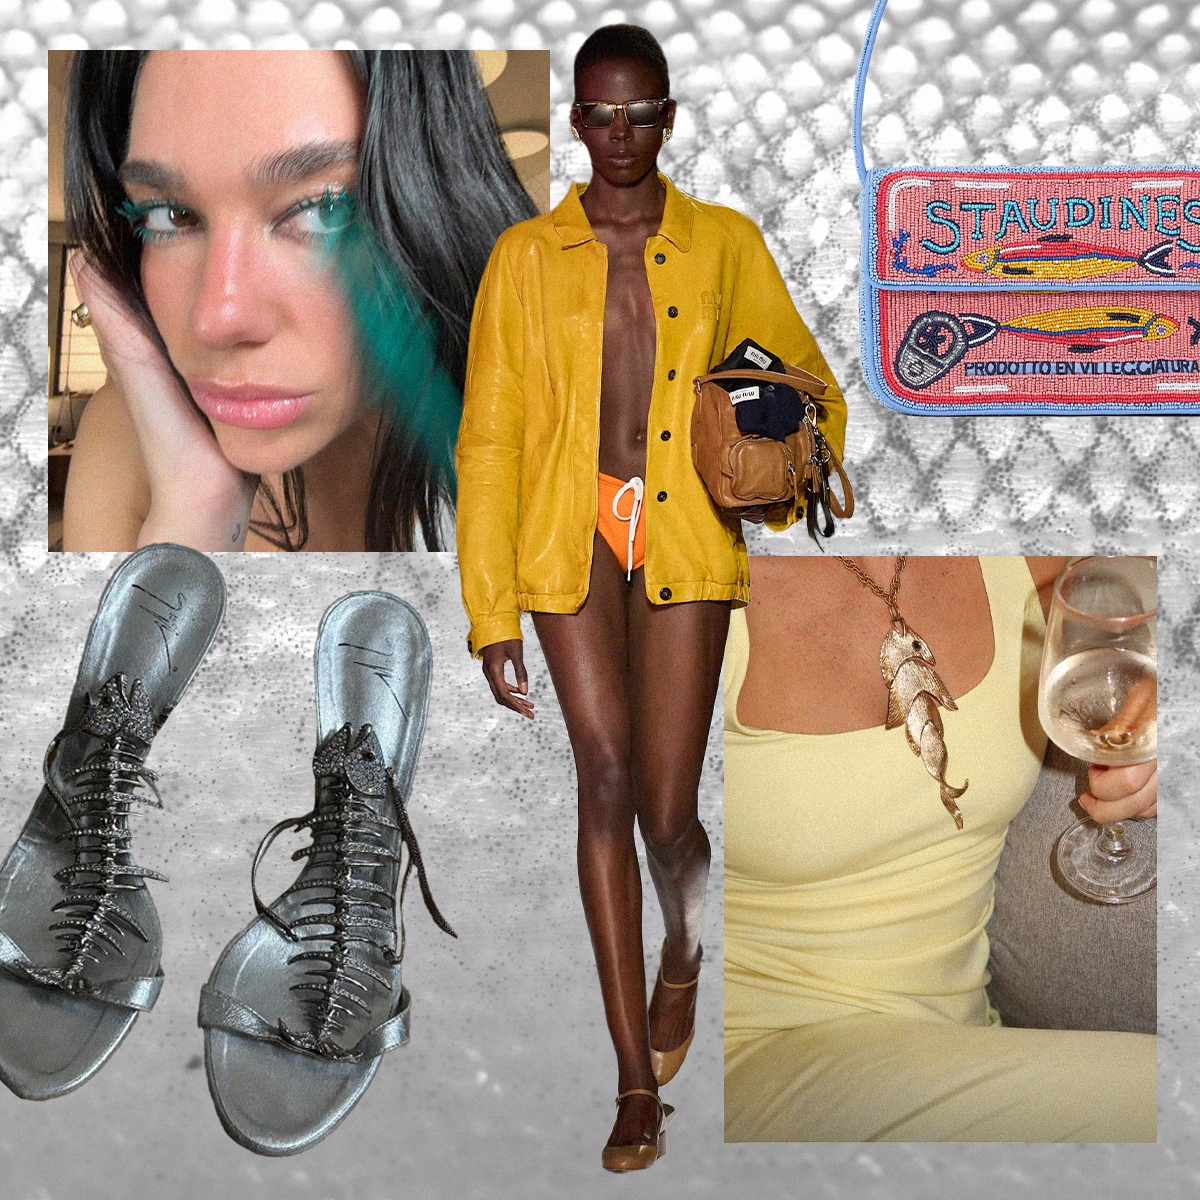 I'm a Beauty Editor With a Fashion Degree—How I'm Translating the Fisherman Trend Into My Makeup Routine
These looks are compliment bait.
-
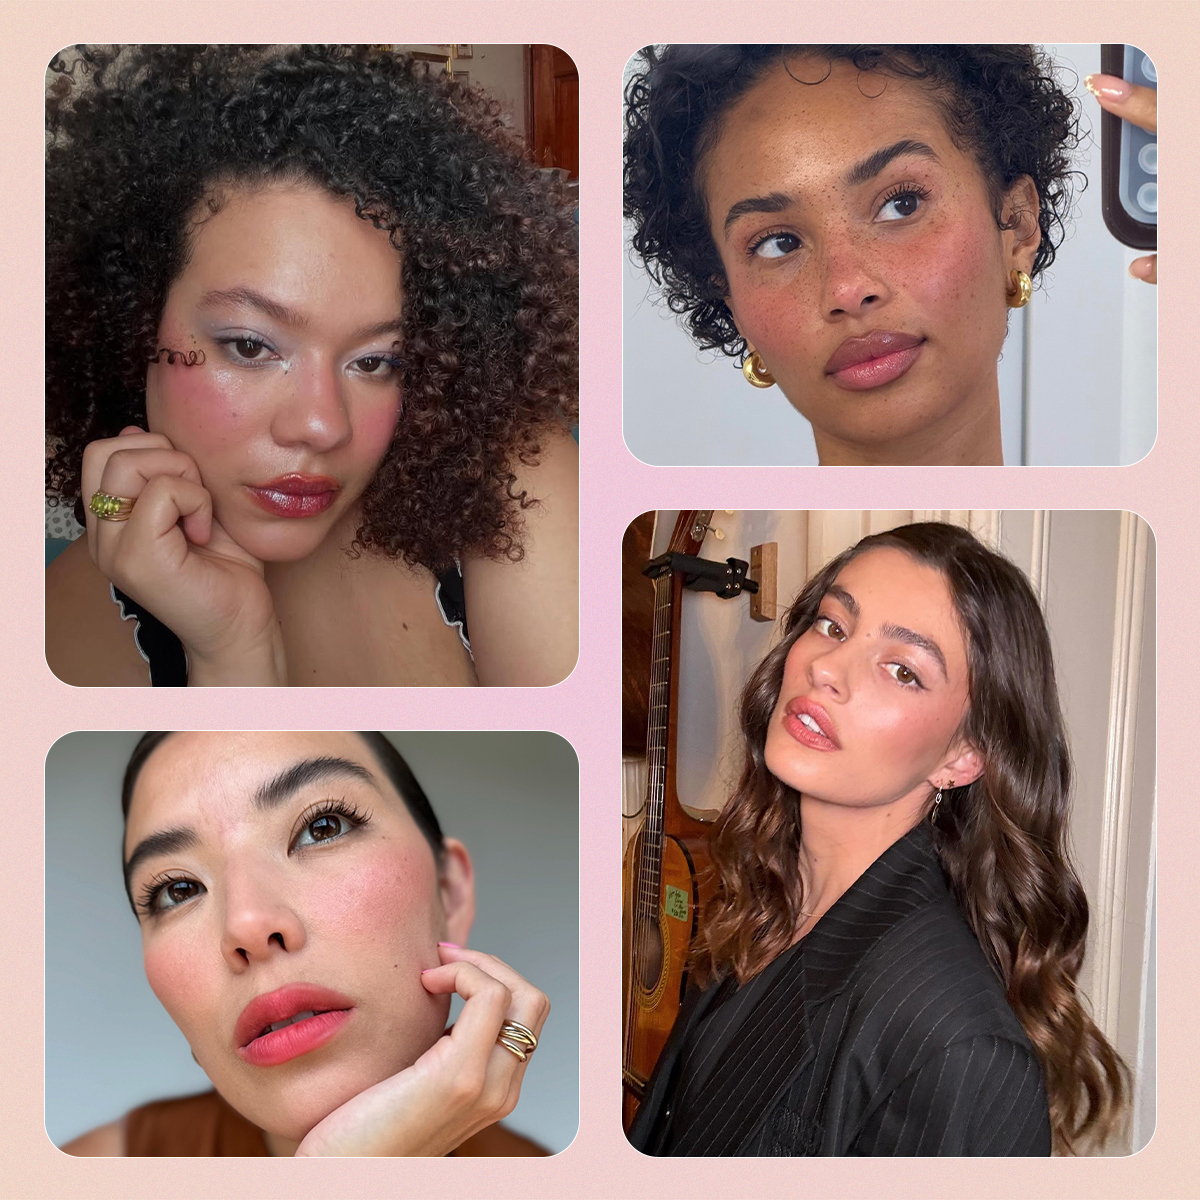 8 Makeup Trends Poised to Dominate Summer 2025, From Saint-Tropez Skin to (Gasp!) Barely There Lip Liner
Taking notes.
-
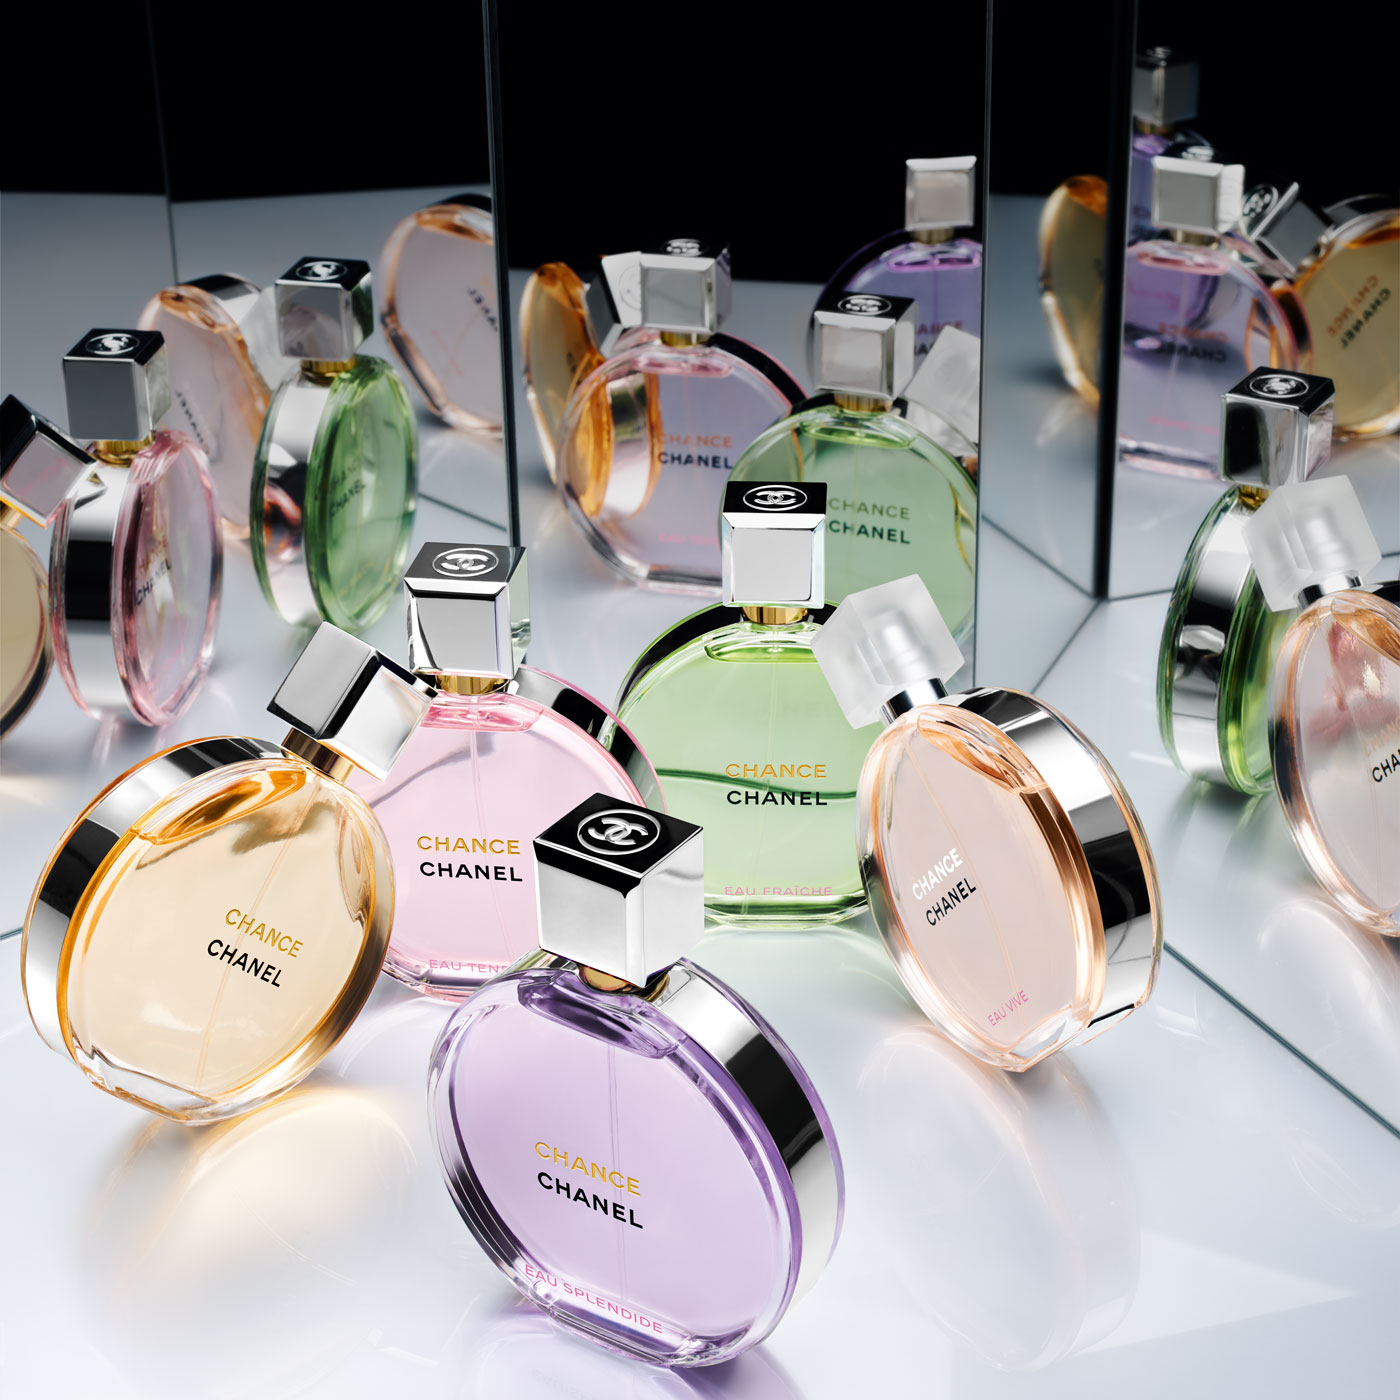 Chanel's In-House Perfumer Told Me All About the New Fragrance That Evokes Joy and Optimism
And how to get his job.
-
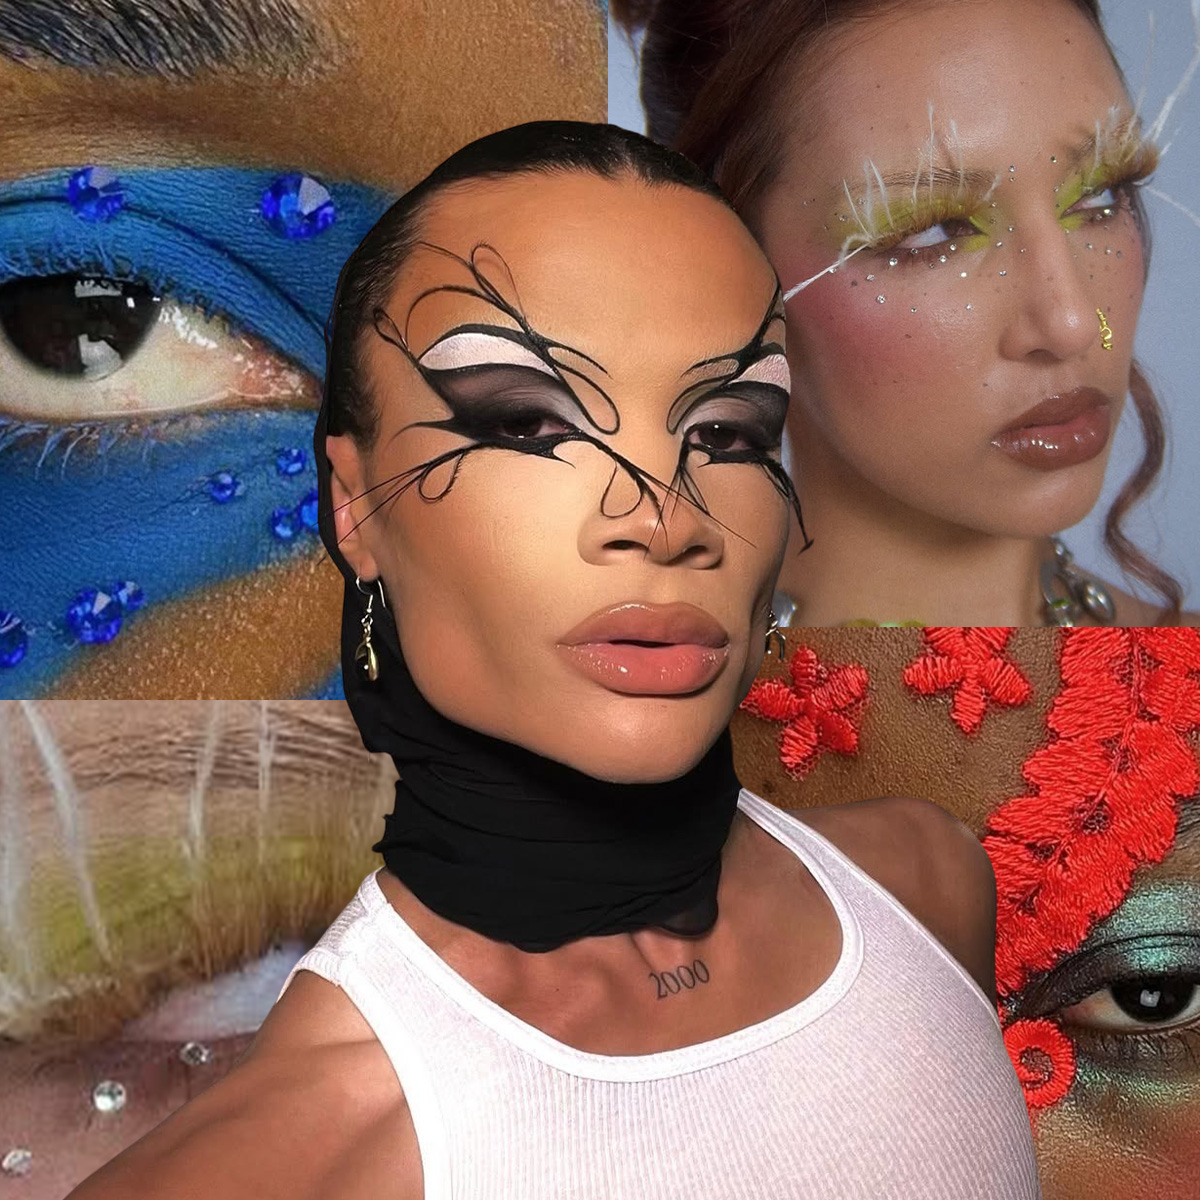
 This Viral Makeup Artist Is Basically the Beauty World's Picasso—Here's Why We're Obsessed
She's taking TikTok by storm.
-
 If You're a Brunette With Light Eyebrows Like Me, This MUA Tip Will Change Your Whole Face
Small tweak, huge difference.
-
 Taylor Russell Is the Epitome of Baby-Doll Beauty—6 of Her Best Moments I'm Copying RN
She's taking over my makeup and hair inspo boards.
-
 Darling, Delicate, and Expensive-Looking—These "Rich Grandma" Beauty Staples Double as Heirlooms
Elegant antique jewelry, but make them beauty items.


