We Asked an Expert How to Trim Your Own Fringe—You Can Thank Us Later

With all of us spending a lot more time at home, we wanted to find out what beauty content you actually wanted to read during this time. So, we asked and a lot of you reached out to us requesting at-home beauty routines and expert guides on how to get those salon-level treatments from the comfort of your own home. One particular request we've seen coming in increasingly as time goes by is for a step-by-step guide on how to trim your own fringe.
Now, if you've ever had a fringe cut in, you'll know how frequently you need to pop into your local salon for a trim. Whether you have a feathered look and it needs thinning out or you've gone for a blunt style and are now struggling to see through it, don't worry. We've got you covered. To start with, we were a little wary of writing this up ourselves given the high stakes. We can certainly write about hair products and hairstyles with expertise all day, but when it comes to picking the scissors up? We always think it's best to get the experts in. (Although, we have enlisted the help of one of Hollywood's top hairstylists to guide you through a full at-home trim.)

When I thought about who to go to for answers we could trust, there was only one person who came to mind. Phoebe Summers is East London's most in-demand bob chopper and blonde-hair colourist, from Hackney- and Brooklyn-based salon Kennaland. Being a fringe bearer herself, she certainly knows a thing or two about trimming those eye-skimming strays.

Keep scrolling, then, for Phoebe's step-by-step guide on how to trim your own fringe whilst a salon snip isn't an option. Be sure to follow along with her Instagram video guides as well if you need extra guidance.
Step-by-Step Guide
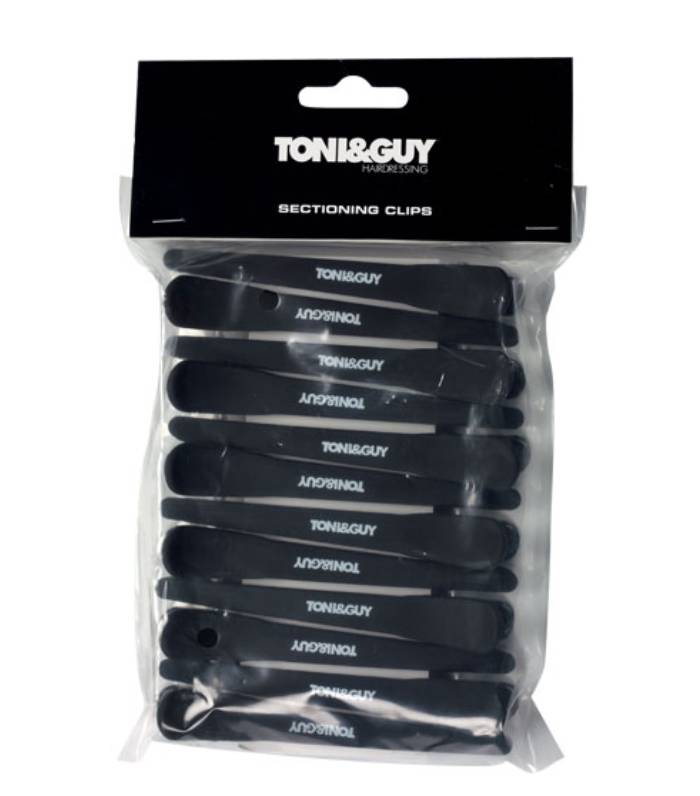
Step 1: Make sure your hair is freshly washed, and blow-dry your fringe how you usually like it to sit. Then comb the fringe forward and separate from the sides of the hair by either clipping them out of the way or tucking them behind your ears.
Step 2: Split your fringe into three sections: one directly in the middle in line with your nose and one on either side.
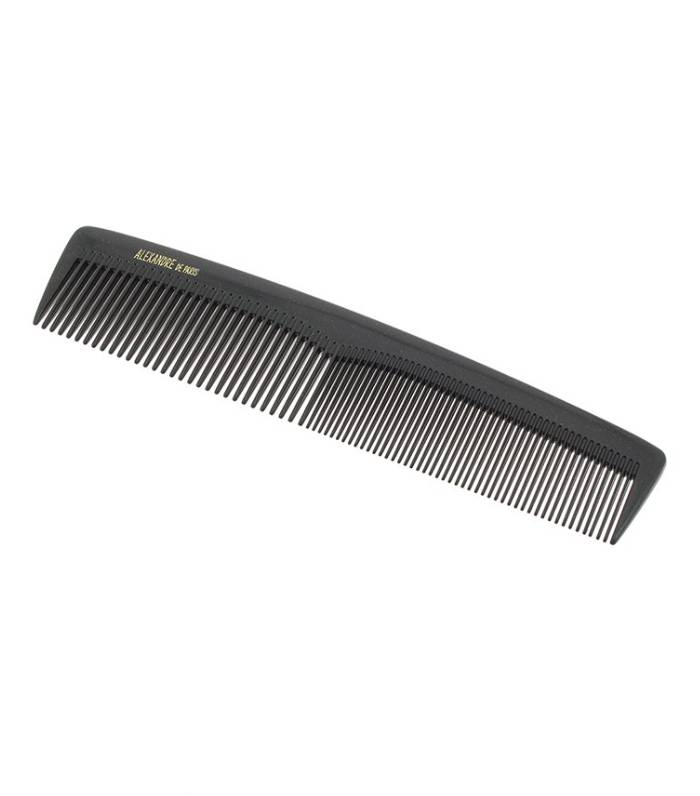
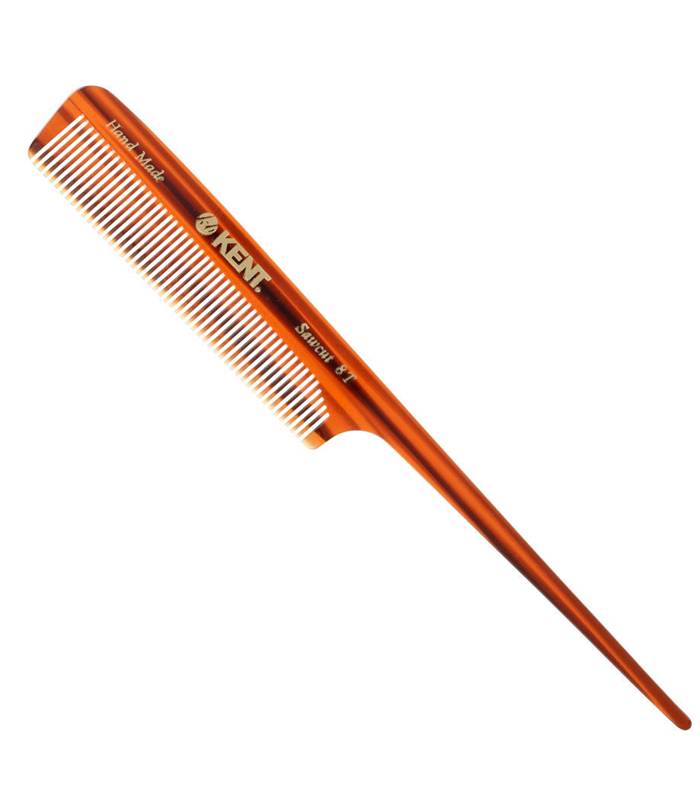
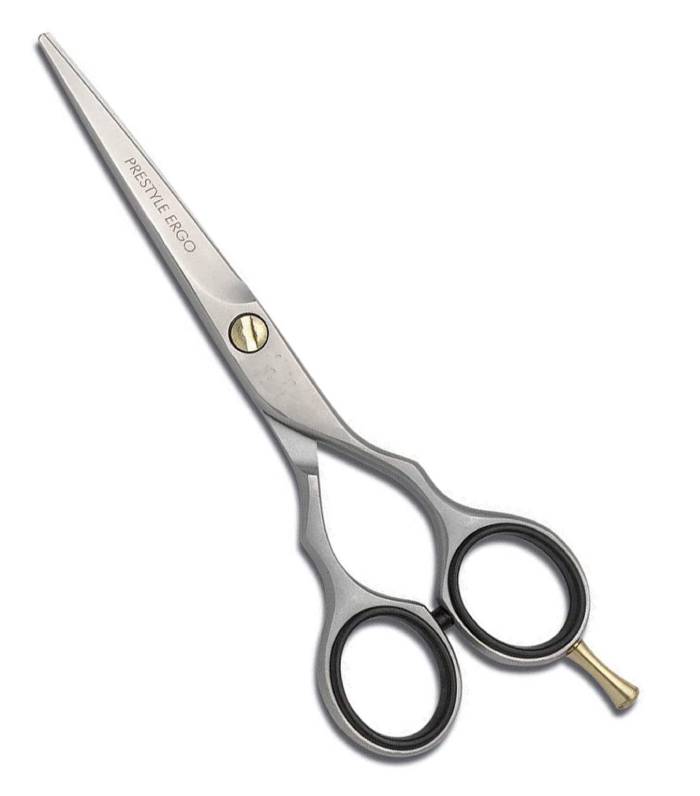
Step 3: Start with the centre section. Use the comb to lay all the hairs flat, and use fingers to set yourself a guide of what length you’d like the fringe to sit at. Once the length is established, use your scissors and use upward motions to snip into the hair below your fingers. Keep doing this until the hair has become very fine.
Step 4: Once the centre has been snipped and the hair is fairly see-through at the ends, use the scissors in the upwards motion again but slightly tilt and snip diagonally. This will start to take off the hair to the length you want it. It’s essential to thin the hair first so you can cut through the hair with ease.
Step 5: Assess the situation! Let the centre section fall, and check that the length looks good. If so, proceed to the right section. Comb the right side into the centre so the middle piece you have already cut joins the side, and clamp fingers in line with the middle section. Using the same upward cutting motion, start to snip the long hair from the right side to join in with the middle.
Step 6: Drop the right side and middle sections and assess. Make sure the middle and the side look connected. This is a good time to clean up any loose hair that may have been left. Once this looks good, repeat Step 5 on the remaining uncut hair on the left-hand side.
Step 7: You should, by now, have trimmed the fringe into shape! Once this is complete, you have the option of taking some weight out, but if you like your fringe very full, then stop here.
To remove any heaviness or to soften your fringe, divide the fringe into three sections—the same way as Step 2—then elevate each section upward and gently snip into ends. Some hair may fall down, but leave that there. It doesn’t all need to be cut into. Repeat until fringe is soft and weightless.
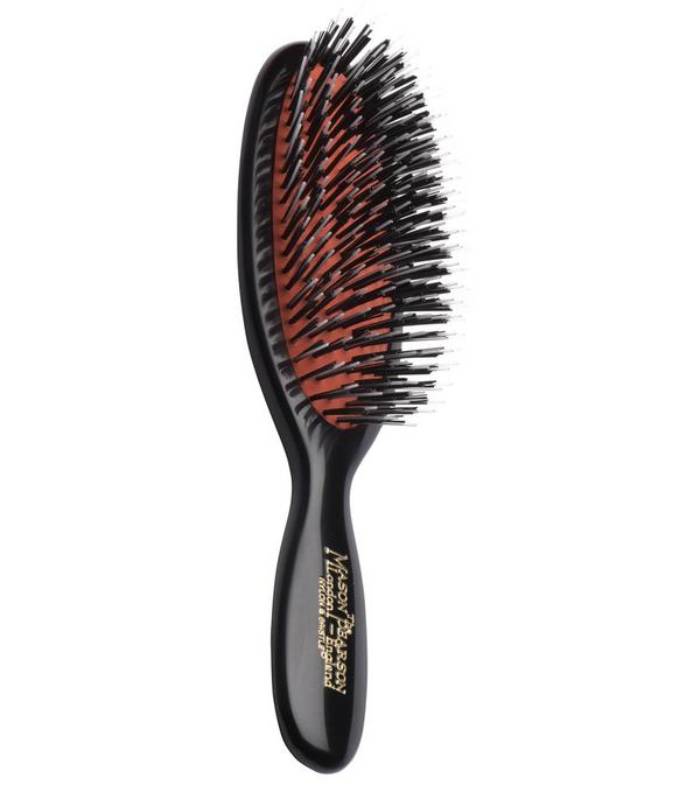
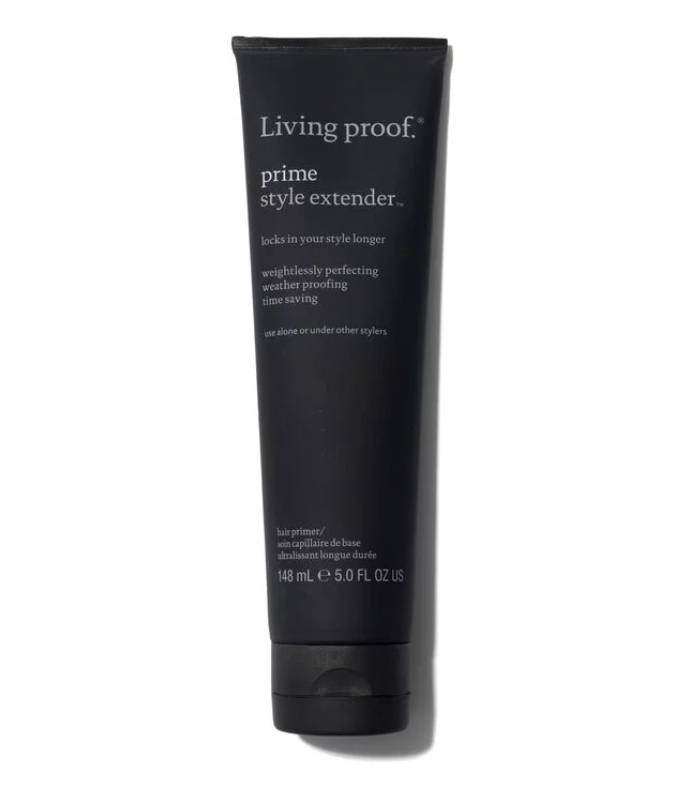
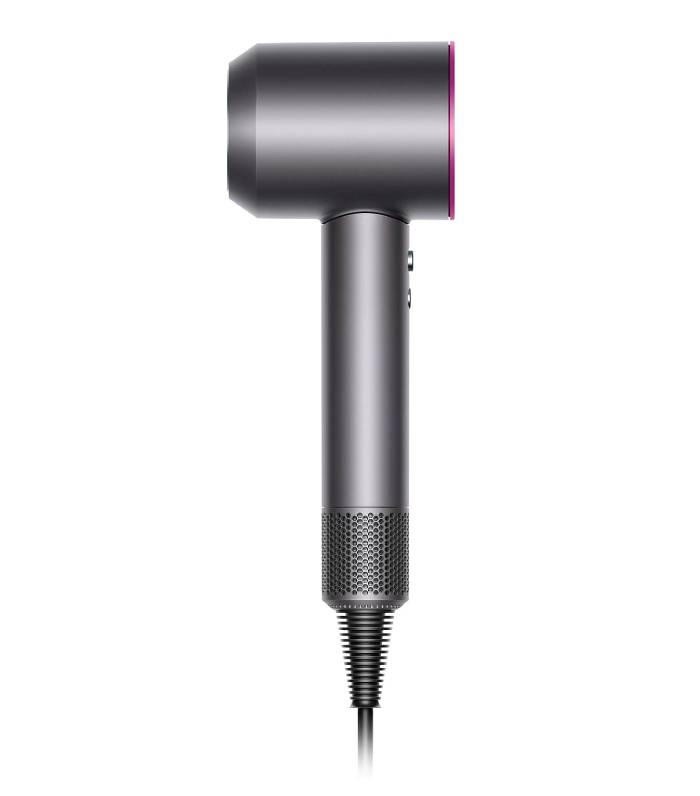
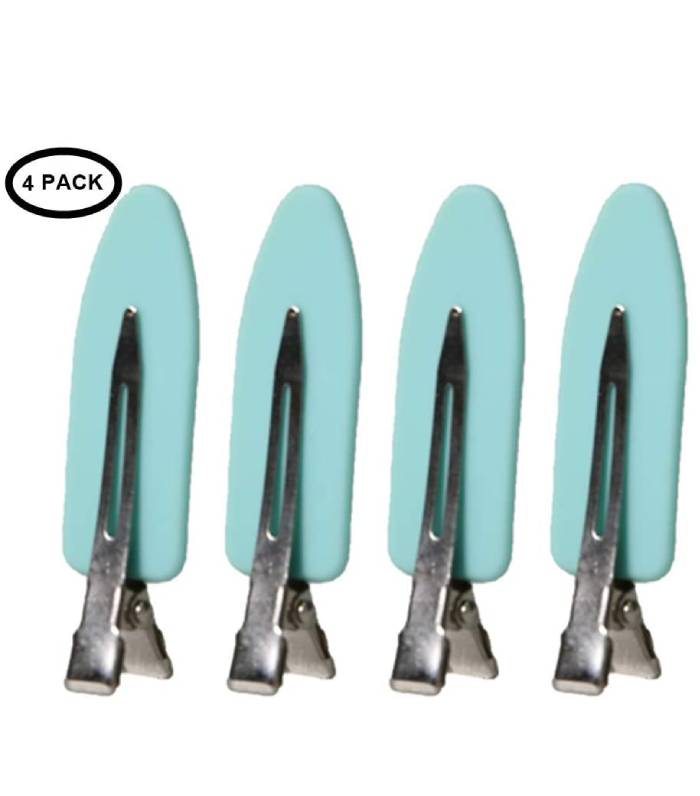
Shop Fringe-Taming Products
Up next, this is how to cut your own hair if it's curly.

Emily Dawes is an editor, stylist and writer with over 12 years in the industry. Known for impeccable taste, our readers trust her advice, especially in her column, expensive-looking high street buys. Working for Who What Wear UK since 2020, Emily has been a contributing editor, branded content editor and affiliate editor. Now, as senior shopping editor, she leads the e-commerce content strategy. After obtaining a BA in English and American Studies from Nottingham University, Emily landed at The Mail on Sunday’s YOU. As the magazine’s fashion editor, she travelled the globe to style and direct fashion editorials and celebrity cover shoots. As a freelancer, she has styled Grazia cover shoots, developed brand marketing and content plans and worked with VIP clients including Elizabeth Day.

