How to Cut Your Own Hair at Home, According to a Hollywood Hairstylist

Before we get into this, we want to make one thing very clear: If you can avoid cutting your hair during this time, please do. It really doesn’t matter how many times you have seen your hairdresser do it, in normal circumstances, giving yourself an at-home haircut is never a good idea. However, the times we find ourselves in are far from normal circumstances, and while we by no means advocate at-home chops, we also understand that sometimes the split ends need to go.
So, in order to make sure the damage inflicted to your precious strands through at-home cuts is kept to an absolute minimum, we have enlisted the help of one of the world’s top hairstylists to show how it’s done. Known for cutting the likes of Hailey Bieber, Bella Hadid, Kendall Jenner and basically the entirety of the Kardashian clan’s lengths as well as founding cult haircare brand Ouai, it’s safe to say Jen Atkin knows a thing or two about hair. So when we found out that she had recently talked Bella Hadid through an at-home fringe cut over video chat and subsequently shared her at-home chop tutorial on her Instagram, we knew she was the girl for the job.

To help compile the ultimate at-home haircut guide, we reached out to Atkin for all of her top tips. "There are a number of different risks with cutting your own hair like uneven ends, cutting too short or some kind of other nightmare. This is why people go to stylists,” she says. "But trimming a little bit yourself at home with proper guidelines from a stylist will help us through until things get back to normal.” Keep scrolling for everything you need to know before you pick up the scissors (and for a thorough step-by-step, too).
Wet It

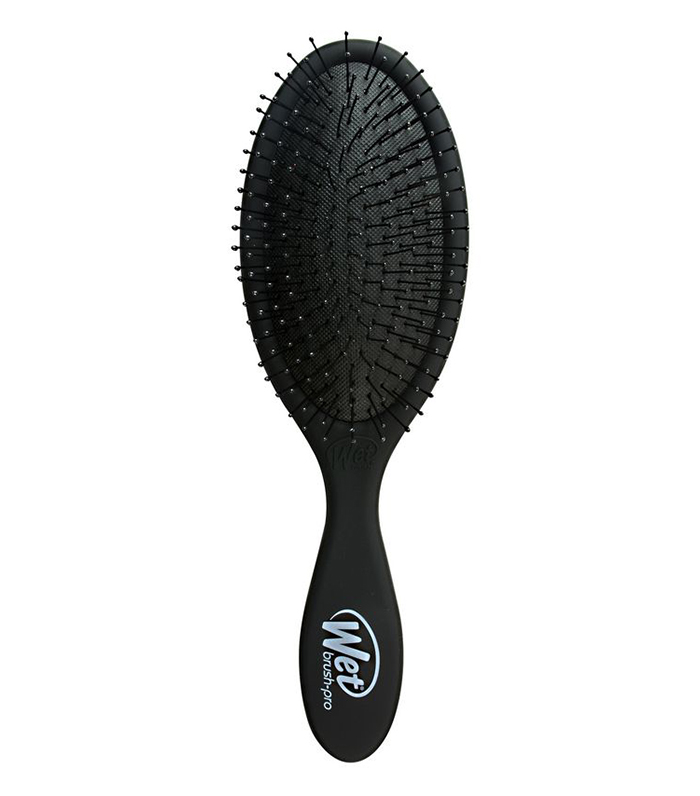
First things first, Atkin recommends cutting your hair while it’s wet (if your hair is curly though, there are different rules). "Not wetting hair beforehand makes it difficult to get straight lines. Make sure your hair is wet before trimming. You can use a spritzing bottle or, of course, the shower if you don’t have one available,” she advises. So, before you start, make sure you have given your hair a thorough wash and brushed/combed it to get rid of any knots.
Keep Things Minimal
Going into this with the mind set that you’re going to come out looking like a whole new you is the wrong way to go about it. Atkin advises that if you are going to do an at-home haircut, it should only be a trim. "A big and common mistake people make is misjudging angles and cutting off too much too soon. Trim a little and see how it looks instead of cutting off two inches and having no other solution but to let it grow out,” she says. Remind yourself this is just a trim to keep hair looking and feeling healthier.
Tension Is Key

If you want your haircut to look semi-decent, this is a trick you need to know. Ensuring that hair is pulled tight allows for scissors to glide through hair easily and makes for a much cleaner finish. "Before trimming ends, pull tightly so that there’s good tension and use a comb to pull hair into a straight line. It’s easier to see differing lengths when you’re holding with tension,” says Atkin.
Refine Your Kit
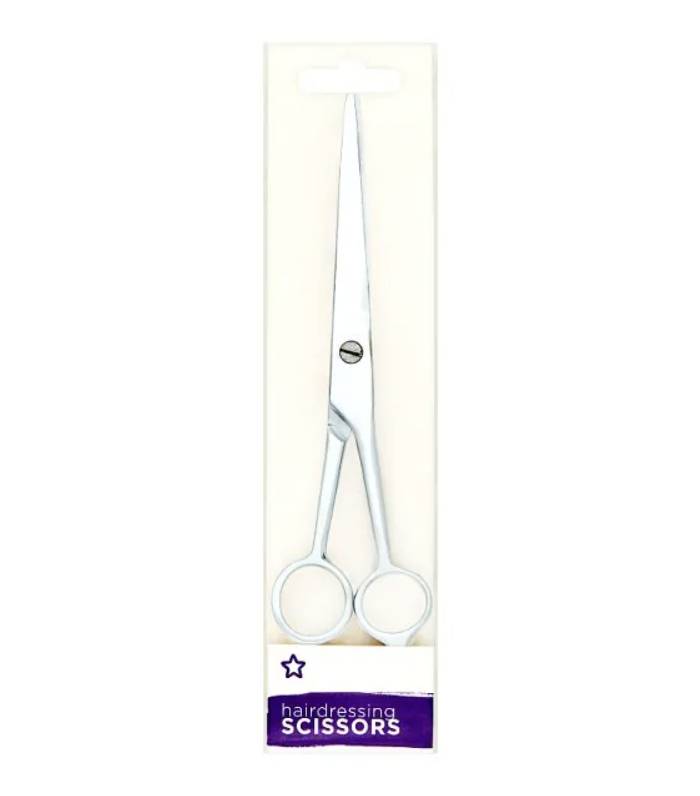
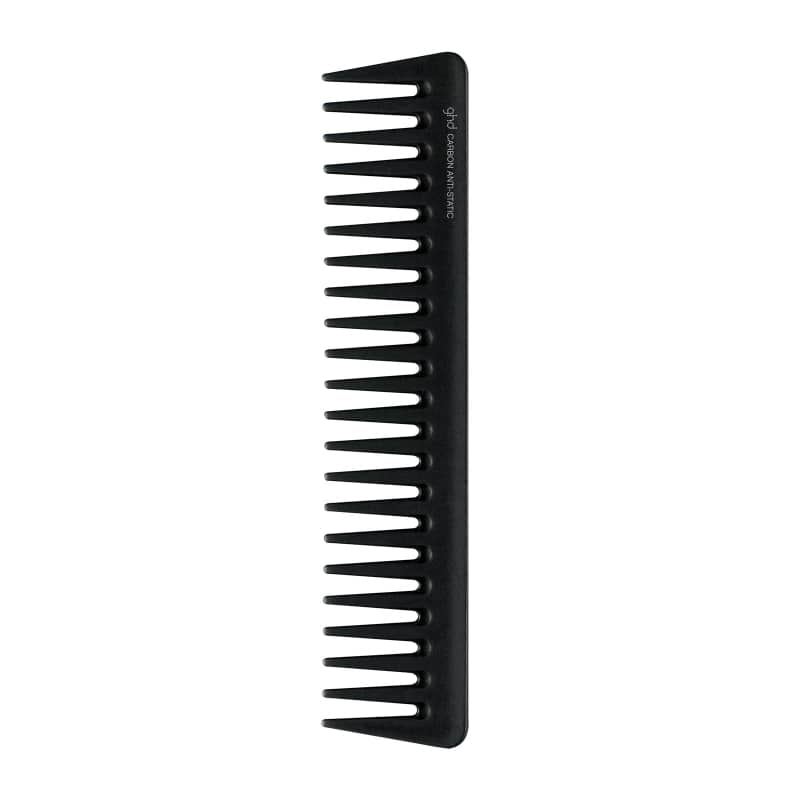
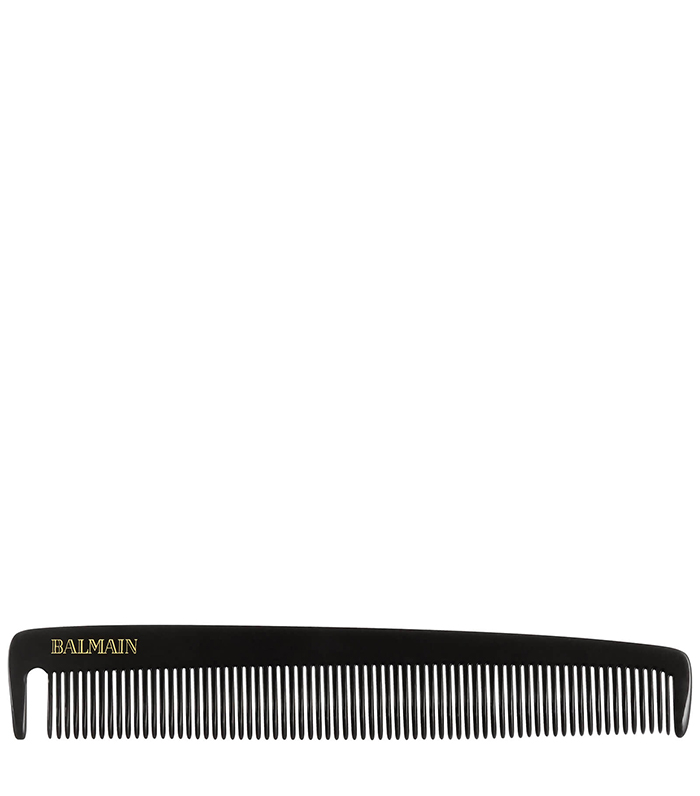
While you by no means need a full stylist kit, it is advisable that you invest in some hairdressing shears and a comb at the least. "You definitely need a comb. A fine-tooth comb is best for sectioning but any size will do,” Atkin recommends.
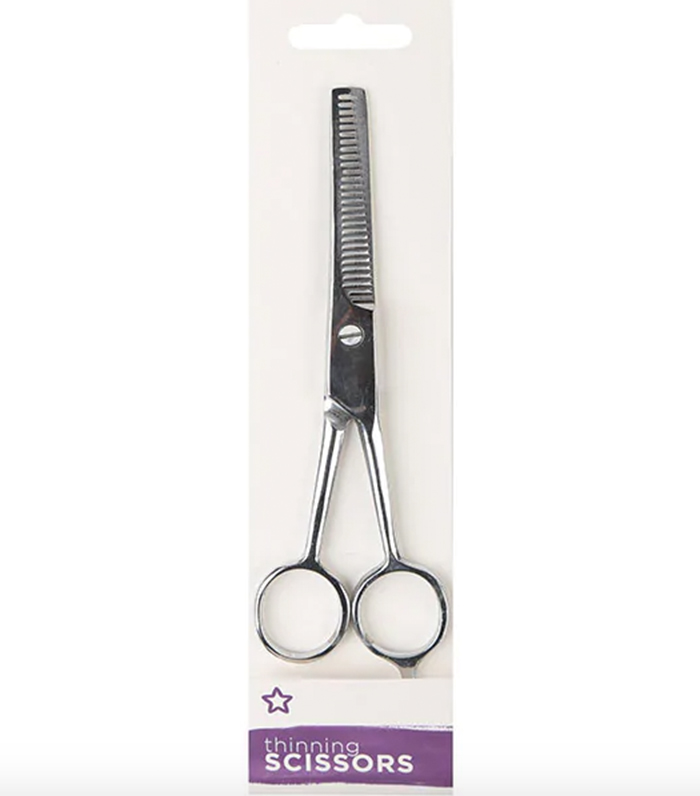
When it comes to scissors, we advise against opening up the kitchen drawer and pulling out the first pair that you see. Ideally, you should purchase a pair of shears before you begin. "I use Mizutani shears on clients but you could order a decent pair to get you by on Amazon,” she says. "If you really need to take weight out of the bulk of your hair, then investing in a pair of thinning shears is probably best.”
Get Snipping
Atkin recommends dividing your cut into two sections: your bangs and the rest. I will warn you that if you’re keen to cut the back, this tutorial can’t help you. Overall, it’s advisable to leave the back section of your hair to someone else, ideally someone with experience.
Bangs
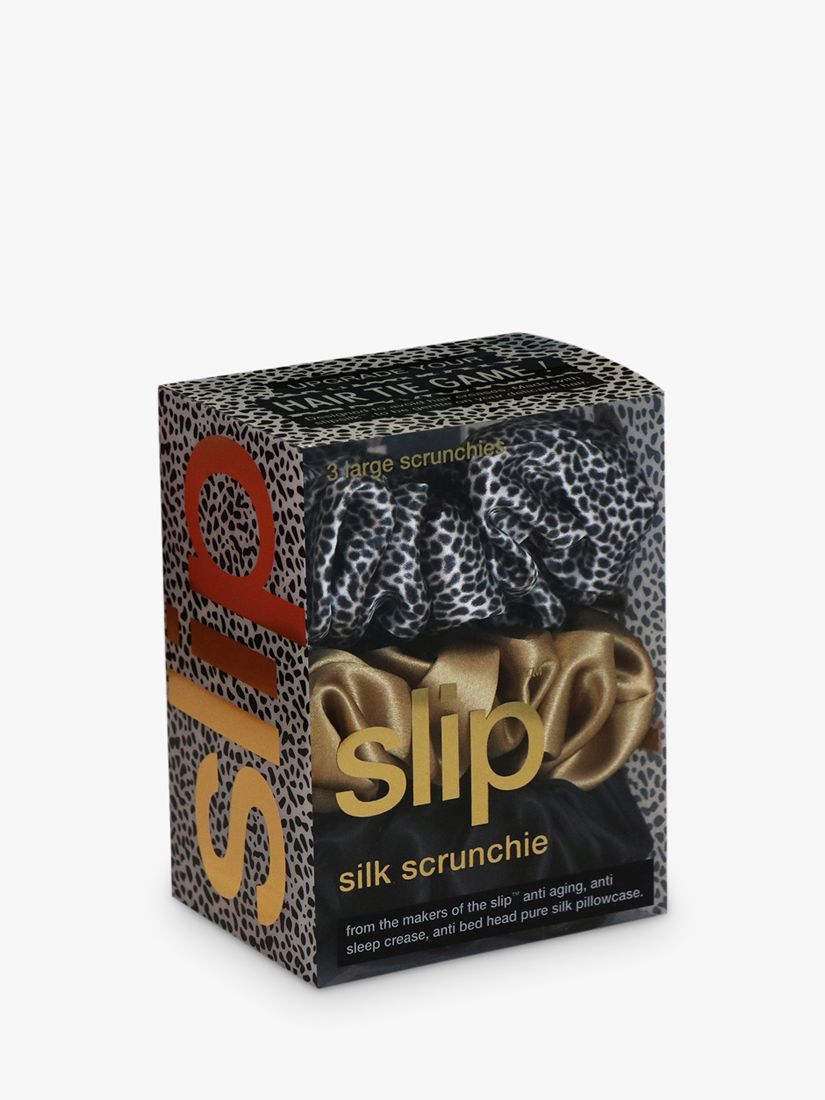
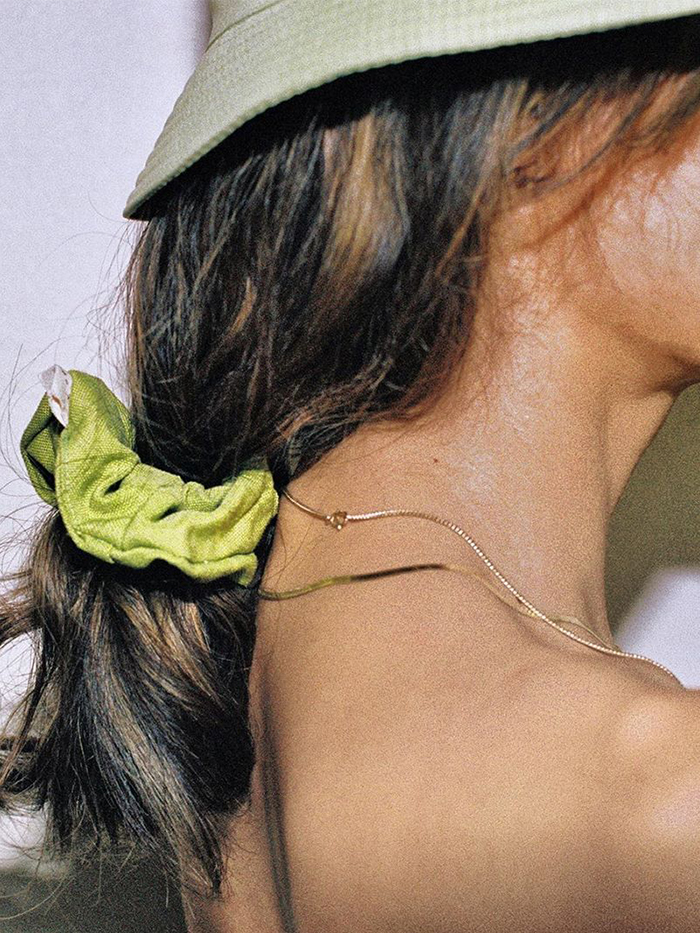
Step 1: With your hair in a centre parting, section out a small triangle (use the highest point of your eyebrow as a guide) at the front of the head and tie the rest back with a scrunchie.
Step 2: Comb the hair in the triangle section forward. Taking just the centre section of the triangle, comb it forward, being sure to keep tension, cut from the centre working down to the outer strands. This will act as your guide.
Step 3: Bring the hair in the triangle section all back together and part in the centre again. Comb one side out and cut short to long, connecting the hair you just cut with longer, untouched hair. Repeat on both sides.
Step 4: Comb the sections forward in front of your face to check they are even on both sides.
Step 5: Take out the scrunchie and comb your hair out. This time, section off a bigger triangle section. This time, use the outer point of your eyebrow as a guide. Tie the rest of the hair back into a scrunchie.
Step 6: Comb one side out, and keeping tension and angling the ends up and out with your fingers, use your scissors to cut at a short-to-long angle, still connecting the short section to the old. Repeat on both sides. You can also use a razor instead of scissors to slither down if you’d prefer.
Step 7: Comb both sections forward in front of your face to check they are even on both sides. Take out any uneven longer sections by cutting up, not across.
Step 8: If you have medium to thick texture hair, now is the time to ‘nibble’ at the ends of each section with thinning shears to take some weight out.
The Rest
Step 1: With a centre parting, section your hair in a straight line from the crown of the head to the ears. Pull forward the hair in front of the ears and tie up the rest with a scrunchie to keep it out of the way.
Step 2: On each side, comb out the back inch and tuck it behind the ear for now.
Step 3: Combing forward that front section, pull your comb down at a 45 degree angle towards the ends and, keeping tension, and connect the short piece at the front to the long, untouched piece. You can do this either by slithering the scissors down (this requires very sharp scissors) or snipping and etching up to get rid of the unwanted ends.
Step 4: If you have thinning shears, again nibble at the ends of each section to remove weight.
Step 5: Now, bring in the remaining one-inch section of hair from behind the ears and again connect the hair by either slithering the scissors or etching up.
Step 6 (for if you part your hair on the side): Part your hair now where you usually would and if you’re not happy with how it is looking. Section the front of your hair from the end of your eyebrow again and, angling away from the face, use the scissors to slither down the ends to get rid of any long pieces.
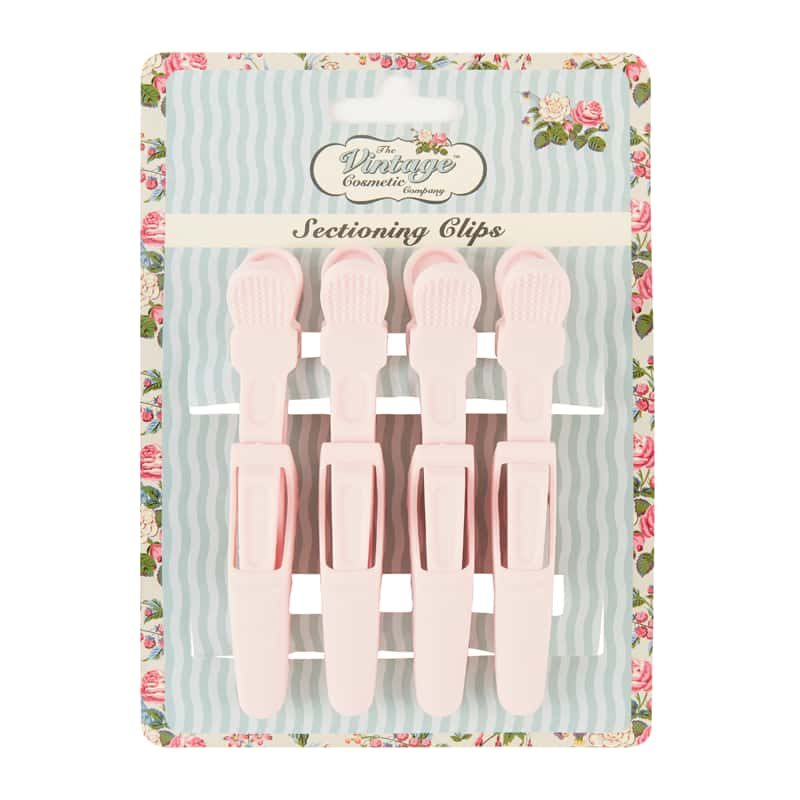
Step 7 (for intermediate levels): Section a triangle at the top, centre-back or either side of the head. Clip them and tie the rest of the hair back. On each side, follow the same angle as before with the comb and slither away at some of the length. Using thinning shears, take some weight out of the ends.
Step 8 (for intermediate levels): Section two fingers of hair on either side of the parting at the crown (a very small section), and snip up into the ends (or use thinning shears) to take out weight and add some texture.
Next up, how to do a blow-dry at home in five easy steps.

Shannon Lawlor is the beauty director at Who What Wear UK. With over a decade of experience working for some of the beauty industry’s most esteemed titles, including Marie Claire, Glamour UK, Stylist and Refinery29, Shannon’s aim is to make the conversation around beauty as open, relatable and honest as possible. As a self-confessed lazy girl, Shannon has an affinity for hard-working perfumes, fool-proof makeup products and does-it-all skincare.
