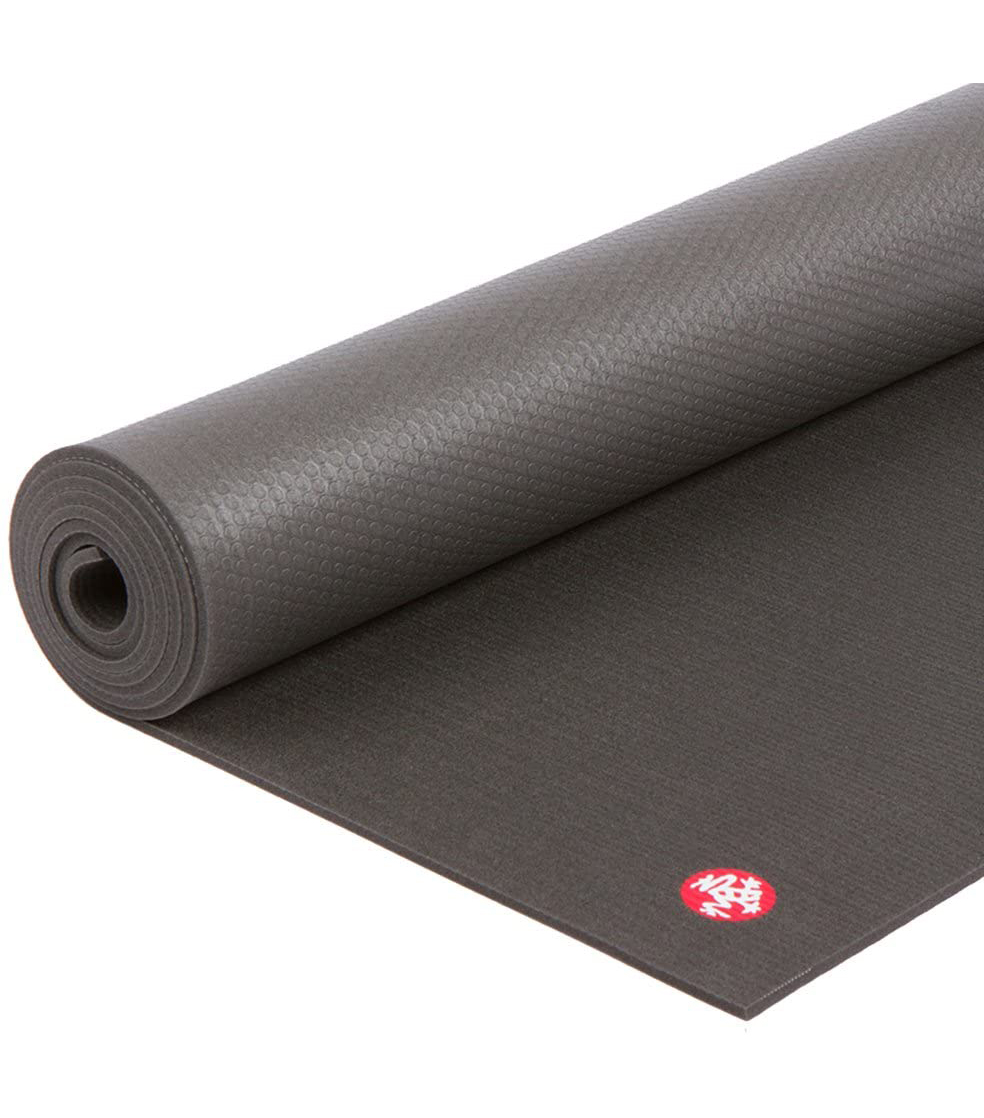
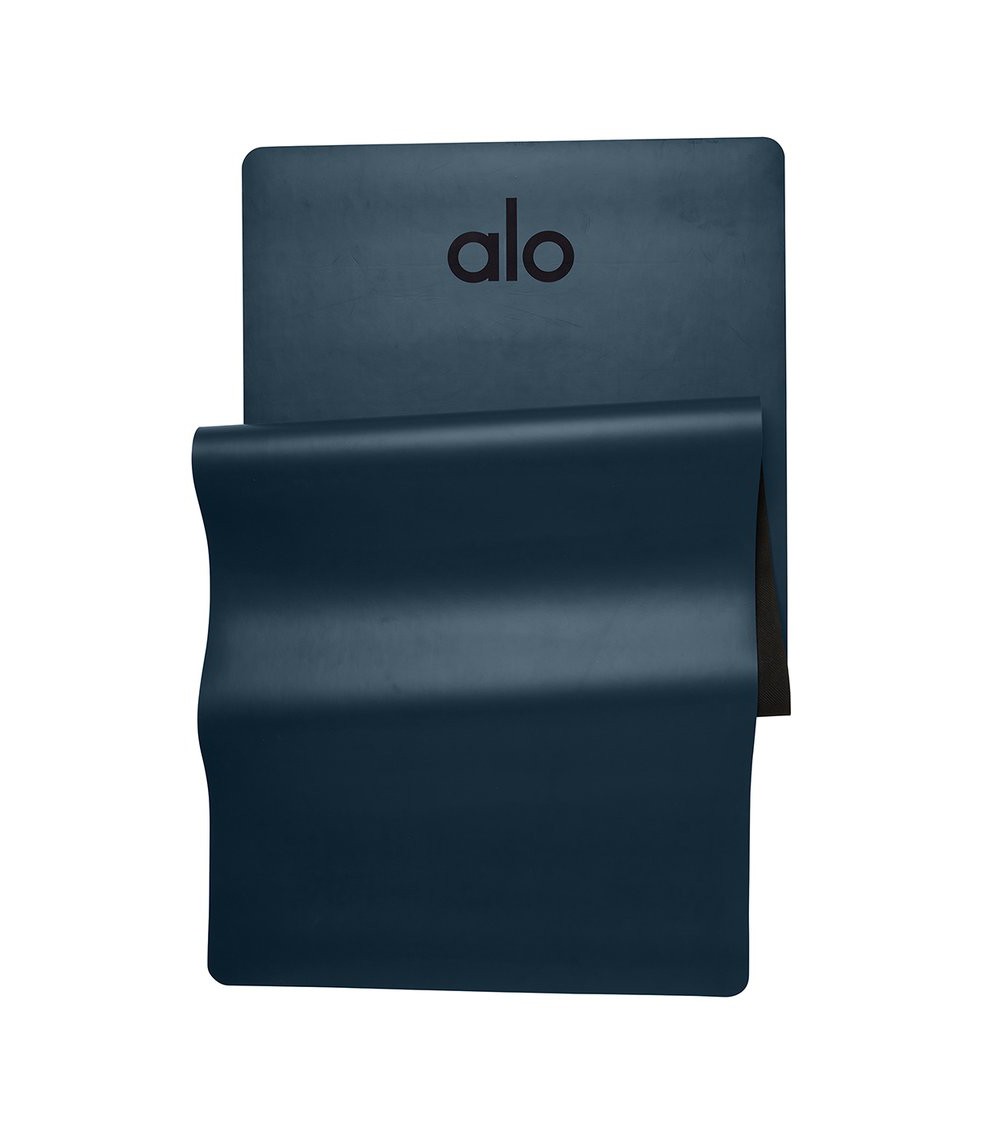
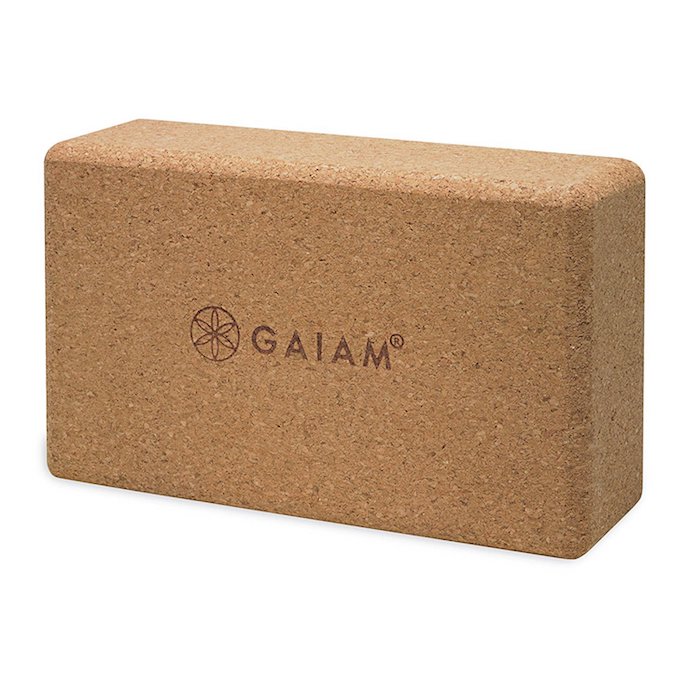
This At-Home Vinyasa Yoga Flow Boosts Strength, Flexibility, and Mindfulness

If you're like us, you hear the term "vinyasa yoga," and you immediately picture a long and lean yogi (possibly someone with an intimidating vibe about her) stretching and flowing with undulating movements that glide one into the next. It is, after all, the form of yoga made famous by quick-paced, heart-pumping, and body-lengthening movements. What most people don't know, however, is that it's deeply rooted in mindfulness and meditation, just like any other form of yoga. Take it from Jasmine Rausch, certified yoga therapist, corporate wellness expert, and founder of Root Yoga Therapy. "When we think vinyasa, we instantly think 'flow.' However, vinyasa translates to 'place in a special way,' and master teacher Sri Krishnamacharya intended for it to be used in all forms of yoga and in everyday life," she says. "For that reason, vinyasa is more than a style. Vinyasa is a tool that allows us to apply the art of yoga to our work, relationships, and personal growth to keep us balanced with the rhythm of life."
So there's much more to a vinyasa yoga practice than simply breaking a sweat or building up your flexibility, although it's great for that, too. "The techniques used in vinyasa (breath, movement, mantra, etc.) are all ways to support the development of awareness and connection," Rausch explains. "And for that reason, all yoga carries the quality of vinyasa because all forms encourage presence, mindfulness, and intention." In other words, it's about linking your mind to your movement, both on your yoga mat and beyond. It might sound easy, but anyone who has tried it knows it's the contrary. That's why we asked Rausch for some foundational advice on the best vinyasa yoga poses to hold.
First things first: Just like all other forms of yoga, vinyasa requires you to focus on your breath. "As a yoga therapist, vinyasa is one of the most powerful tools I teach my clients to notice and tap into their breath," Rausch says. "I can't tell you how many times clients have described their breath as a 'new phenomenon' after experiencing vinyasa. Vinyasa transforms the breath—something we are born to do but hardly think about—into something we now experience with curiosity, possibility, and, most of all, purpose." Try to link your movements with your breath in a one-to-one ratio (one breath per one movement). "This becomes a 'moving meditation' to release stuck energy and stress by using breath to open the natural flow of prana or 'life force,'" Rausch says. This type of meditation can be helpful to those of us who dislike the traditional practice, which usually involves sitting still and cross-legged (it just doesn't work for some of us, and that's okay).
Step 1: The Check-In
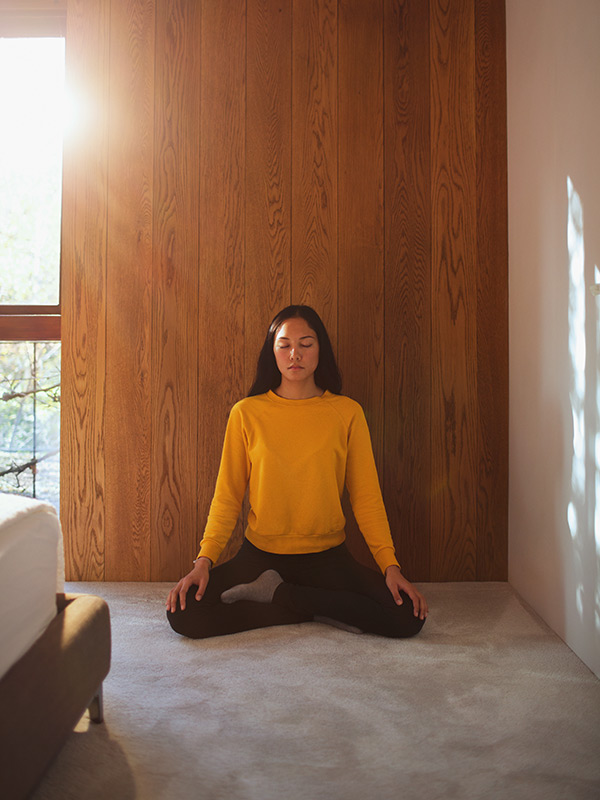
A successful vinyasa flow starts with a check-in, or two to three minutes of calm. All you have to do is find a comfortable way of resting your back on your mat. After that, "begin observing your natural breathing pattern and take a mental inventory of what you are experiencing in your mind, body, and emotions," Rausch says. "Ask yourself, 'Where is my energy level? Is there ease in my body? If so, where? Is there dis-ease in my body? If so, where?'" This, she explains, helps you become present and focused. Then, set an intention and "shift into a more conscious and controlled breath pattern." Next, comes the movement.
Step 2: Cat/Cow
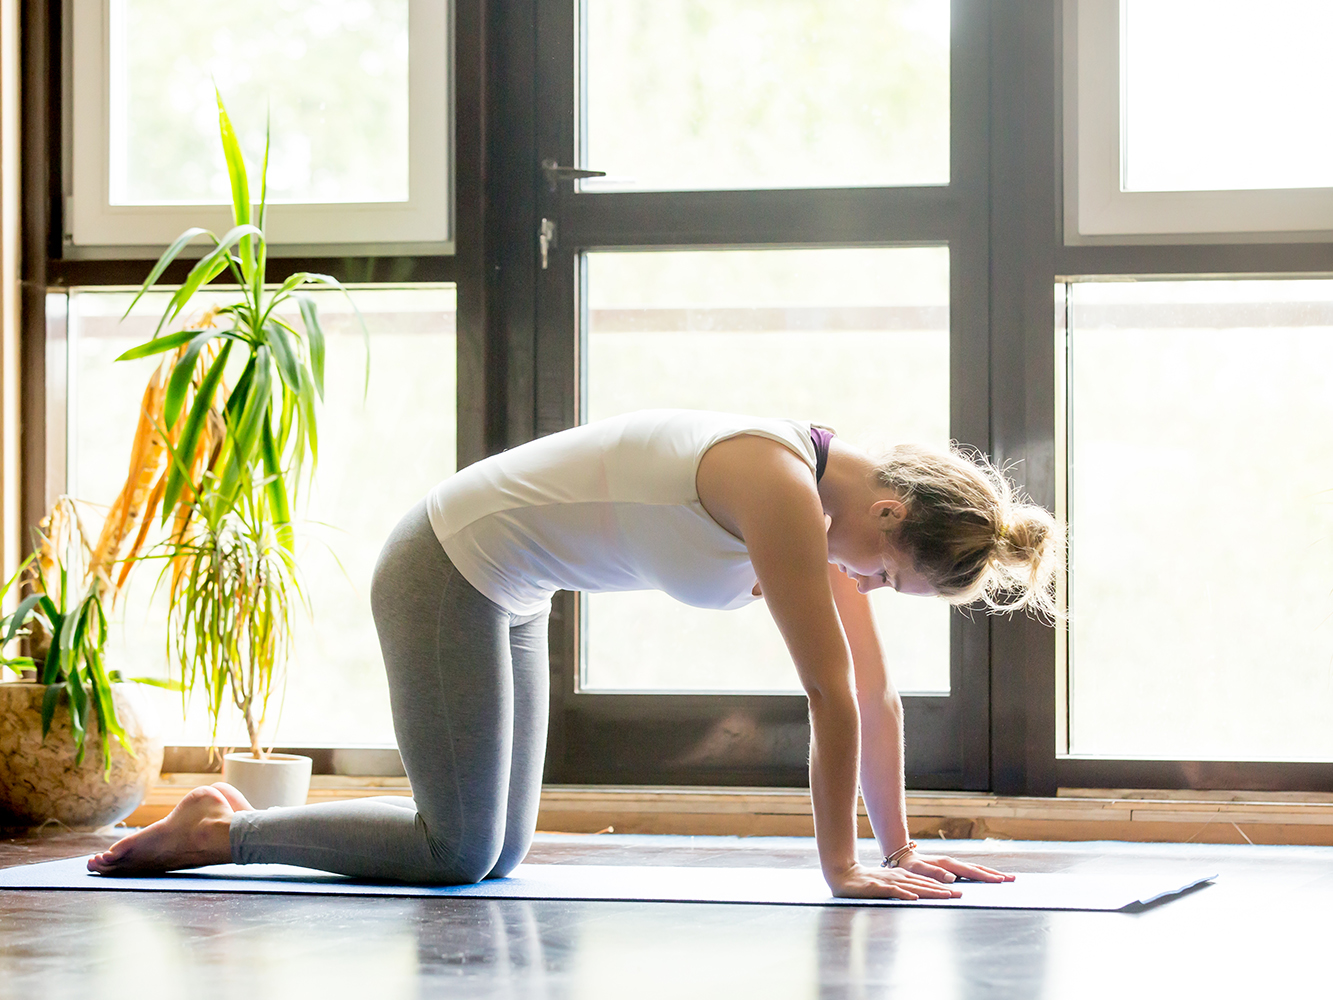
This stretch targets the abdomen and chest while boosting mobility in the spine and shoulders. All you have to do is start off in "tabletop position," aka by situating yourself onto your hands and knees. Then, "arch your back by dropping your belly and pulling your chest forward in between your arms," on an inhale. On the following exhale, "press down through your hands and draw your navel in as you round your spine." Rausch recommends doing this eight to 10 times. "If you feel comfortable, allow the eyes to close and visualize your body moving in this way, like a wave, and the space you are creating in your body."
Step 3: Downward Dog
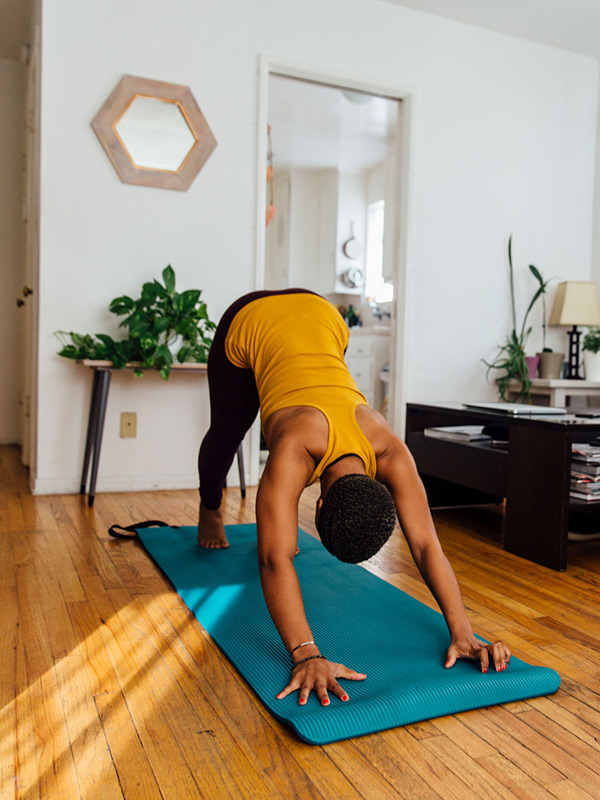
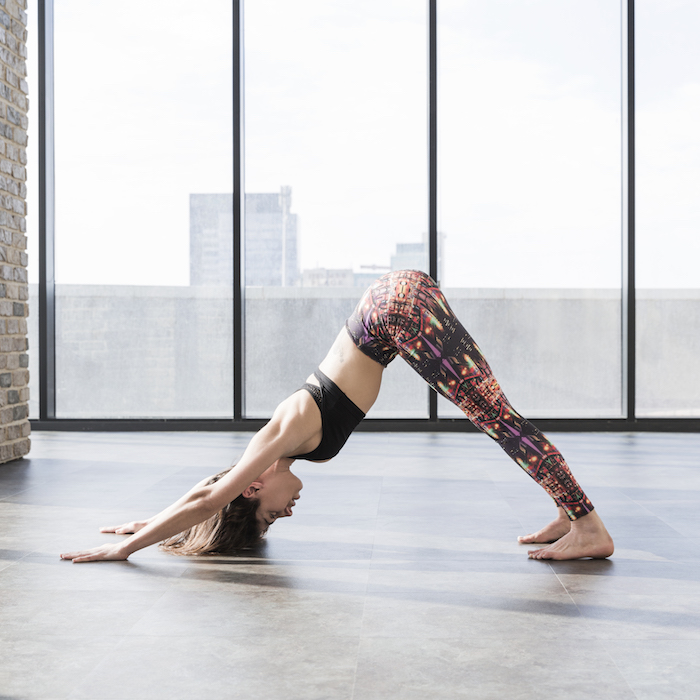
Downward Dog works your arms and legs while stretching the spine, shoulders, hamstrings, and calves. It should be used an opportunity for re-centering your breath and calming the mind. On an exhale, "tuck your toes and shift your hips up and back to where the ceiling and the wall meet behind you. Shoulder blades will move down your back to keep the area around the neck free. Find the length in your spine while keeping a micro-bend in your knees. Once you have the length, allow your heels to become heavy as you reach them toward the floor (perhaps gaining a stretch through the back of your calves)." Rausch's final piece of advice for this pose? "Breathe—enjoy this."
Step 4: Plank Pose
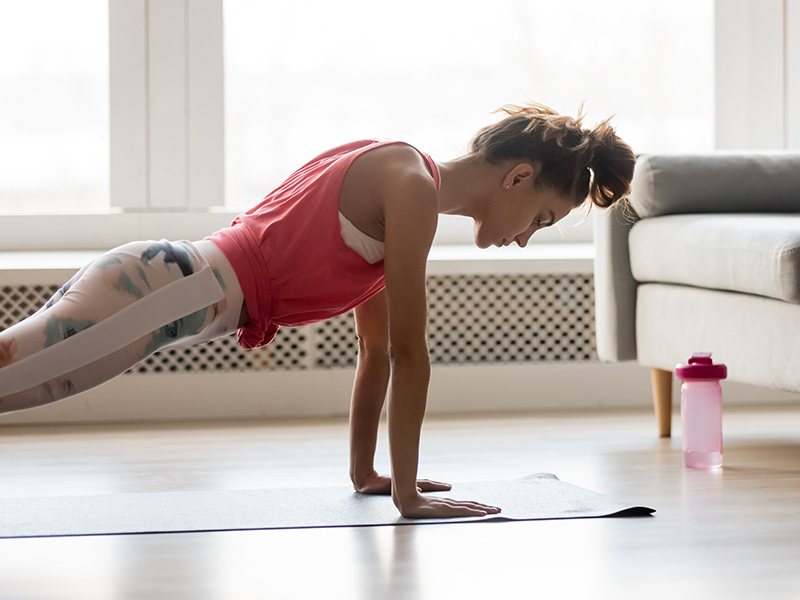
Planking strengthens the abs, back, core, and legs while building the internal heat associated with a good vinyasa flow. Simply glide from Downward Dog forward into a plank. "Hands are placed under the shoulders. Shoulders are over your wrists. Create a strong position with your body—drawing your navel inward toward your spine to engage your core and support your back." Rausch recommends modifying the pose, if need be, by placing your knees on the mat. Do this for three to five breaths before releasing.
Step 5: Low Plank
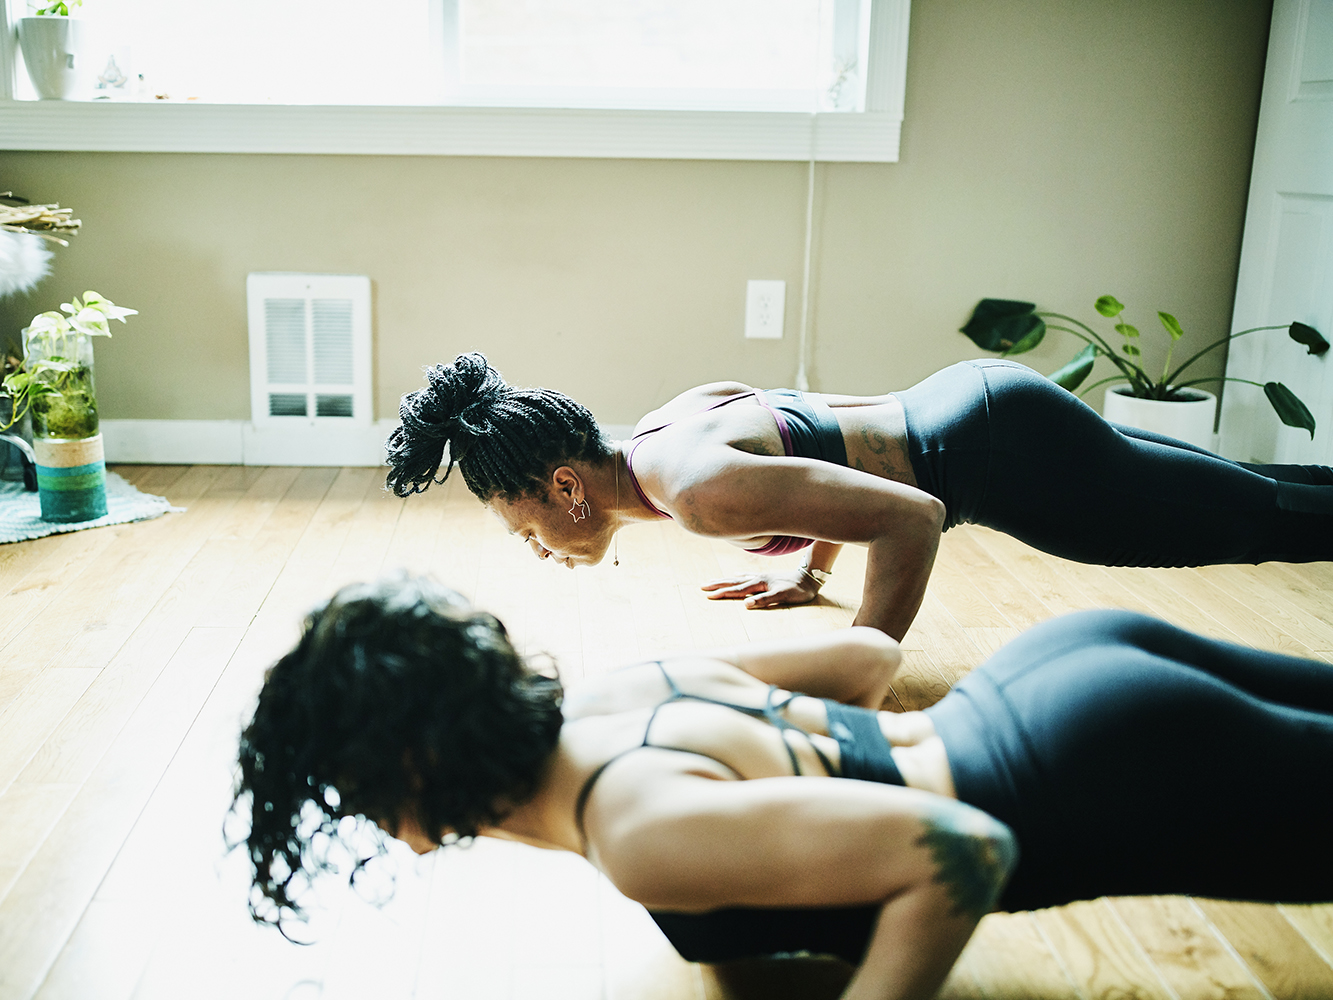
This pose is also referred to as Chaturanga. It tones the body while preparing you for balance and inversion poses. "On the exhale, bend your elbows to no more than 90 degrees and carefully lower your body down toward the ground. Keep the elbows hugging in tightly towards the body. Pause halfway and hold the pose for a beat," Rausch says. Just like with a traditional plank, you can modify by placing the knees down.
Step 6: Cobra
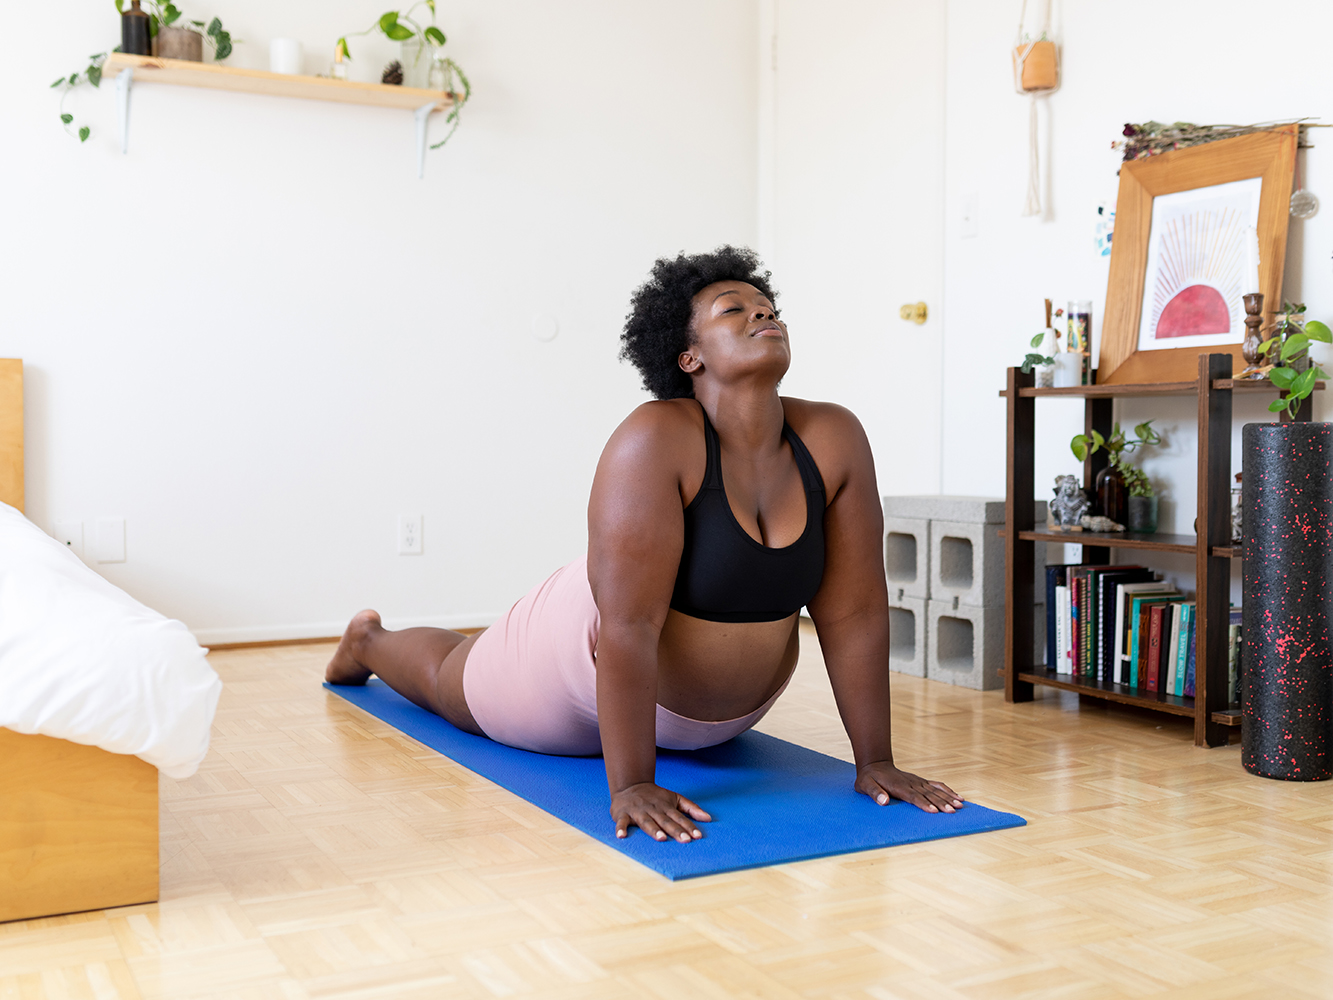
This pose stretches shoulders, abs, and chest while releasing stiffness and strengthening the body. Rausch says it can even stimulate energy and improve mood. "Slide your hands down toward your low ribs (a good marker is having the fingertips directly below the armpits). Untuck your toes and press down through the top of your feet. Feel your kneecaps lift away from the floor as your legs engage. On the inhale, gently lift your chest away from the floor, creating a gentle backbend. On the exhale, lower the chest back down to the floor." After that, revert back to Downward-Facing Dog, and "repeat the sequence (Down Dog, plank, low plank, Cobra, Down Dog) two to three more times" before returning to your hands and knees.
Step 7: Low Lunge
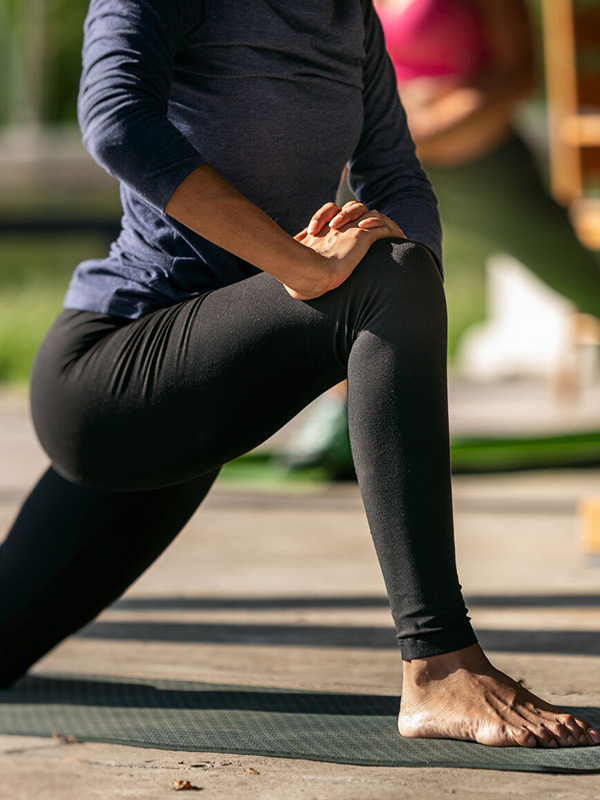
From tabletop position, move to a low lunge, otherwise known as a Runner's Lunge, which will stretch hamstrings, quads, and groin. It also releases stiffness in hip flexors and psoas muscles (which can help alleviate anxiety). Begin on all fours. Then, "as you inhale, extend your right leg straight back toward the wall behind you. As you exhale, pull your right knee in toward your chest and step your right foot forward in between your hands. Slide your left knee back a couple inches so it's angled and not directly underneath your hip. Place blocks underneath your hands on either side of your right foot (if needed). Sink forward into your hips. Breathe here for three to five breaths."
Step 8: Hamstring stretch
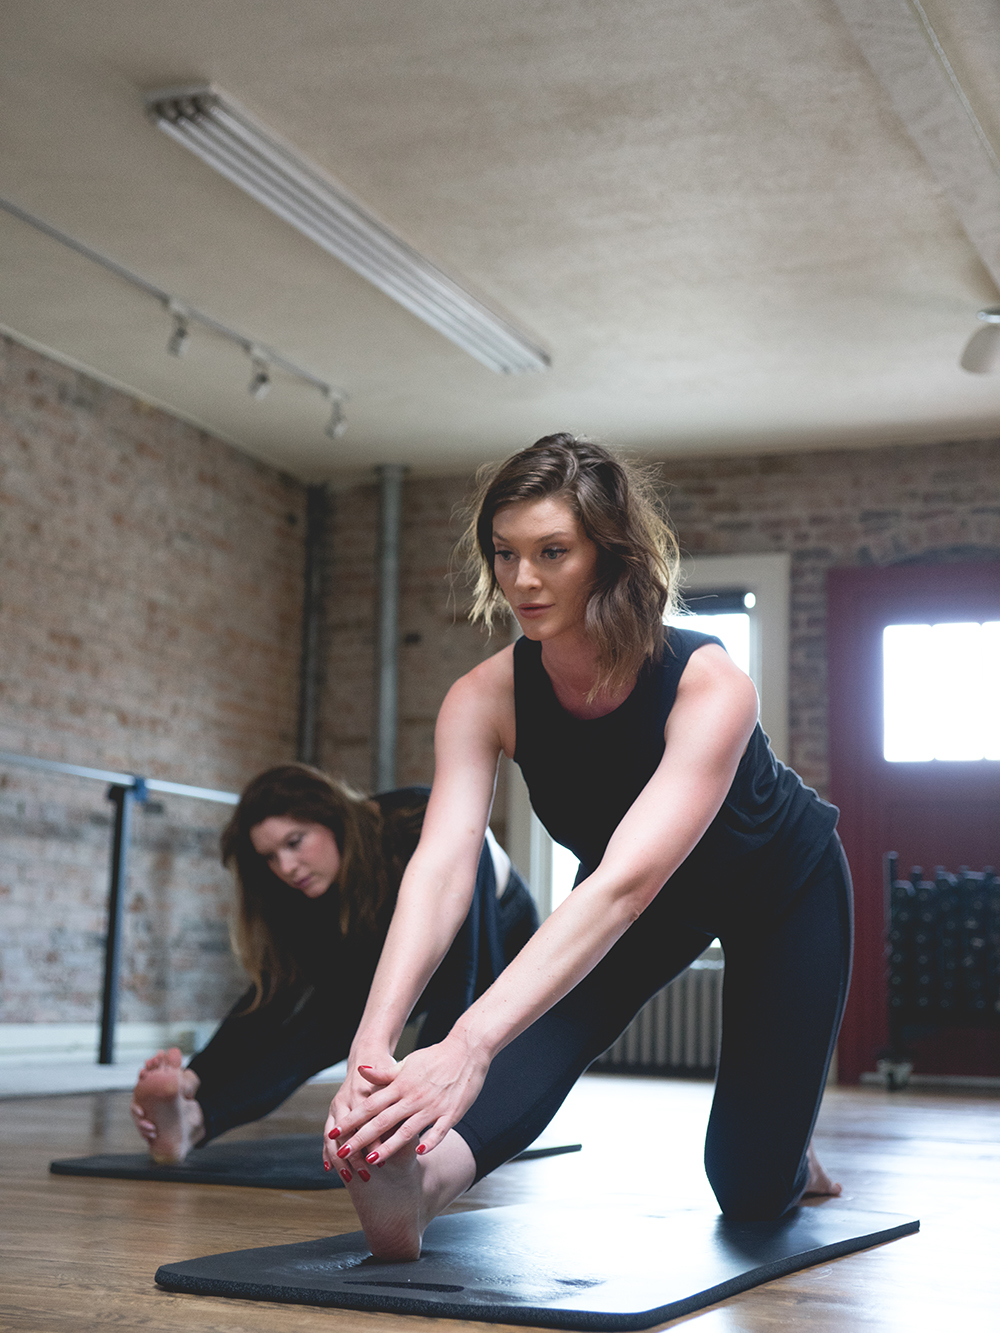
The hamstring stretch lengthens the spine and boosts hip flexion. "On the exhale, shift your hips back toward your left heel. Walk your blocks toward mid-shin. If needed, keep your hands on the blocks to help maintain the length of your spine. As you do this, work your right leg straight. Flex your right foot (toes point toward the face). This will enhance the stretch." Breathe into it, and as Rausch puts it, "go for stretch not strain." The front leg doesn't have to be straight. If it's not, you shouldn't force it to be. The key here, as with any yoga form, is to be gentle on your body. "Flow between the two poses on the breath (inhale in the hamstring stretch, and exhale as you move into the low lunge). Repeat three times, and then switch to opposite side. Once you have finished both sides, gently return to tabletop position and exhale as you move into Child's Pose."
Step 9: Child's Pose
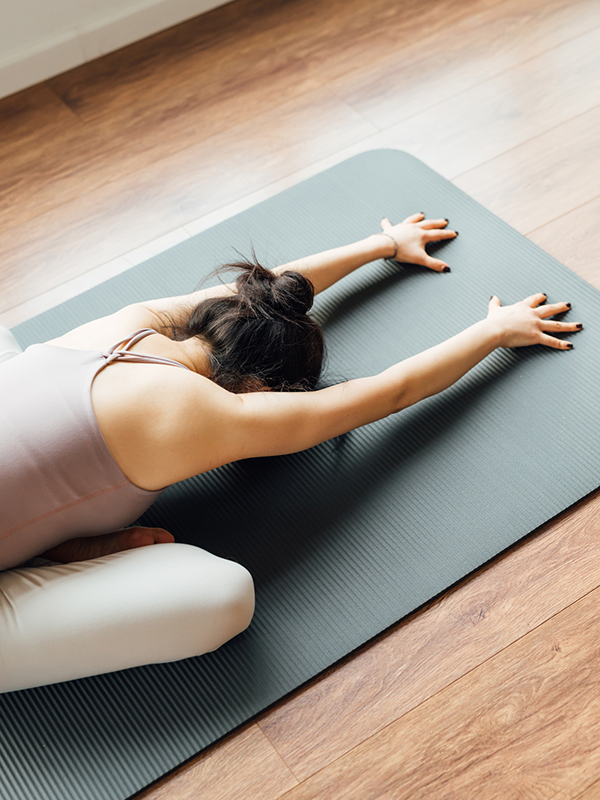
Any experienced yogis know that Child's Pose is a place of rest, re-centering, and calmness. To us, it's one of the most relaxing yoga poses of them all. Plus, it stretches the hips, thighs, ankles, and back. "Separate your knees as wide as your mat. Bring your big toes to touch, and move your hips toward your heels and drop your chest toward the floor," Raush says. "You can rest the arms down by your side or stretch them forward in a wide V shape. The wide arm placement will be more comfortable for your shoulders. Here is where you should make it a point to check in with yourself and repeat your intention."
Step 10: Bridge Pose
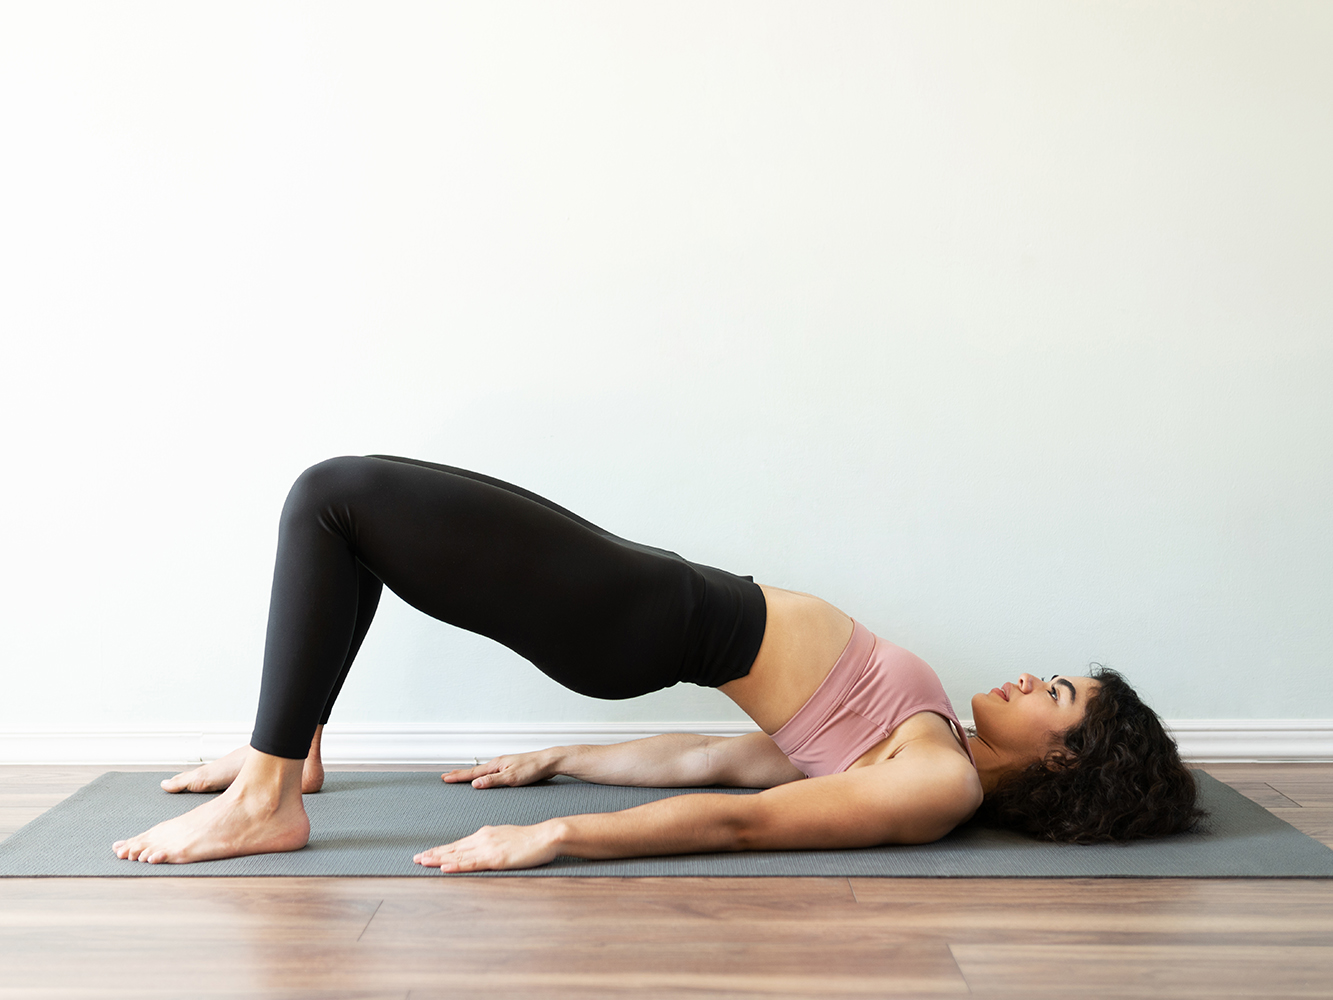
From Child's Pose, move to lie down on your back to gear up for Bridge Pose. Rausch says this one strengthens, stretches, and even improves mood and relieves fatigue. "Lie on your back with your knees bent and feet planted on the mat (hip-distance apart). Place a block, book, or pillow between the upper thighs and squeeze to engage your adductors. The will help you stabilize your pelvis and activate your pelvic floor muscles." Then, on an inhale, draw your tailbone toward your heels, lifting your hips into the air. "You should feel your legs working here. Think about lifting from the center of your chest." On an exhale, slowly and carefully release. Do this three separate times.
Step 11: Figure 4 Stretch
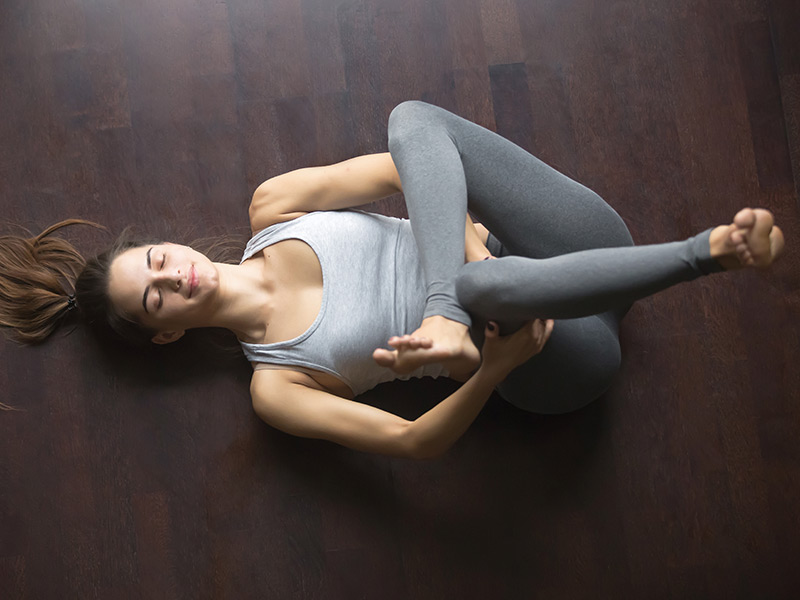
"Begin with legs bent and feet planted. Cross your right knee over your left thigh (like a figure 4). Pull your left knee in toward your chest and reach for the back of your left thigh to hold the leg in place. Gently guide the right knee away from the body to increase the stretch and sensation in the right hip." Remember to keep your right foot flexed. This will relieve the lower back and improve mobility in the hips and glutes if you hold it long enough (for 60 to 90 seconds on each side).
Step 12: Supine Single Leg Twist
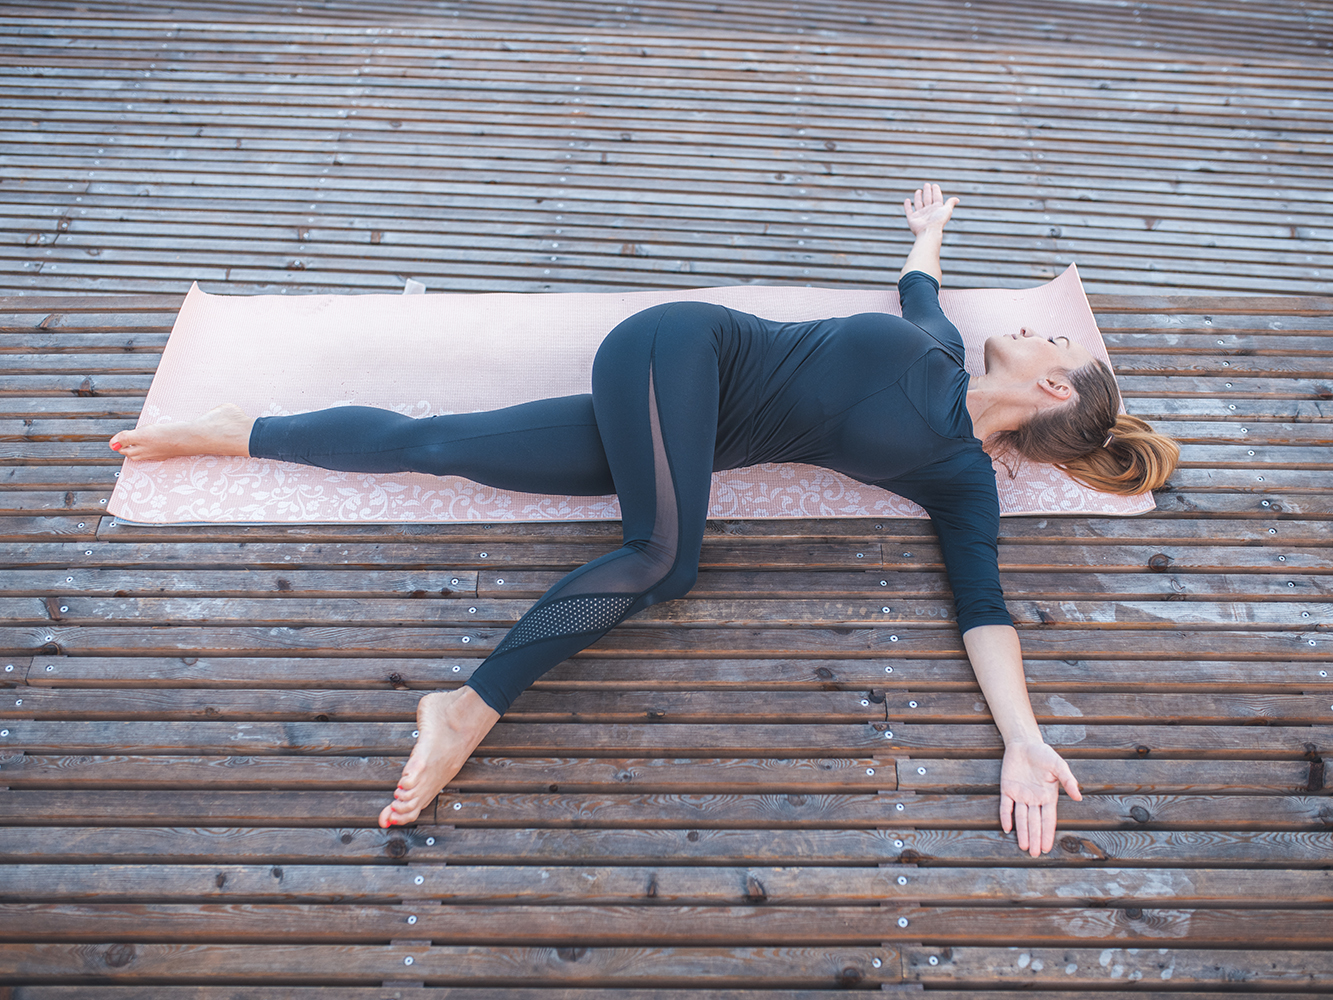
This is the final move, and one that "opens the chest, stretches muscles along the spine, ribs, and hips, and calms and balances the nervous system." Sounds like the perfect end pose to a vinyasa routine, yes? "Begin lying on your back. Draw your right knee into your chest. Keep the left leg straight. Take the right knee over to the left side wall. (It is okay to stack your hips here.) Open your right arm to the right. At this point, you should fully be in the single leg twist." Breathe, and then switch legs.
Step 13: Rest
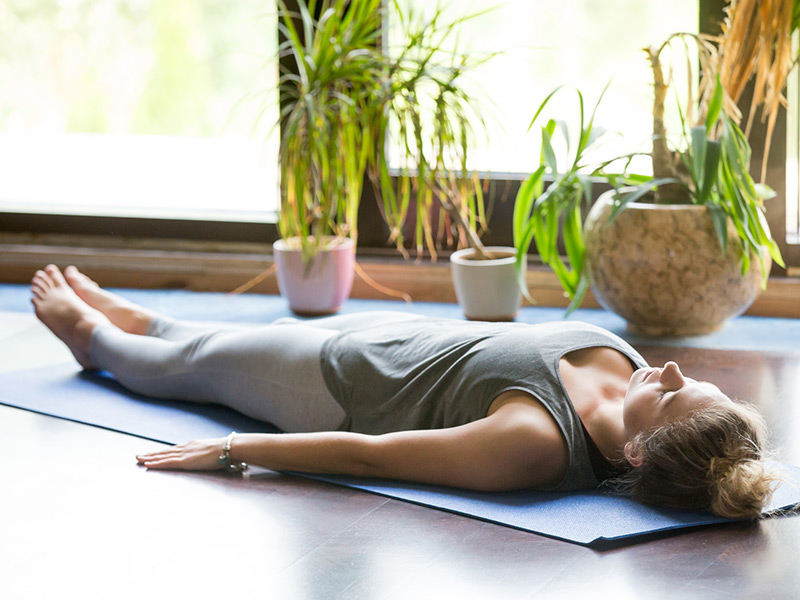
After that, rest on your back. Rausch recommends staying here for at least five minutes. You'd be surprised at the amount of benefits you can reap from this. It "helps bring the body and mind back into balance, lowers blood pressure, alleviates stress, boosts energy, reduces anxiety, and improves concentration." All you do is lie on your back, straighten your legs, and "relax the breath and surrender into meditation." That's it. It's a condensed vinyasa yoga flow that will take around 15 to 20 minutes to complete. If you follow Rausch's advice on movement and meditation, then both your body and mind will be better for it. "The importance of the step-by-step progression is not only essential to building strength and mobility on the mat but is also essential to the process of achieving goals and changing habits off the mat," Rausch says. "We all know that growth and learning come from discomfort (aka the old mantra, 'no pain, no gain'). Vinyasa yoga encourages us to identify the discomfort in our minds and bodies, and lean into that discomfort and engage with the lessons at the core. This is how we grow self-compassion and overcome self-limiting beliefs."
Next up: 11 of the Best Yoga Brands, According to 3 Professional Instructors
This article was originally published at an earlier date and has since been updated.
This article is provided for informational purposes only and is not intended to be used in the place of advice of your physician or other medical professionals. You should always consult with your doctor or healthcare provider first with any health-related questions.
Kaitlyn McLintock is a Beauty Editor at Who What Wear. She has 10 years of experience in the editorial industry, having previously written for other industry-leading publications, like Byrdie, InStyle, The Zoe Report, Bustle, and others. She covers all things beauty and wellness-related, but she has a special passion for creating skincare content (whether that's writing about an innovative in-office treatment, researching the benefits of a certain ingredient, or testing the latest and greatest at-home skin device). Having lived in Los Angeles, California, and Austin, Texas, she has since relocated back to her home state, Michigan. When she's not writing, researching, or testing beauty products, she's working through an ever-growing book collection or swimming in the Great Lakes.
