This Easy Braided Bun Is Officially Our New, Low-Maintenance Hair Uniform

Scrolling through Instagram the other night (as one does for 10 hours when they should really be sleeping), I spotted a scarily relatable beauty meme on Lunya's Instagram account: "78% of women reading this are wearing their hair in a weird bun right now." Um, yep! I thought as I immediately commented with a raised-hand emoji.
Even though I feel extremely lucky to be able to WFH and carry on my beauty-editor duties from the comfort of my couch or bed (don't judge me), it's put an indisputable cramp in my hairstyling routine. When it comes to my strands, I'm pretty low-maintenance to begin with, so you can imagine the effect little to no human contact has had on my day-to-day hair MO.
Most days, I want a hairstyle that's easy and fuss-free, but sometimes an important Zoom meeting begs for something slightly more elevated than my heavy rotation of high ponies and messy topknots. So to provide some expert guidance, we asked celebrity hairstylist Sarah Potempa to take over our Instagram with a live tutorial featuring her favorite, easy-to-execute braided-bun hairstyle. (Potempa's the master of all things chic and easy—just look at the three lickety-split hairstyles she taught me late last year!)
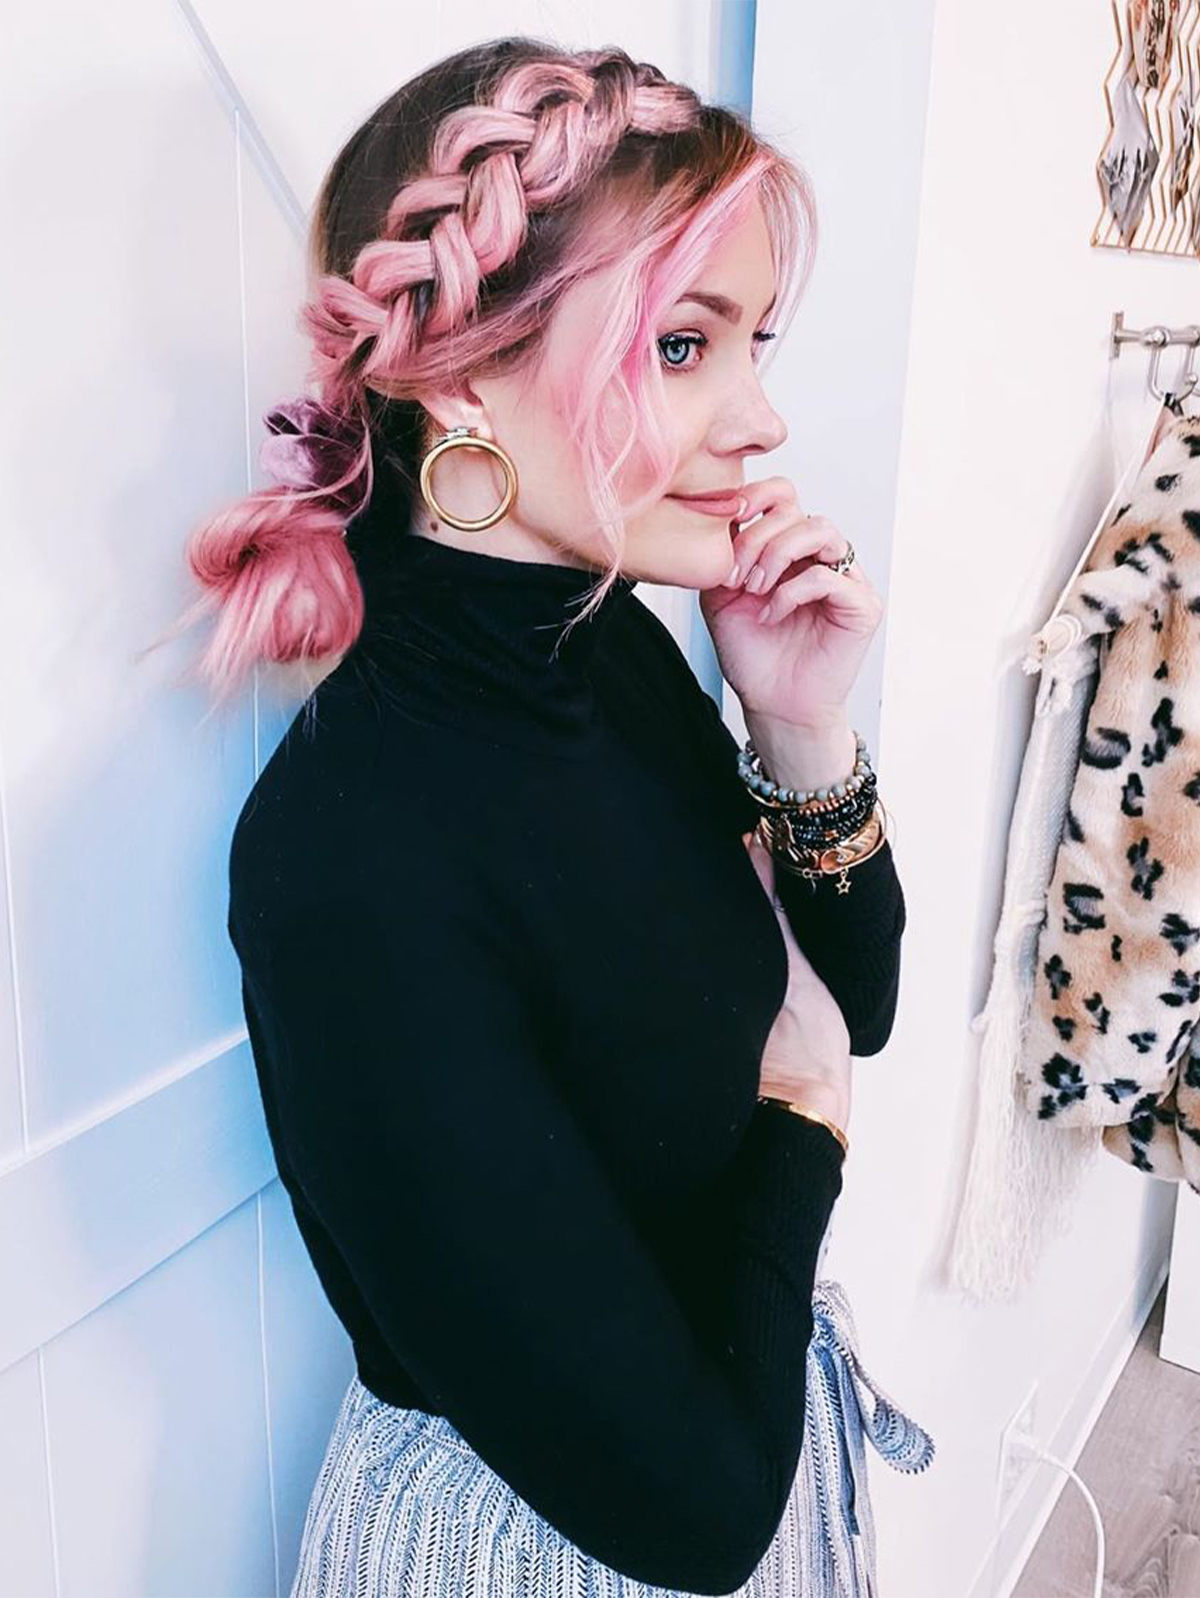
It only takes a few minutes, it won't fall out the second you turn your head too fast, and it's similar to some of the signature red carpet looks she's created for her A-list clientele like Lea Michele, Emily Blunt, and Camila Cabello. Curious? Keep scrolling for the simple play-by-play and the essential products you'll need to create both easy bun hairstyles.
Step 1: Wave Your Hair
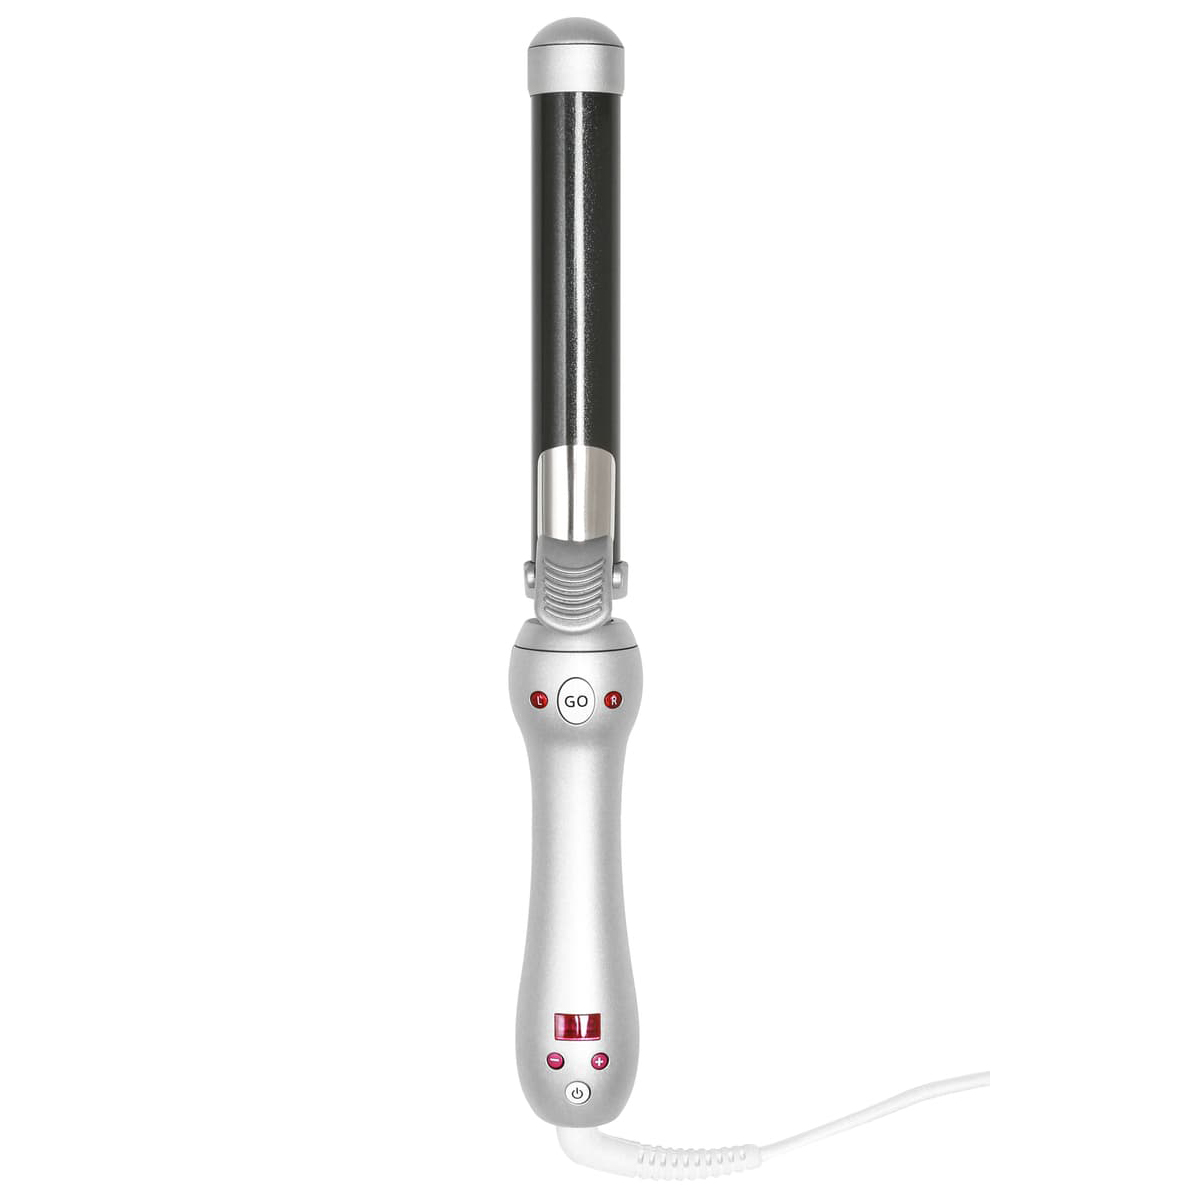
According to Potempa, the first step in creating this easy braided bun is using a curling iron to create a full head of waves. She uses The Beachwaver ($199)—her own ingenious invention—and stresses the importance of leaving your ends out to create a more relaxed, beach-inspired look, rather than a perfect curl.
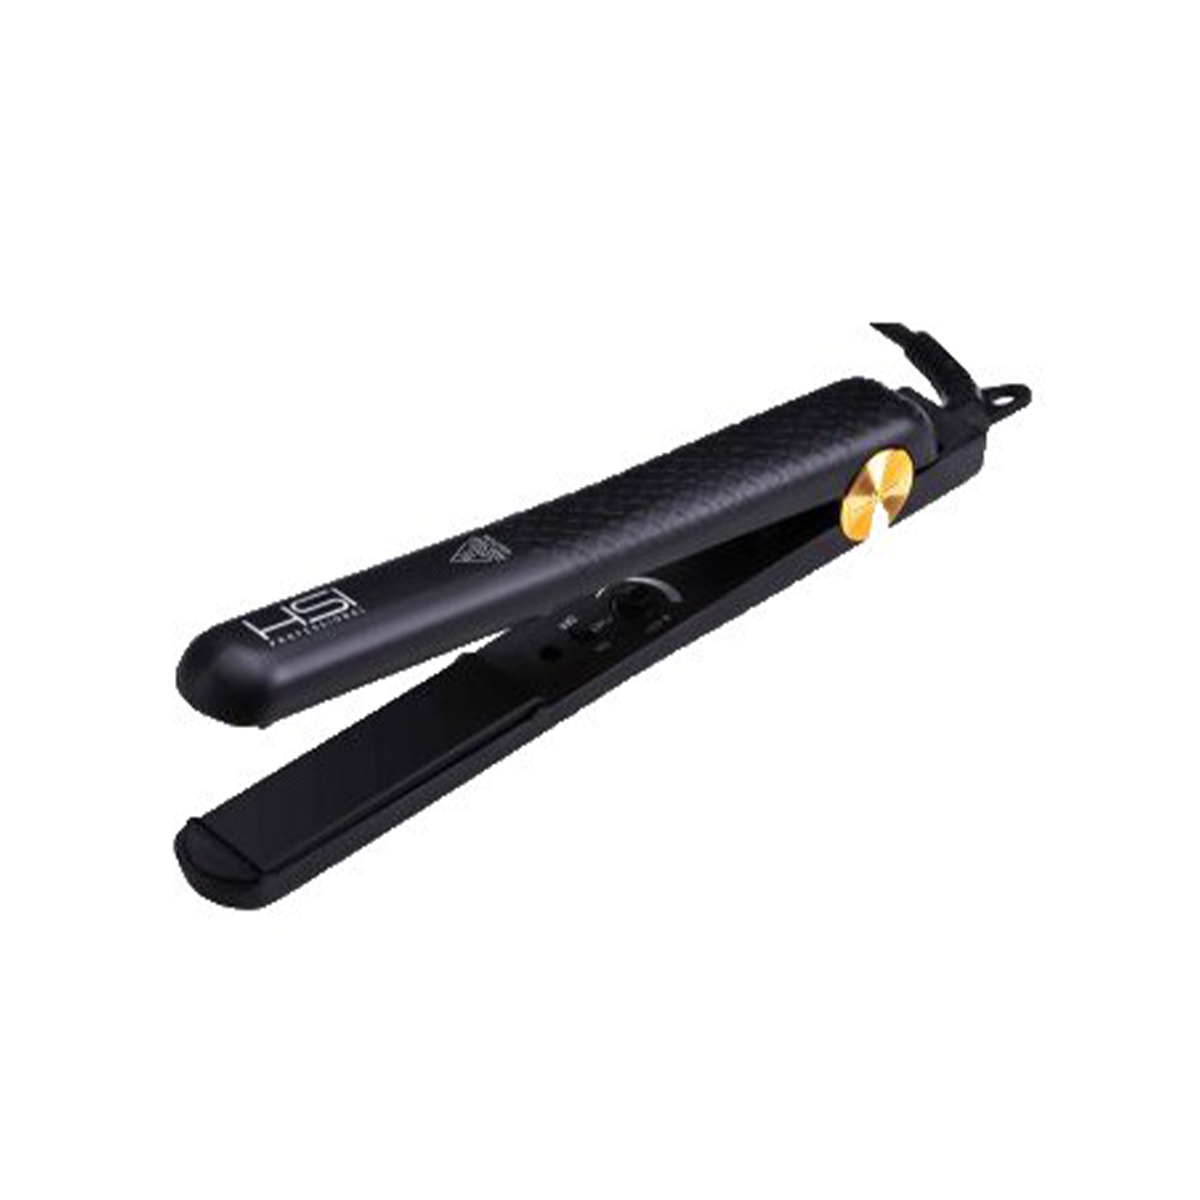
If you don't have The Beachwaver, she says you can also use a flat iron to create your waves or whatever curling iron you have on hand. (If you're on a budget, the $40 option below has more than 30,000 glowing reviews on Amazon.)
Step 2: Create Your Bun
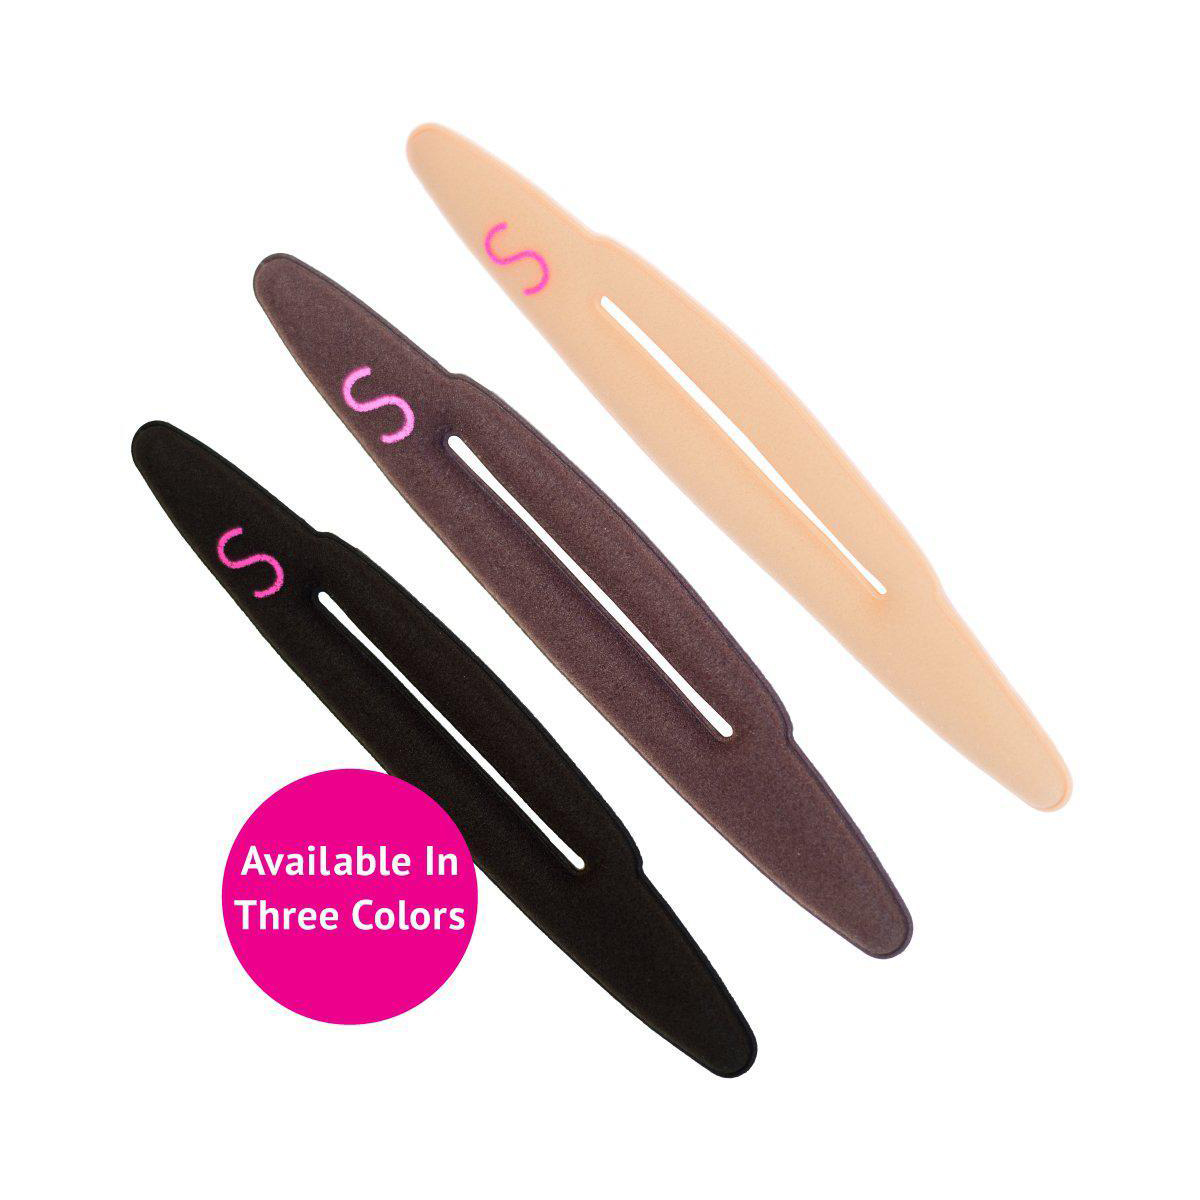
Now that you have your waves, Potempa says you could easily stop right here, pull your strands back into a low bun, secure with a few pins, and call it a day. (You'll still have an elevated, red carpet–esque updo!) That said, using an easy-to-use form like this one will help you create more of a defined bun that looks expertly styled without the annoyance or work of bobby pins.
Here's what to do: Pull your hair back at the nape of the neck as if you're about to create a ponytail, and take your strands through the form. Then, pinch it closed, slide it down the length of your ponytail, and begin wrapping it all the way back up. Once you reach the base of your ponytail, you'll wrap one side of the form under your hair followed by the other side, cover it, and voilà! You have the perfect pin-less bun. Watch this video if you need a visual.
Step 3: Create a Braid
If you want to elevate your easy bun hairstyle even further, Potempa says she loves incorporating a braid. (If you're going to go this route make sure that you've chosen your part and left a chunk of hair out of the wrap-up before twisting it up into your bun.)
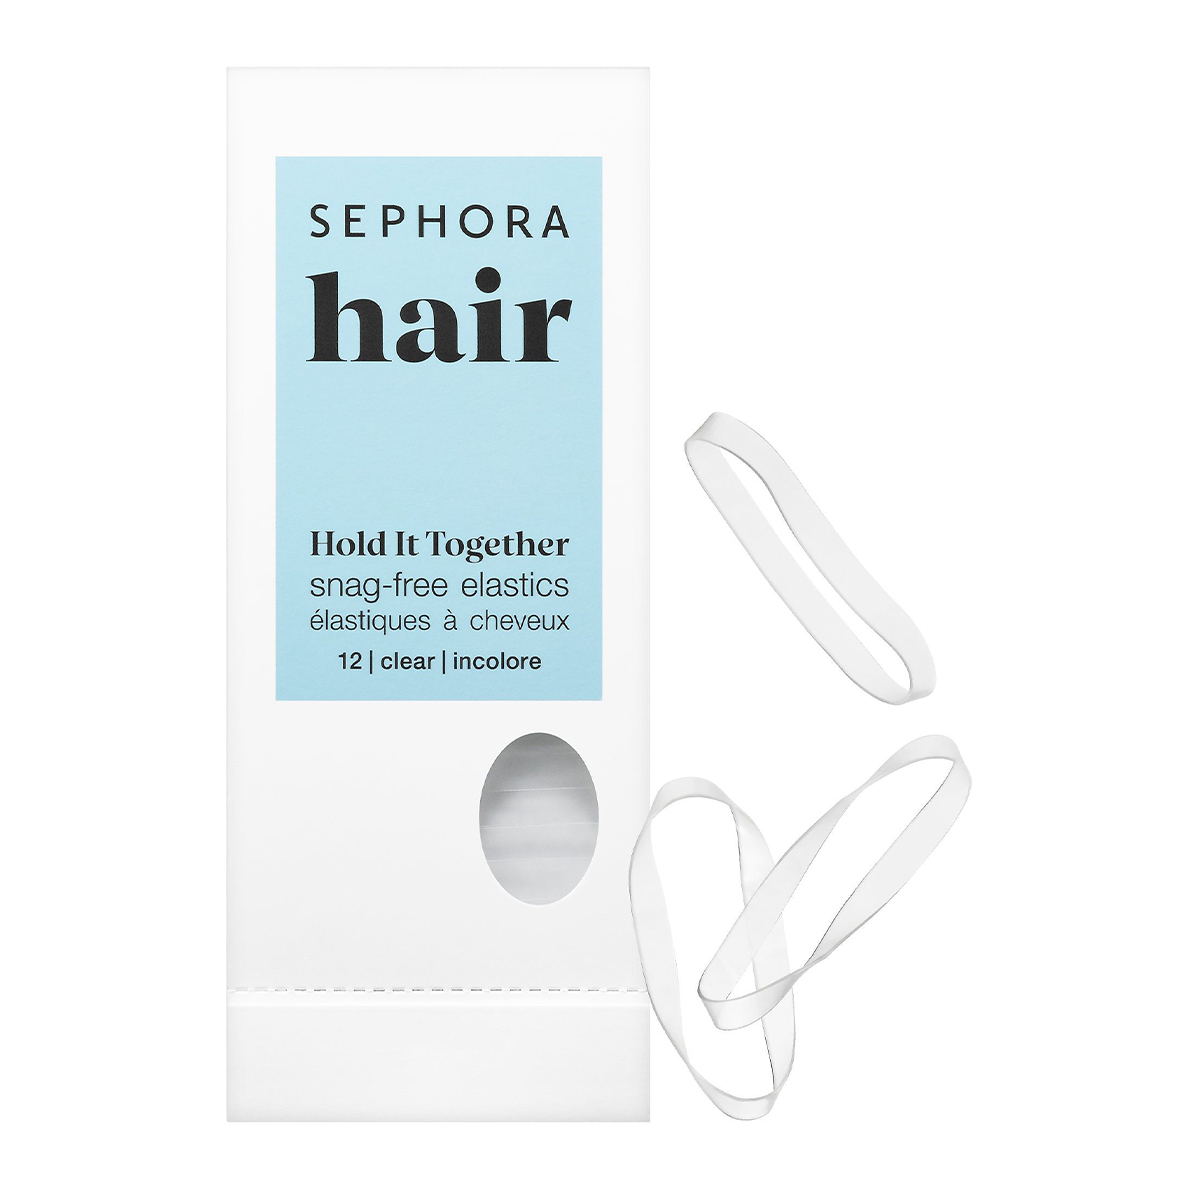
Then, as you would with any braid, take the chunk of hair you've left out of your bun, and, starting close to the root, section into three pieces. Take the left piece under the middle piece, the right piece under the middle piece and repeat until you've braided all the way down. To finish your braid, Potempa recommends securing it with a small clear elastic, which she says is the absolute best for updos. (Ideally, you don't want to see the hair tie!)
Step 4: Pancake Your Braid
According to Potempa, "pancake-ing" is every hairstylist's secret for faking the look of thicker hair when you're braiding. Essentially, you'll work your way down the length of your braid, tugging on the edges to widen and flatten each braid loop.
Step 5: Add a Scrunchie & Tuck Your Braid
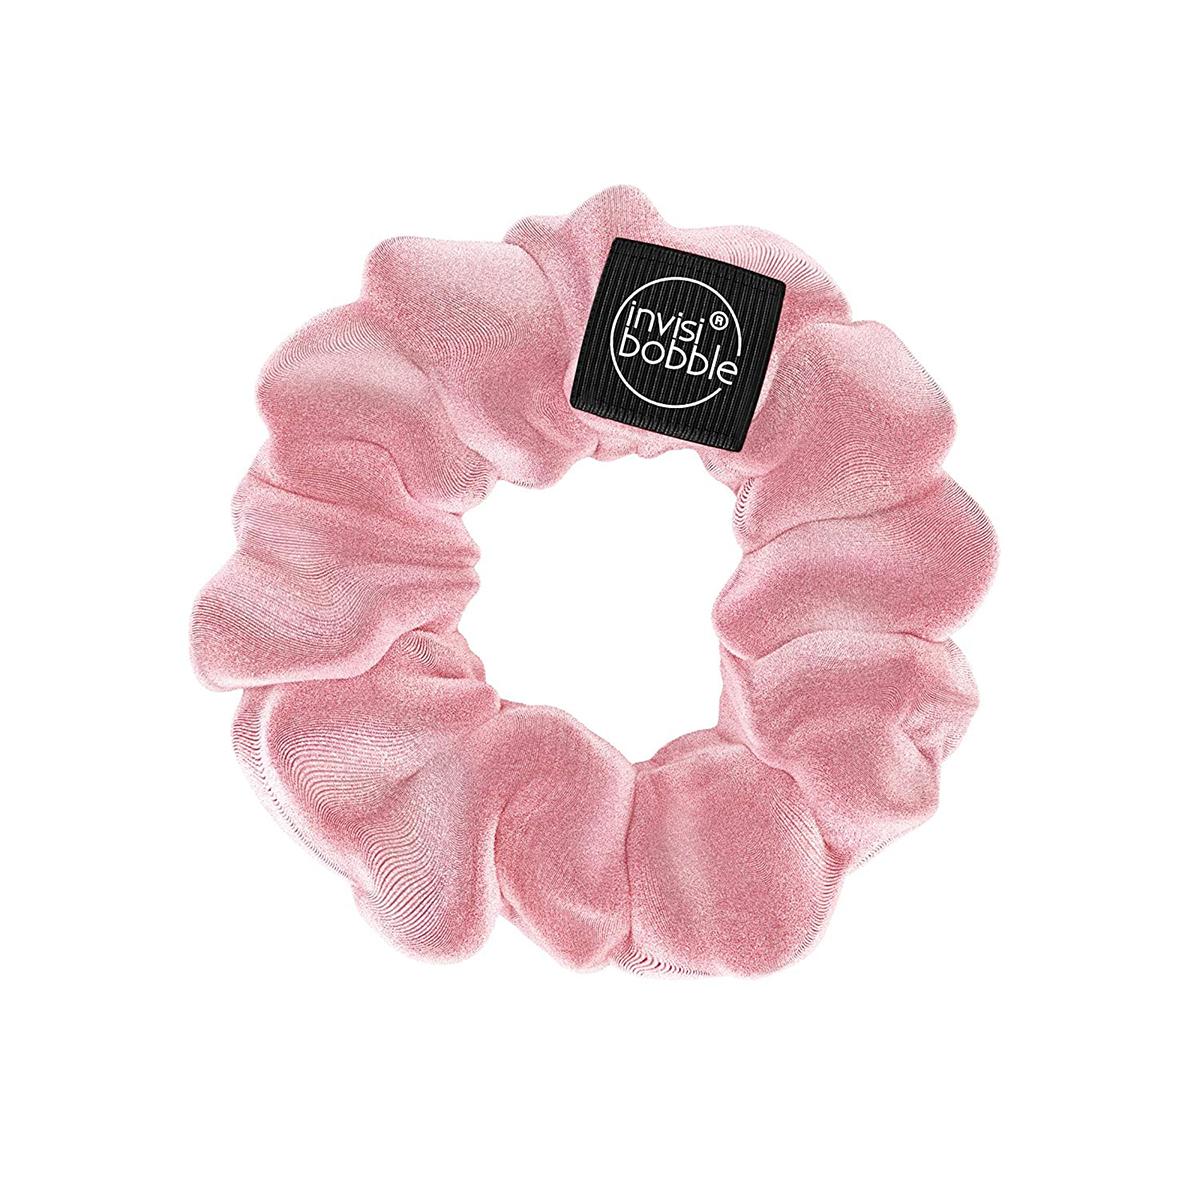
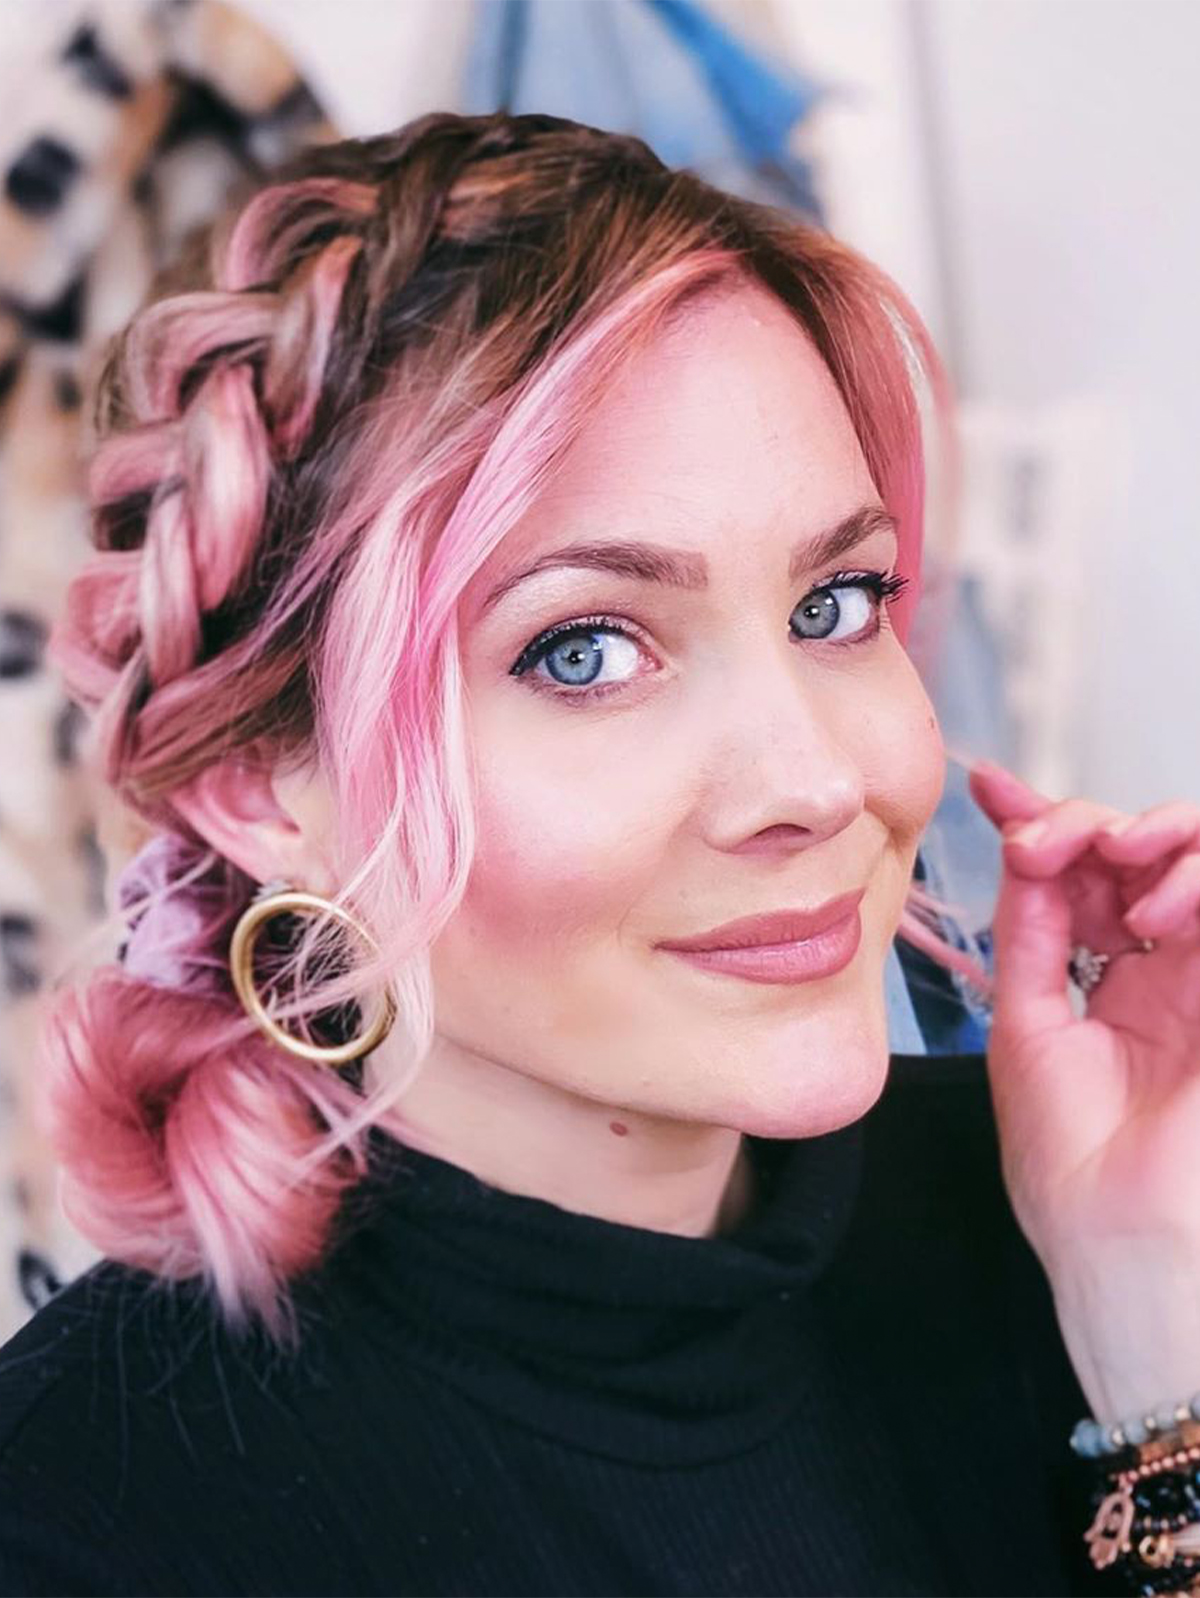
Of course, this part is optional, but if you love hair accessories as much as we do, you can take a scrunchie—Potempa used a pretty pink velvet number like this one—and wrap it around your bun. (If you haven't used a bun wrap or you don't own one, you can also just twist your hair into a low bun as you normally would, and tie your scrunchie around twice to secure.)
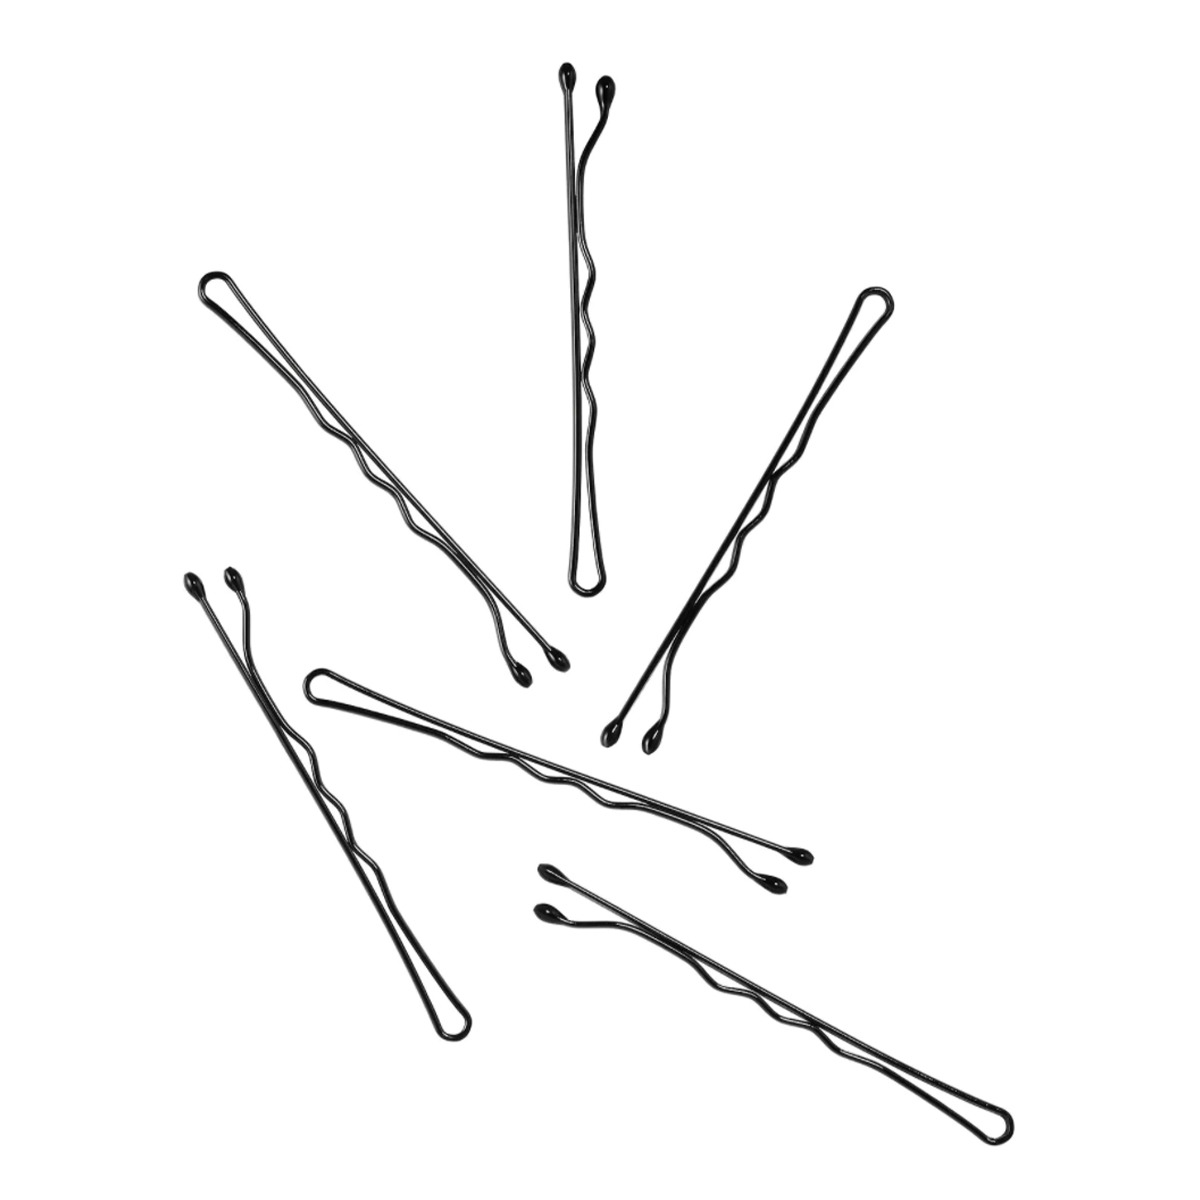
Once your scrunchie is in place, take the braid and just tuck it into the scrunchie—you can place it more toward the side or more on top—and secure it with a bobby in. For more grip, Potempa suggests finding a pin with a matte finish and little ridges like the ones shown below. And you're done!
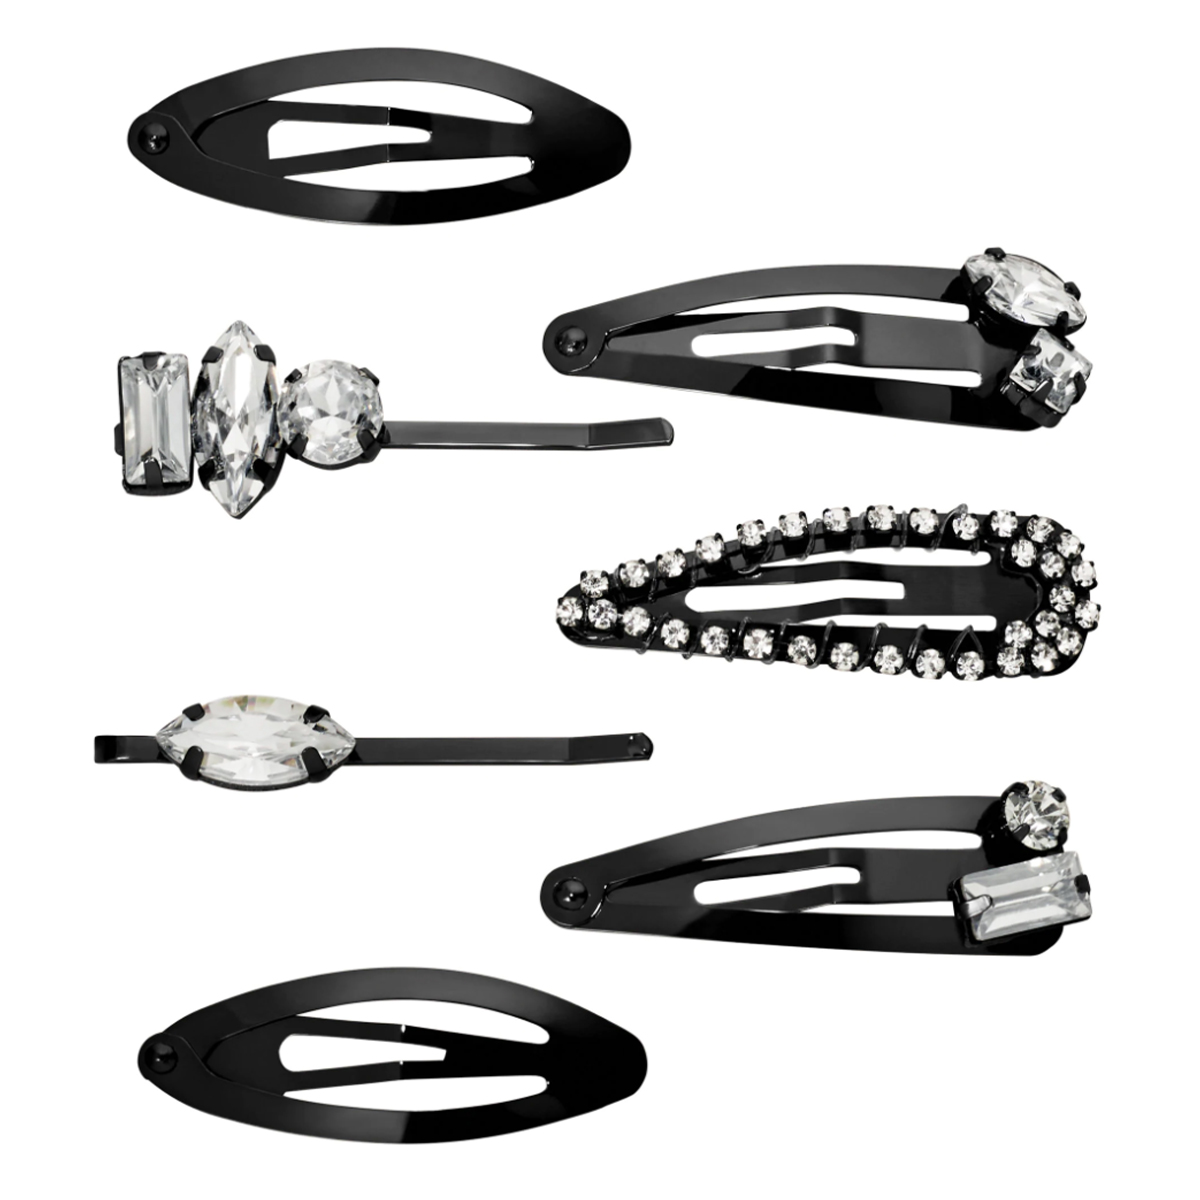
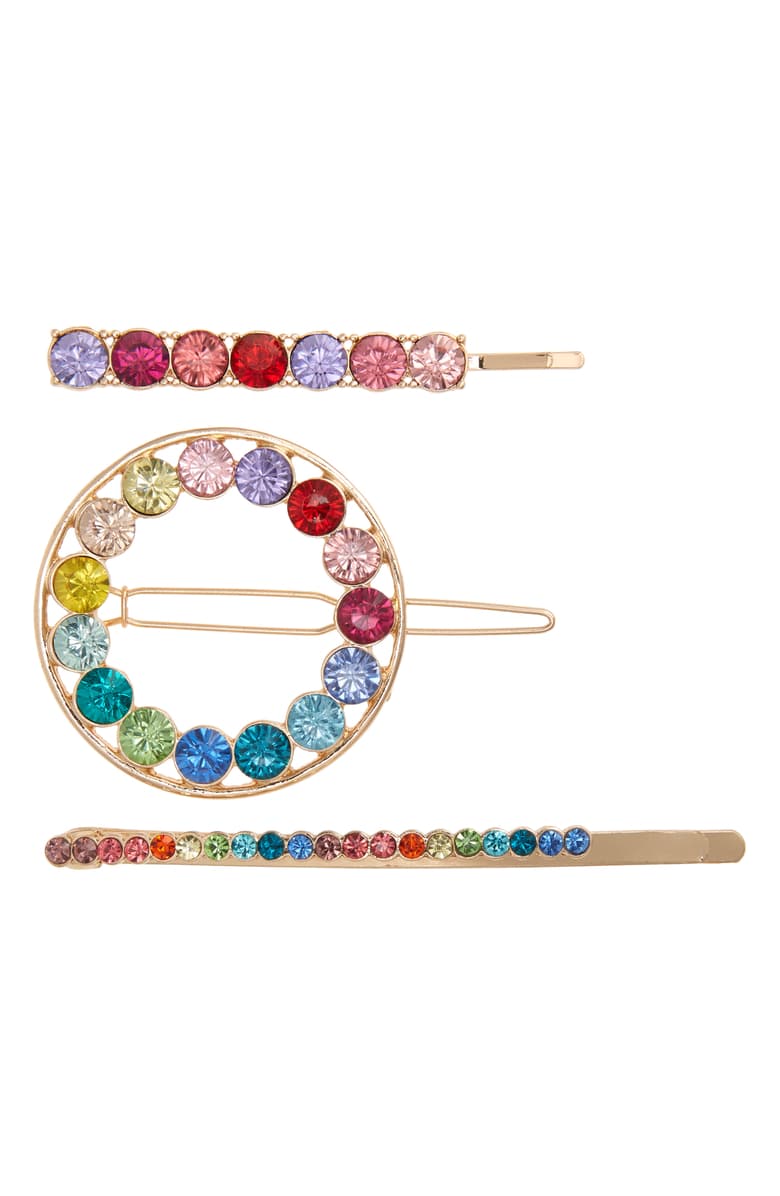
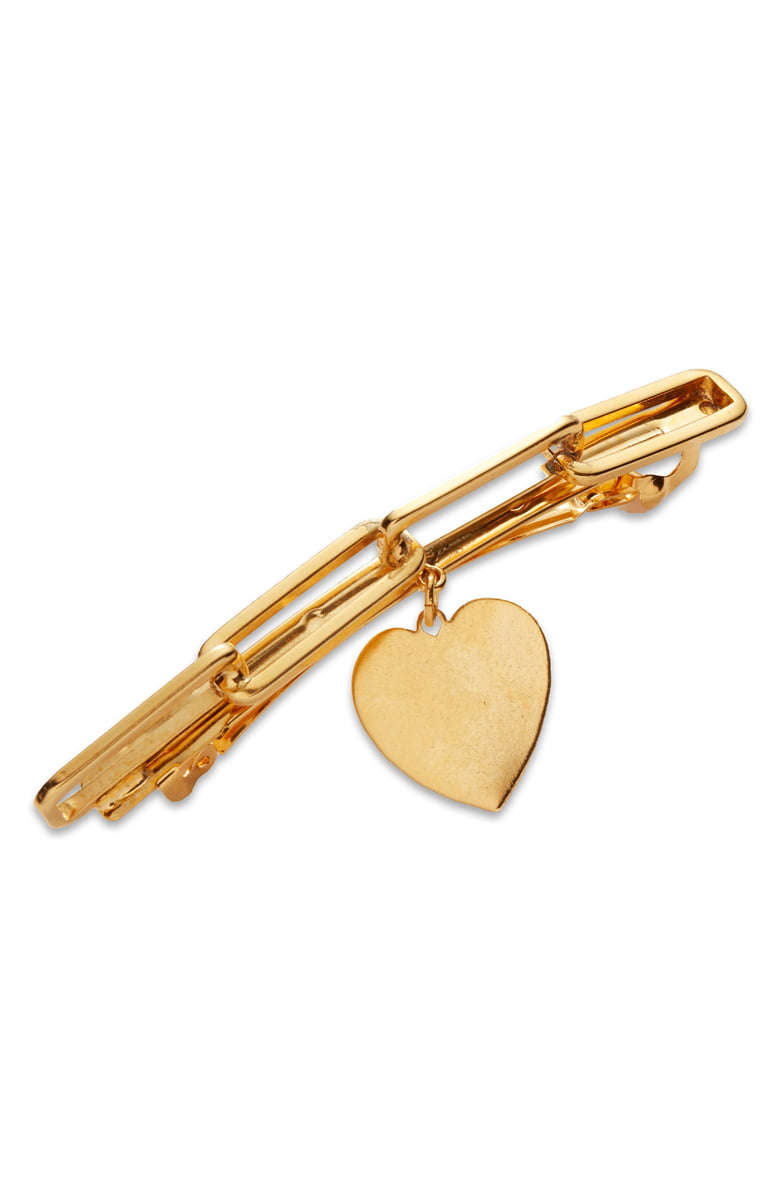
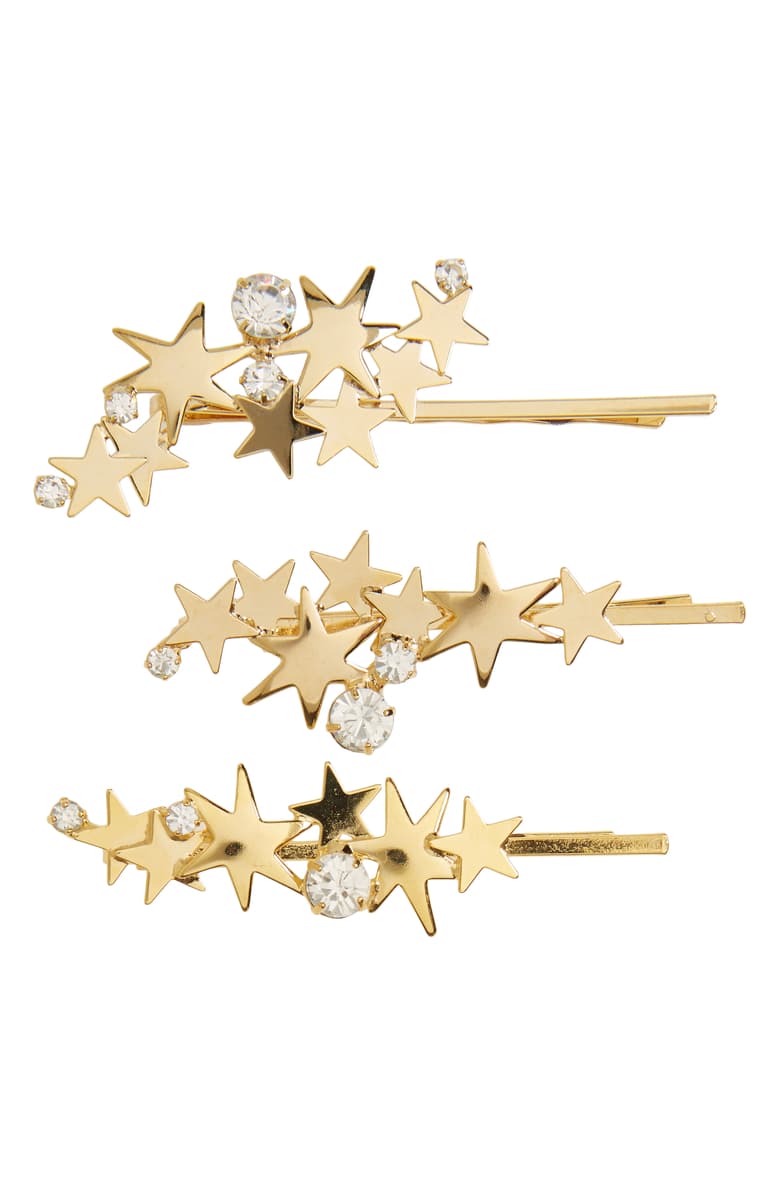
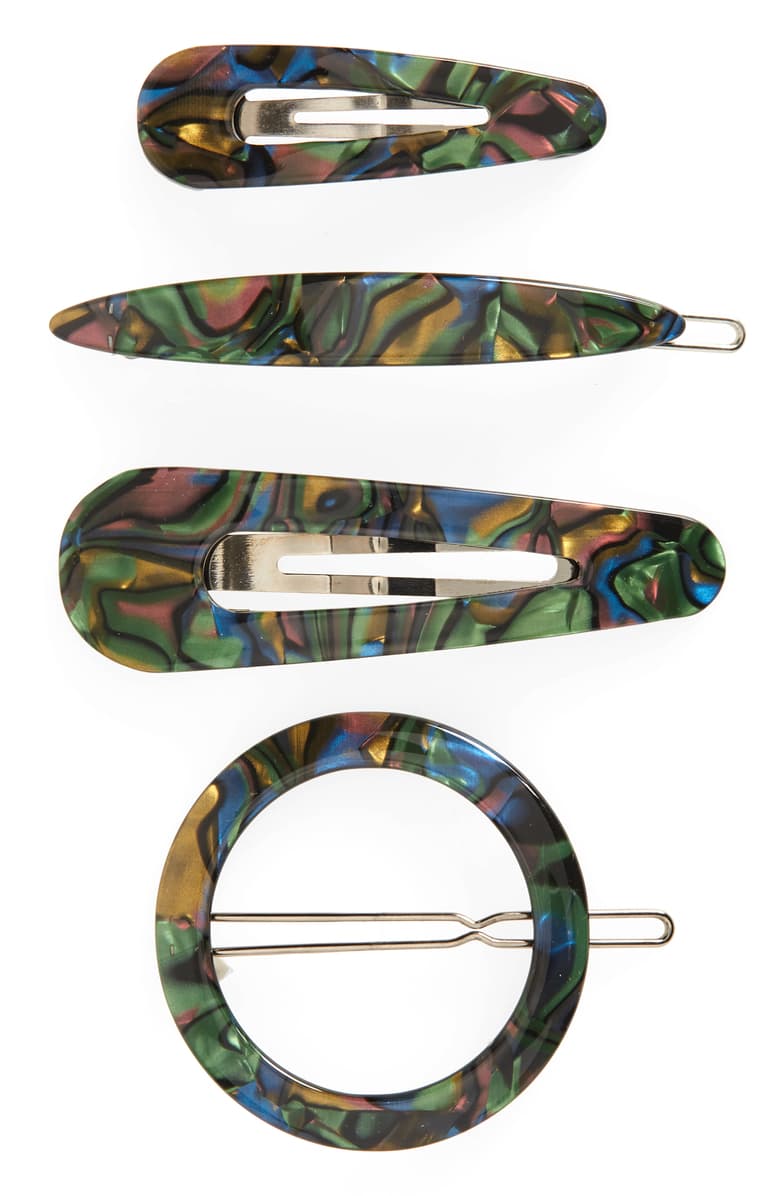
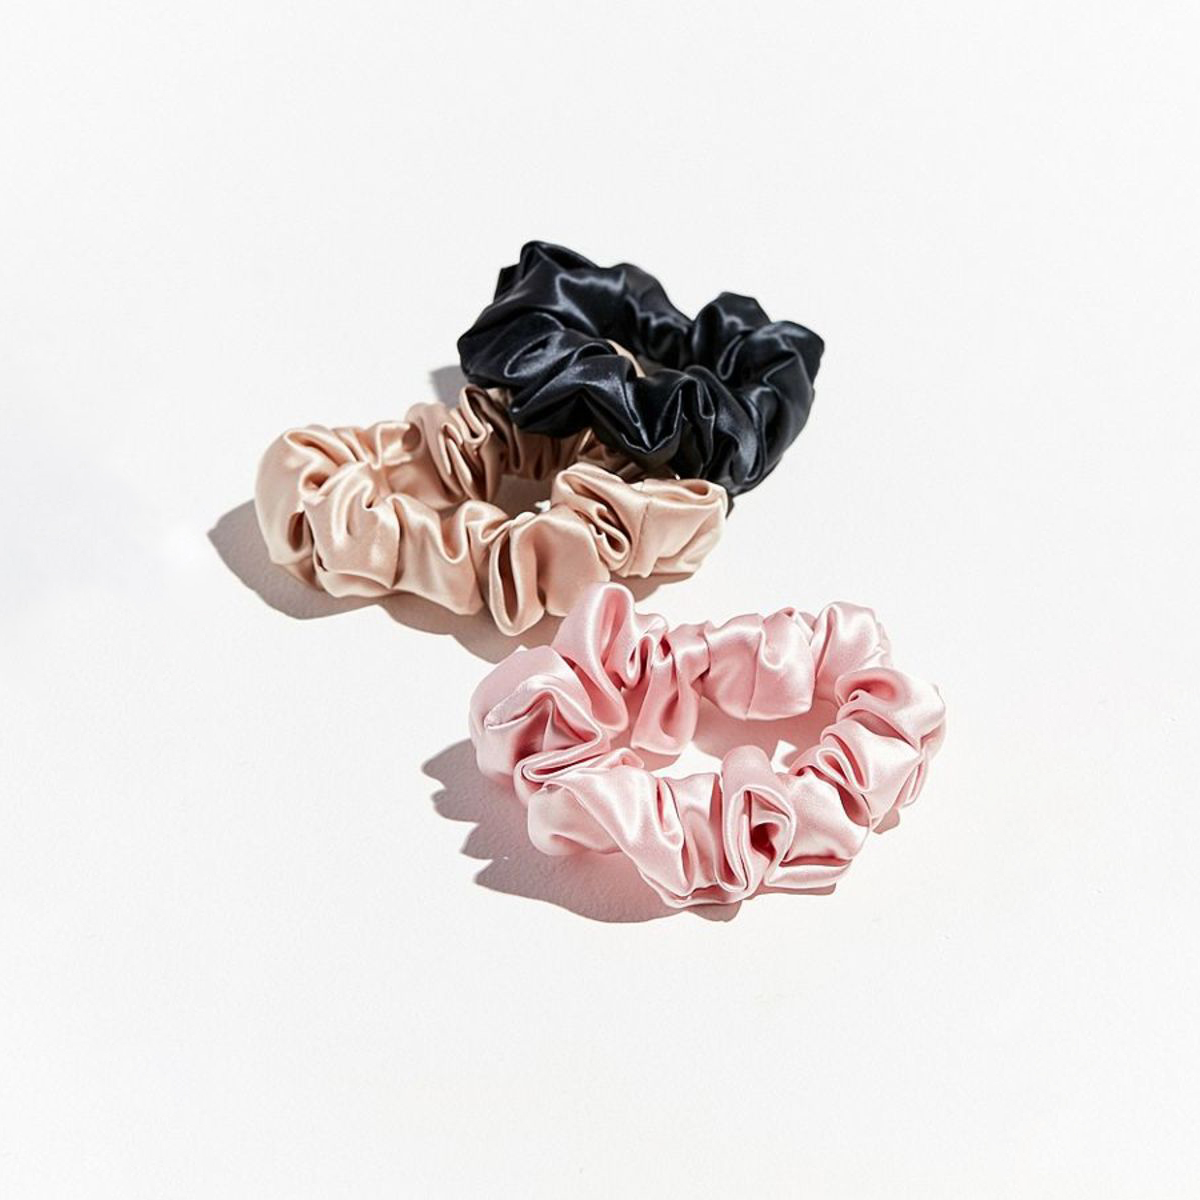
Keep scrolling for more pretty accessories you can add to an easy braid or bun hairstyle.
Pretty Pins & Clips
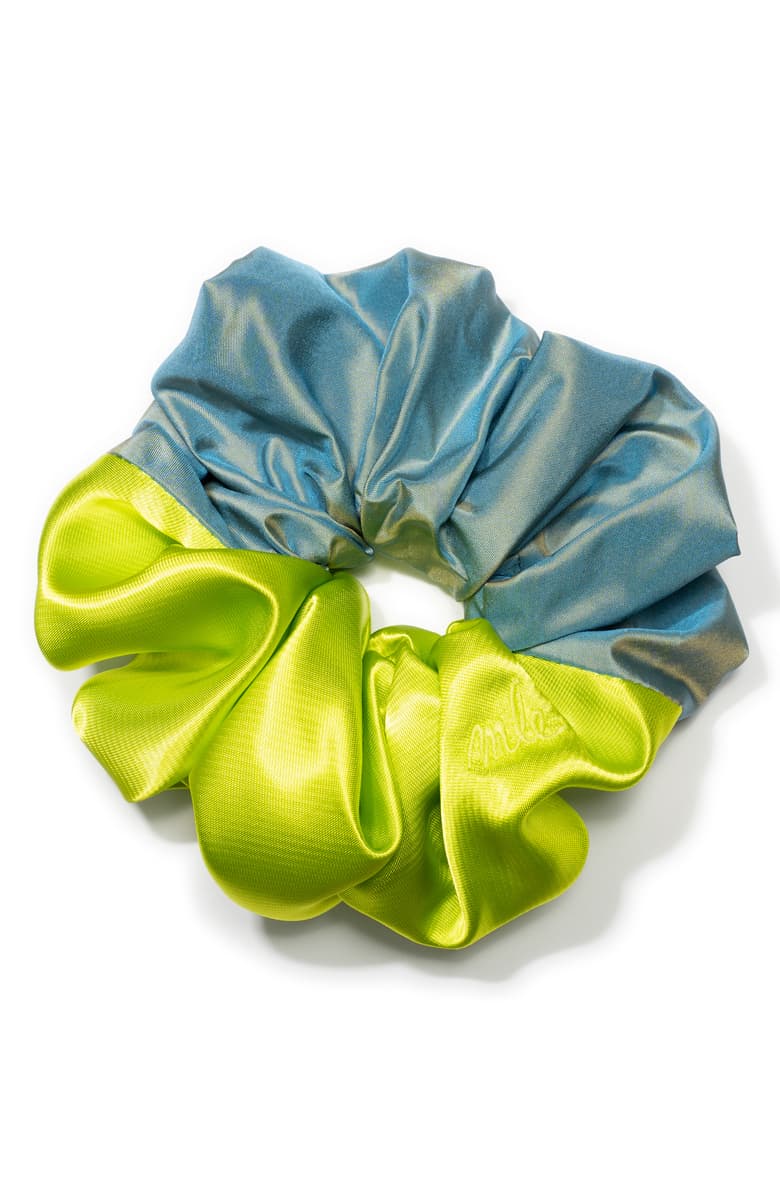
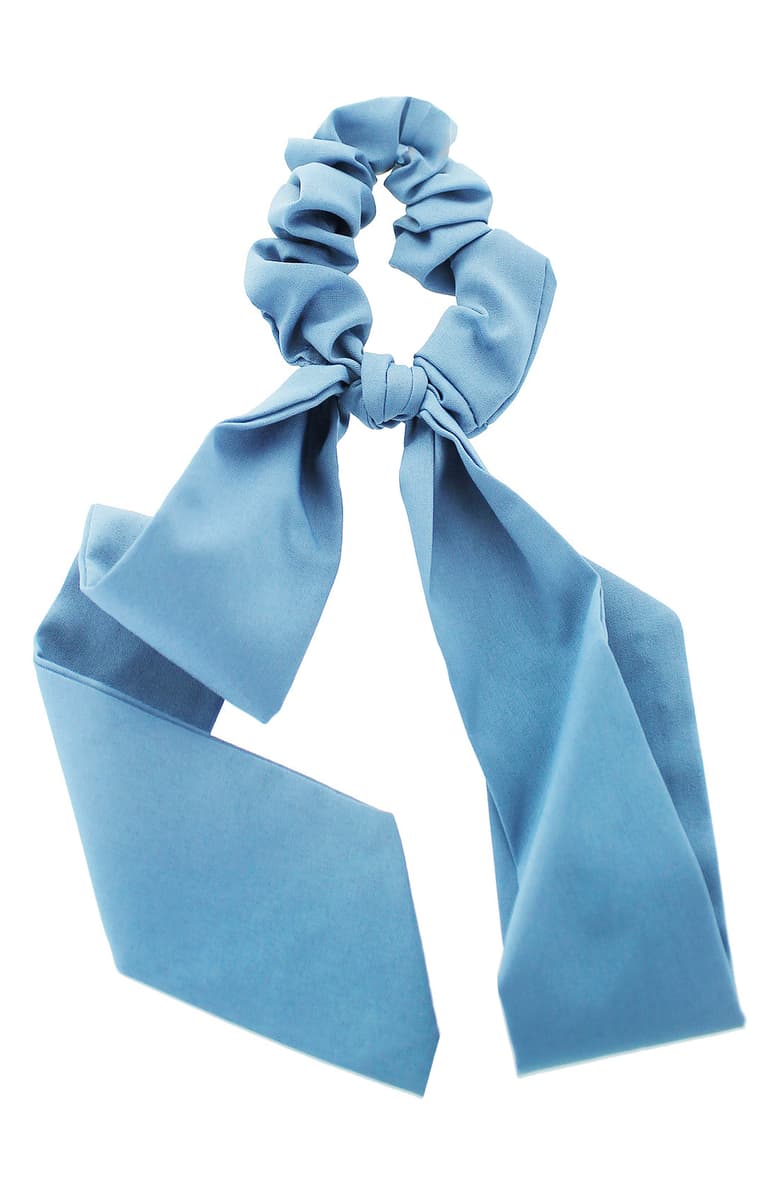
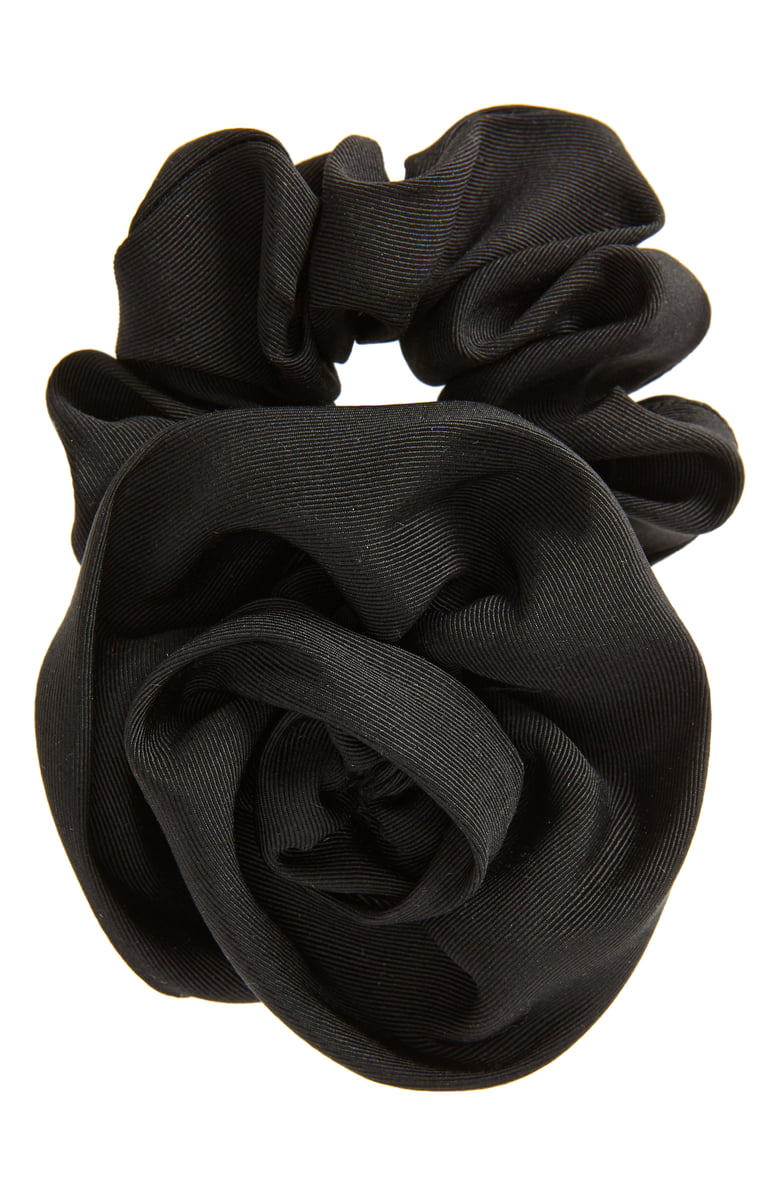
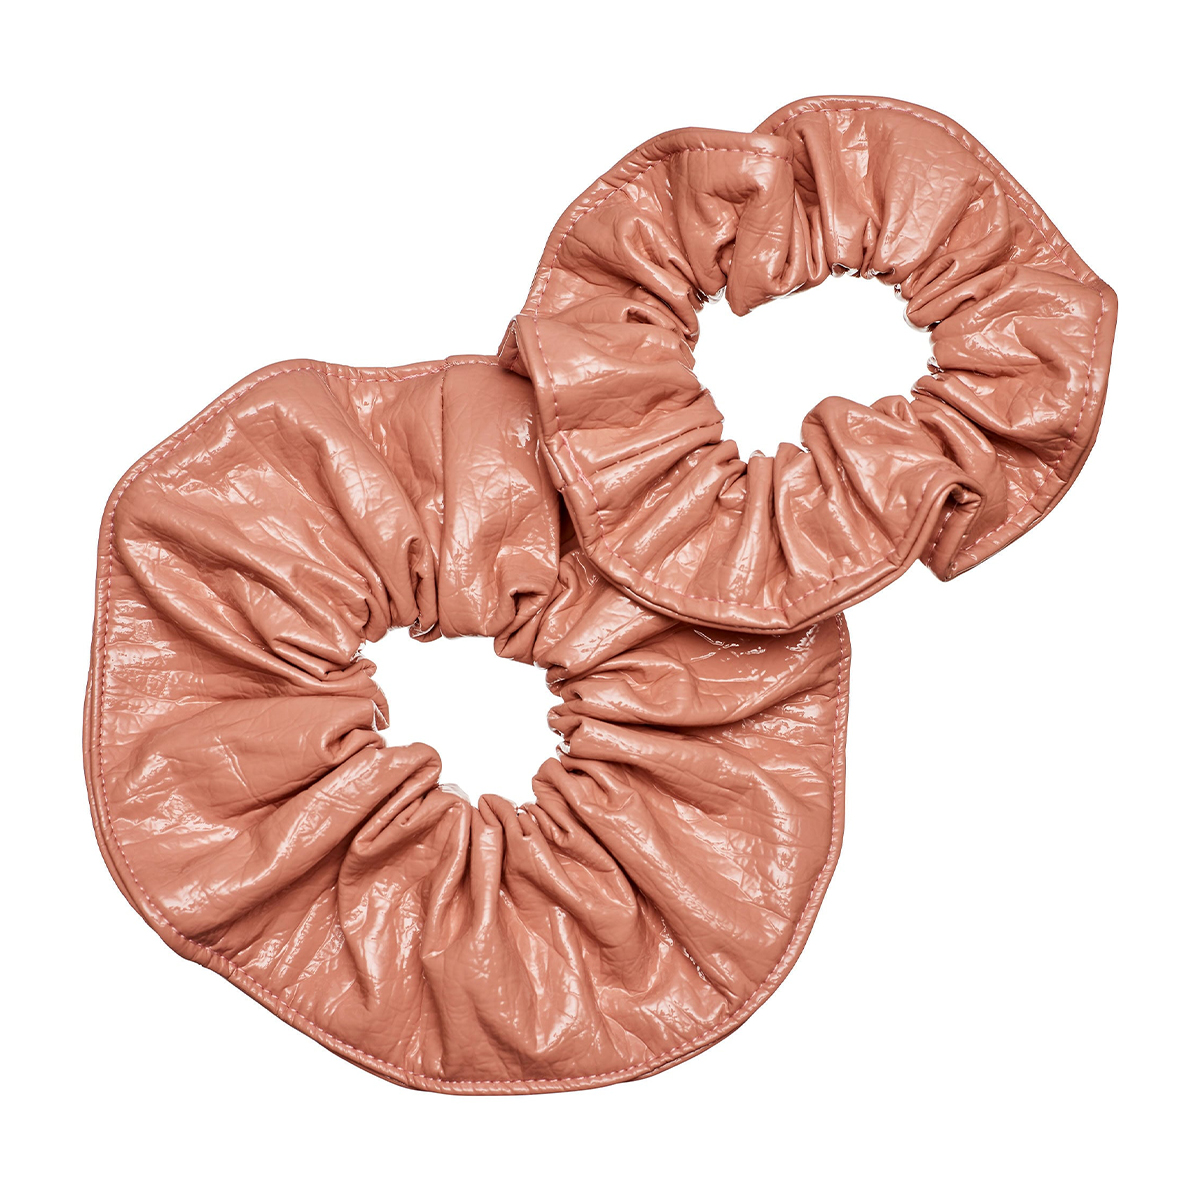
Pretty Scrunchies
Erin has been writing a mix of beauty and wellness content for Who What Wear for over five years. Prior to that, she spent two and half years writing for Byrdie. She now calls Santa Monica home but grew up in Minnetonka, Minnesota, and studied writing, rhetoric, and communication at University of Wisconsin, La Crosse. She studied abroad in Galway, Ireland, and spent a summer in L.A. interning with the Byrdie and Who What Wear family. After graduating from UW, she spent one year in San Francisco, where she worked as a writer for Pottery Barn Kids and PBteen before moving down to L.A. to begin her career as a beauty editor.
