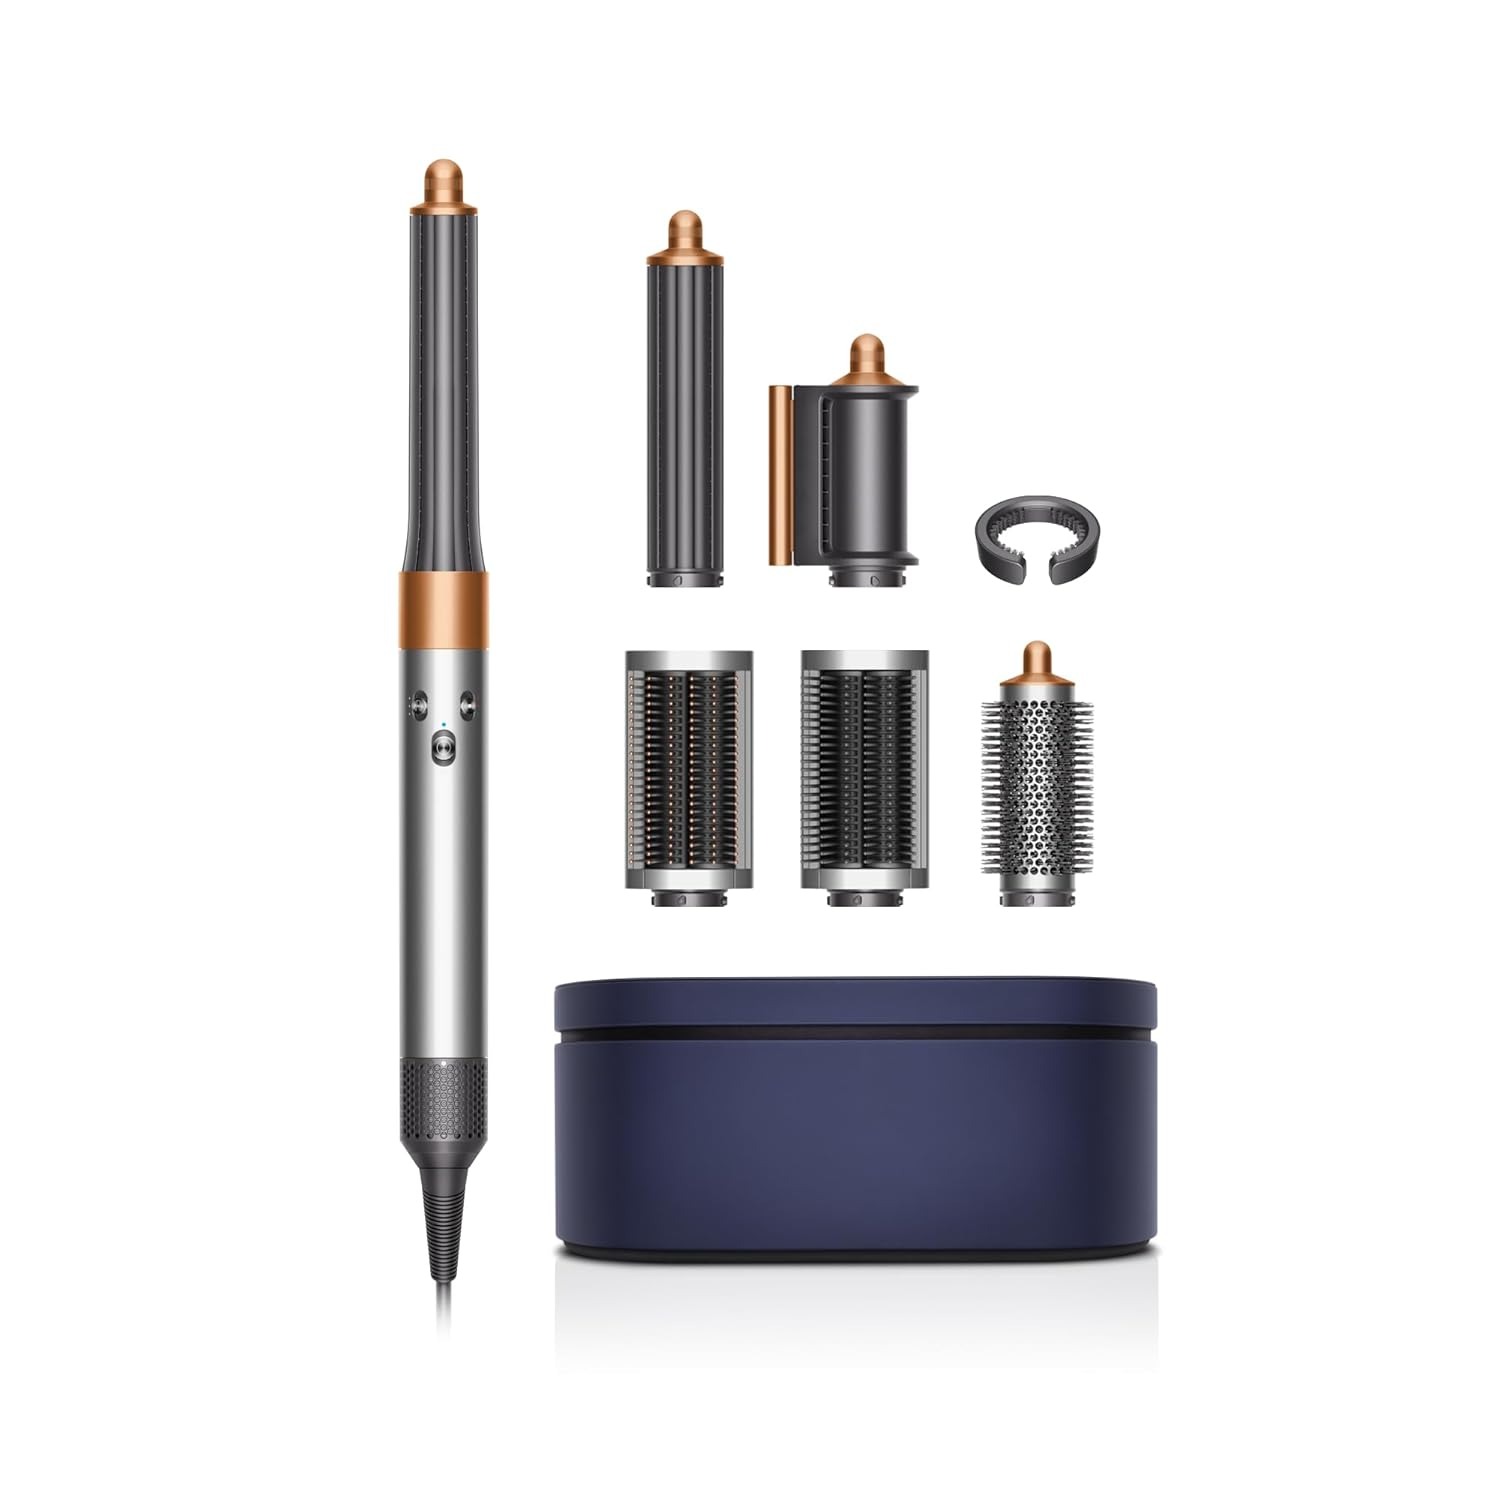
Is Dyson's $600 Airwrap Worth It? 3 Different Hair Types Share Honest Reviews
We can't think of any other hairstyling tool that garners more attention than the Dyson Airwrap. When it launched, people 1) couldn't believe that it actually cost $600 and 2) were amazed when they saw the big, bouncy blowouts people were accomplishing with it. The Dyson Airwrap has been out for a long time, but it's still a major topic of discussion on Instagram and TikTok, where influencers seem to either love it or feel rather, well, meh about it. So, yeah, the hype is real. But we have to wonder: Is it underhyped, overhyped, or adequately hyped? (Yes, that's our rubric, and we're sticking to it.)
To find out, we put it to the test. Three beauty editors with different hair types, lengths, and goals used the Dyson Airwrap to decide whether they thought it was worth the hefty price tag. And their answers might surprise you. Keep scrolling to see their full reviews as well as some pretty epic before-and-after pictures.
First, What Makes the Dyson Airwrap So Special?
The Dyson Airwrap dries and styles the hair using minimal heat. That might not sound all that impressive, but it is considering that many other styling tools reach temperatures beyond 400ºF, which can seriously damage the hair, even with a heat-protectant product. The Dyson Airwrap can effectively style the hair without ever going above 302ºF—a temperature that's much easier on the hair.
Instead of relying on high heat to style hair, the Airwrap relies on something called the Coanda effect, which is an aerodynamic phenomenon that curves air. By using the Coanda effect, the Airwrap actually attracts hair to the barrel, which is part of the reason styling is so easy (but more on that in a minute).
Aside from the heat factor—or lack thereof—the Airwrap is more than a straightener, curling iron, or blow-dry brush. It's all of that and more because it comes with six attachments that can create a variety of looks. The recommended attachments for straight-to-wavy hair are the smoothing dryer, 1.2-inch curling barrel, 1.6-inch curling barrel, firm smoothing brush, soft smoothing brush, and round volumizing brush. The recommended attachments for curly to coily hair are the diffuser, wide-tooth comb, smoothing dryer, 1.2-inch curling barrel, large round volumizing brush, and firm smoothing brush.
The Testing Process
Kaitlyn McLintock, Associate Beauty Editor
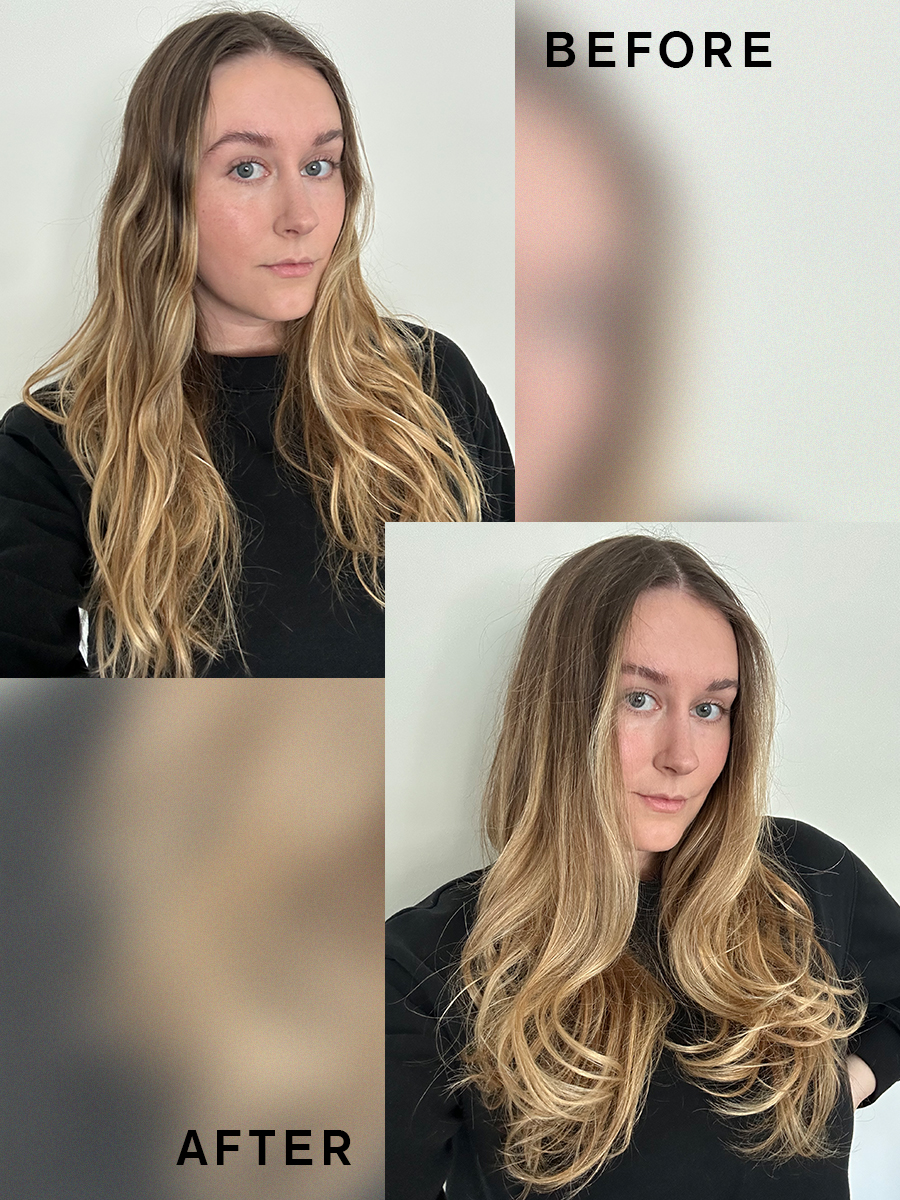
Hair type: Fine and naturally wavy
Hair length: Long
Hair goal: I want to achieve a big, bouncy blowout at home.
"I'm going to cut right to the chase. I'm kind of obsessed with the Dyson Airwrap. There was a learning curve at first with figuring out how to use the curling barrels correctly (it literally picks up my hair and curls it around the barrel by itself due to the unique Coanda effect airflow), but once it clicked, it was easy. I simply moved it in an up-and-down motion while it did its thing. Then, I released the curl and moved on to the next section of my hair. I started with dry hair, so I didn't need to use the smoothing dryer attachment, and even though my hair is naturally wavy, I didn't need to smooth or straighten it beforehand. The curling barrel was enough to smooth, soften, and curl my hair all in one go! Here's a tip that wasn't obvious to me: When you're using the curling barrels, there's a little notch at the top to switch the direction of airflow. That way, you can switch it halfway through hairstyling to make sure the curls on both sides of your head are styled in the same way. I didn't notice that at first, and it took me a couple of tries to figure it out.
"When I was done, I was amazed at how big and bouncy my curls were. It was definitely the best at-home hairstyle I've ever accomplished—and one of the easiest, too. For this reason, I think the Dyson Airwrap is well worth the money. However, one thing to note is that my hair is stubborn and doesn't like to hold shape. I was hoping the Airwrap curls would hold better than my curls have from other heat tools. Unfortunately, that wasn't the case. Even though they looked amazing for most of the first day, the curls began to fall out significantly on the second day. Next time, I think I'll pin each curl with a clip until it cools. Then, I'll add some hair spray. Hopefully, that will be enough to make the style last longer."
Final Rating: 4.5/5
Shawna Hudson, Associate Beauty Editor
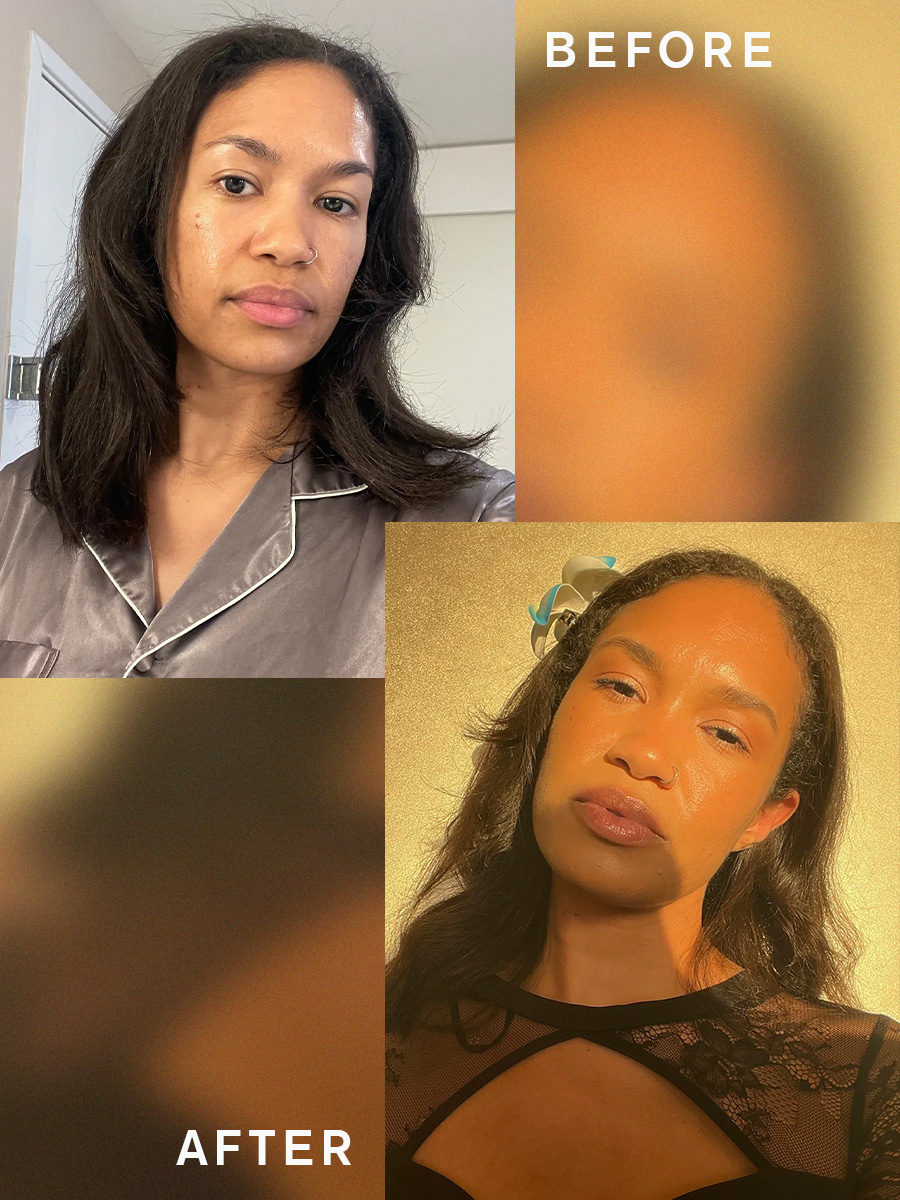
Hair type: Coarse, thick, and curly
Hair length: Mid-length
Hair goal: I want a true all-in-one styling tool that can straighten, curl, create waves, etc.
"I've heard wonderful things about the Dyson Airwrap from friends and co-workers, but I came into this experiment with a healthy dose of skepticism. My hair is incredibly coarse, thick, and curly, so I always do a little digging before trying out a new hot tool. After going down a YouTube review hole for a bit, I discovered that the reviews are mixed for thick, curly hair.
"I decided to give it a try on my natural texture anyway with the brush attachment. The results were okay, but not amazing enough for me to feel confident walking out the door. So instead, I went in with my trusty flat iron first and then decided to use the brush attachment every morning for touch-ups and before going in with the curling attachment. I loved the brush for this. It touched up my hair lightning fast and made it look so sleek. I think it only took me about five minutes, which is so much better than the usual 20 it takes me to touch up my whole head with a flat iron.
"Next, I moved on to the curling attachment. It definitely takes some getting used to. The first attempt I made at using it didn't go very smoothly. Once I got the hang of it, though, I loved the light, bouncy curls it created. I've been looking for an easy way to create that sleek '90s blowout at home for a long time, and luckily, I think I've found it. Overall, I'll be honest. I'm fully aware that the price is pretty steep, and if you have thick hair, some of you may not be able to justify spending $600 on it if you have to go in with a flat iron first. For such an expensive hair tool, I would hope they would at least give the option to up the heat settings for coarser hair types since they're more resistant to styling and need more heat to curl/straighten."
Final Rating: 3.5/5
Katie Berohn, Beauty Editor
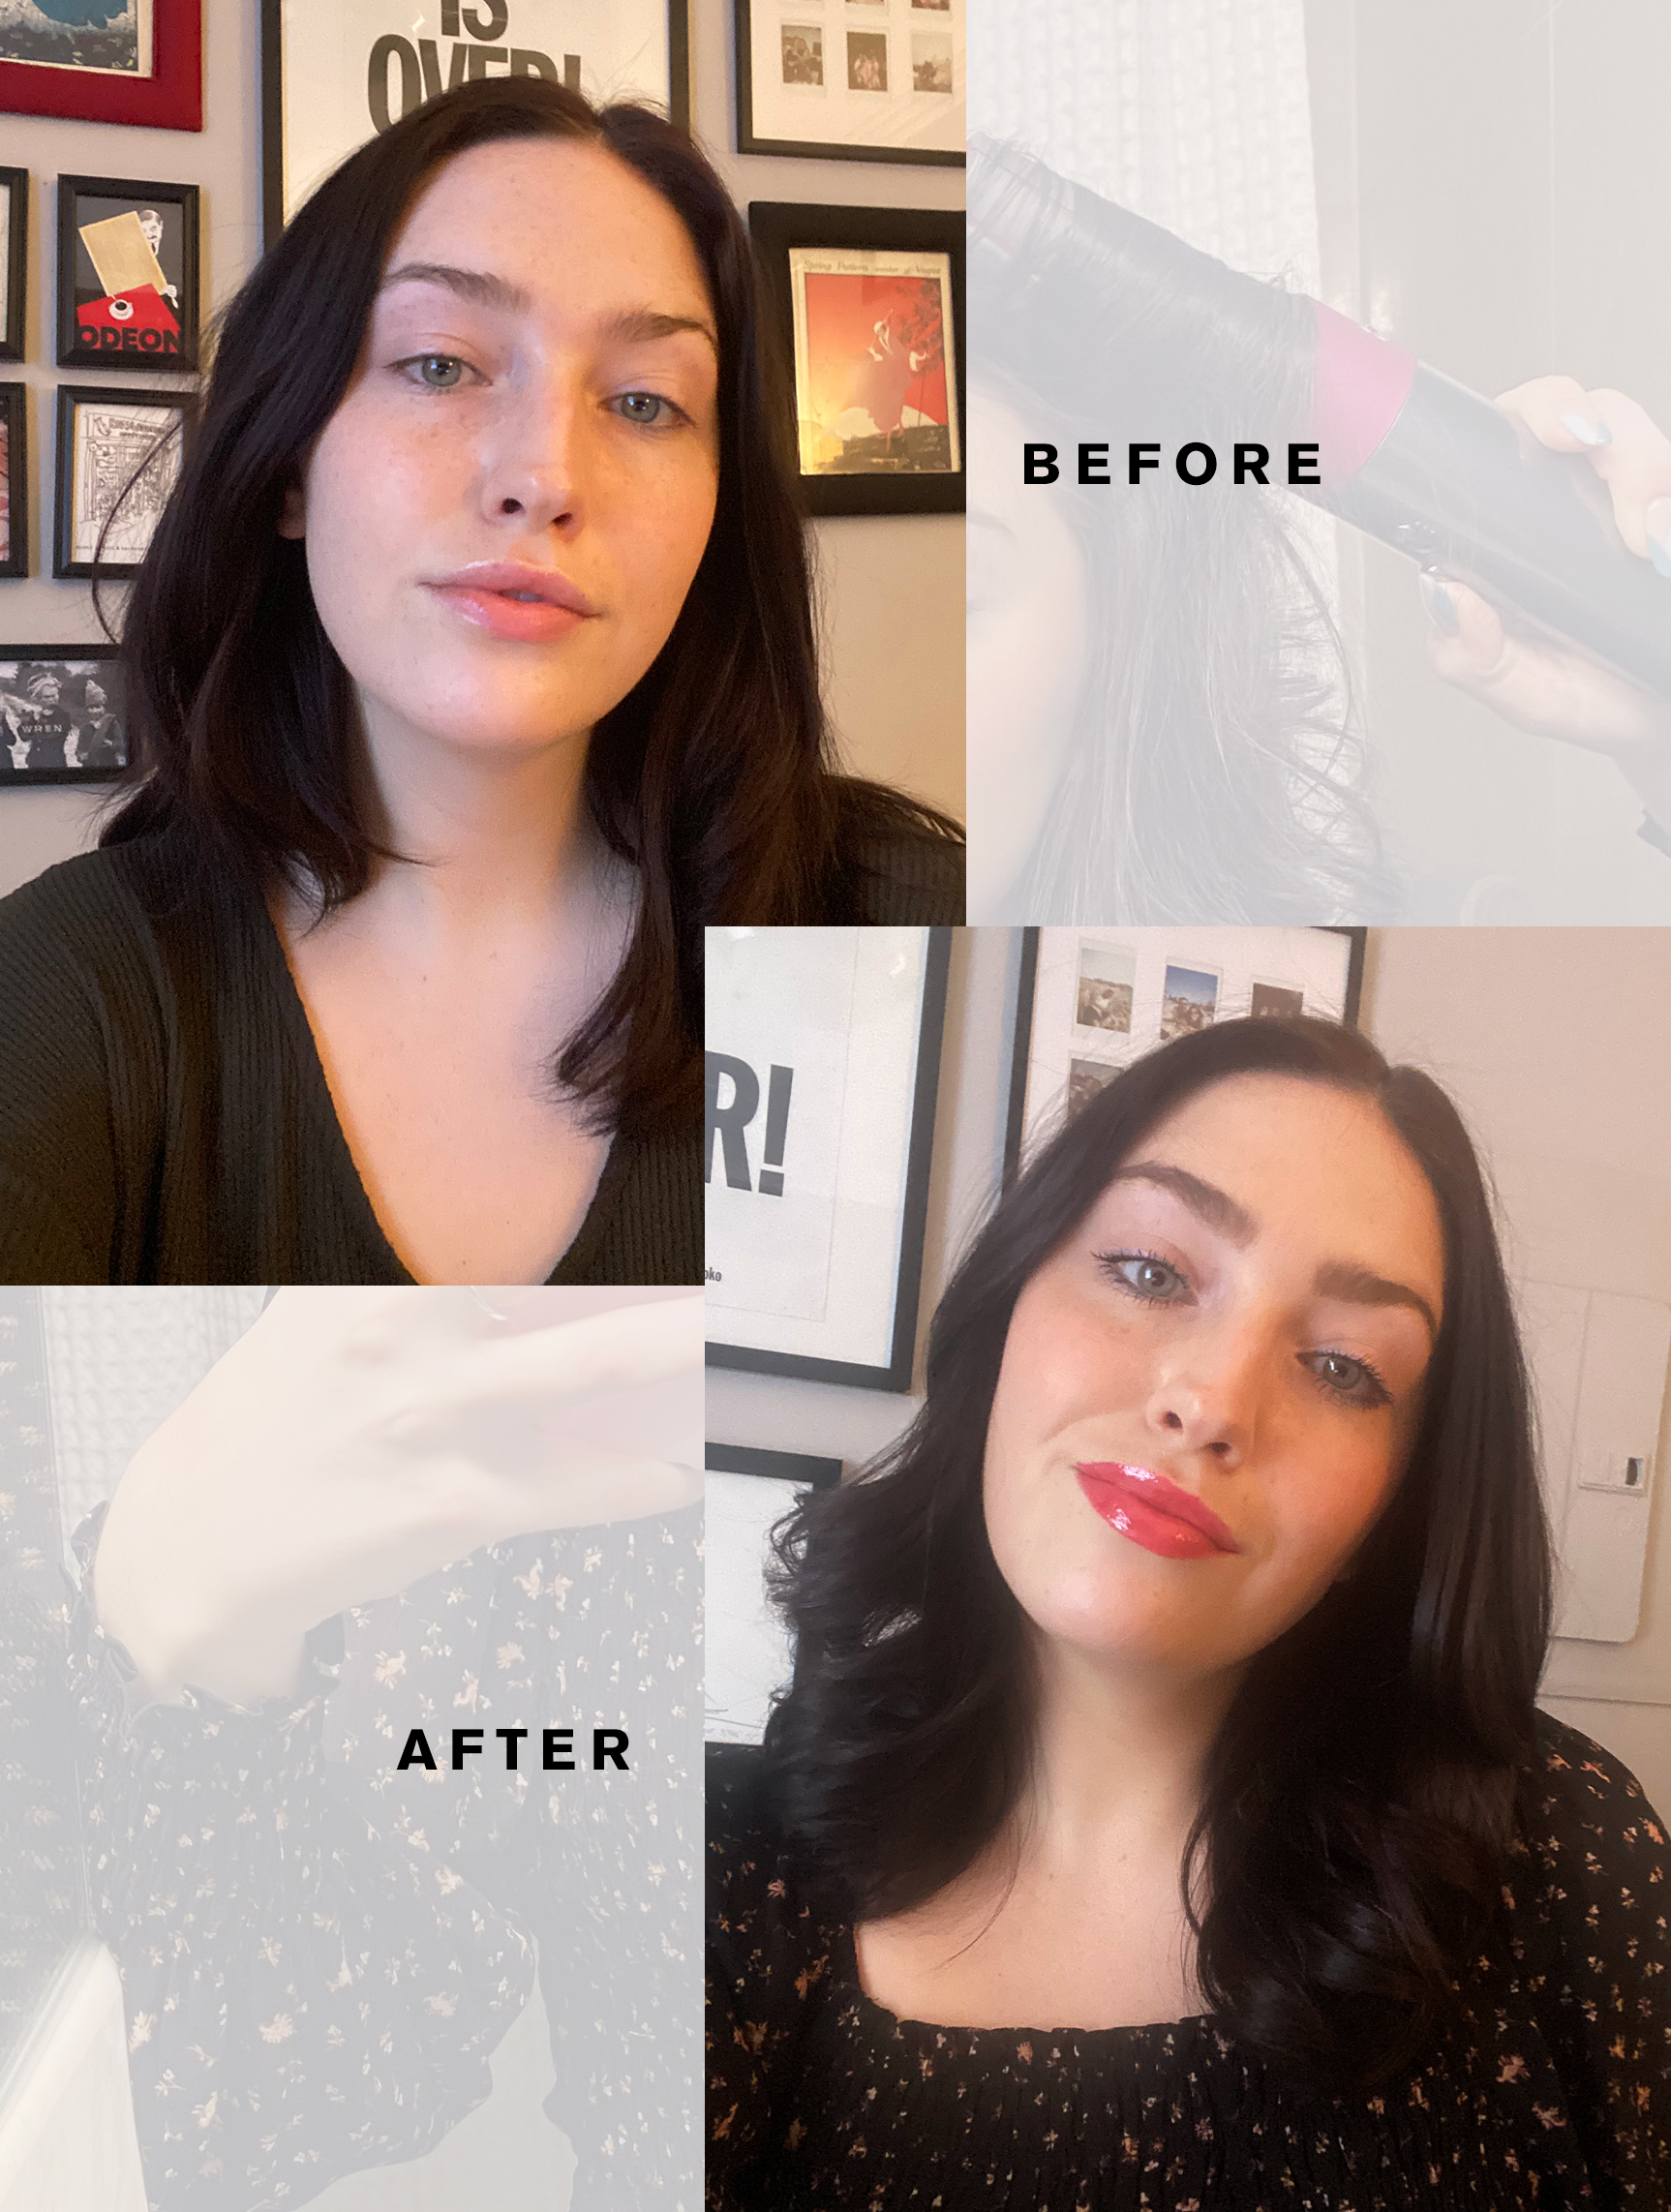
Hair type: Super thick, wavy
Hair length: Mid-length
Hair goal: I want to minimize the amount of time and effort it takes to style my hair.
"If you were to ask me what I'm bad at, the first thing on the list would be blow-drying my hair. I do not know my way around a hair dryer. I have really thick hair that feels like it takes hours to blow-dry—my arms get tired, I get sweaty, and my hair never ends up looking good at all. For a long time, I would let my hair air-dry and add curls in or straighten from there because it just felt easier to me.
"For obvious reasons, I've been intrigued by the Dyson Airwrap ever since it was released. After trying it out, everyone kept asking me if I'd gotten my hair blown out. The Airwrap is pricey, but for the effect it gives, it's 100% worth it. At a salon, an average blowout is around $50, so if you use your Airwrap 12 times, it will already make up for it."
Final rating: 5/5
How to Use the Dyson Airwrap
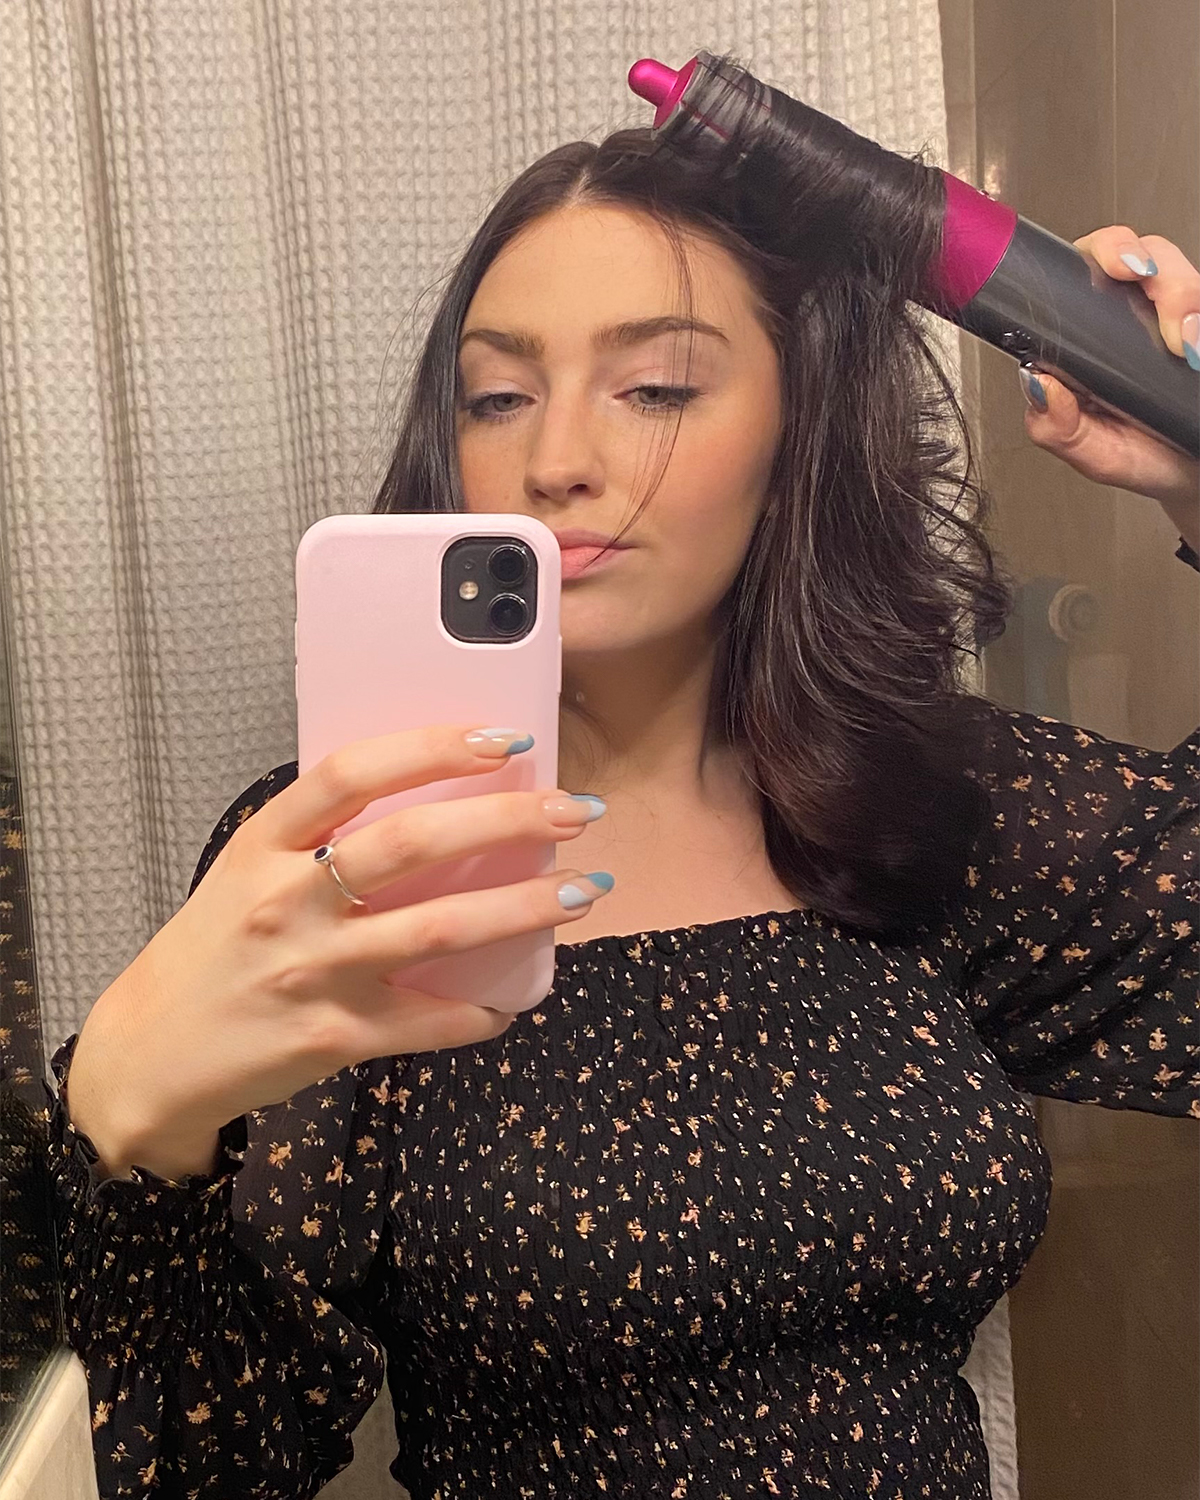
You can start with damp or dry hair. If you're using the curl attachments, follow the arrows to see which direction the air will flow to choose a barrel. For example, if you want your hair to curl outward, you'll have to switch the notch at the top of the barrel and vice versa. For brush attachments, you'll just choose one.
To create curls that hold their shape, choose both high heat and airflow and hold for 15 seconds. If you're using a brush attachment, steadily brush down your hair. For curls, finish with a cold shot for five seconds to set them. Work around your whole head, switching the airflow for the curling barrels on the other side.
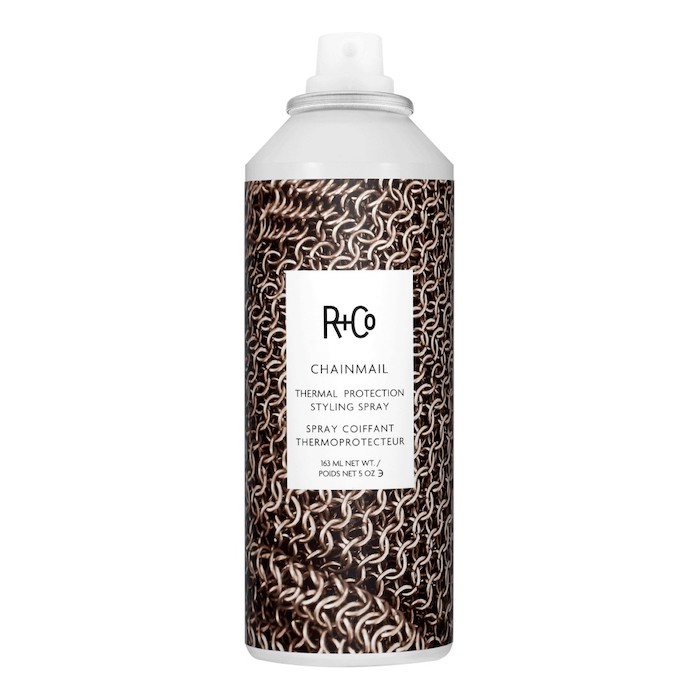
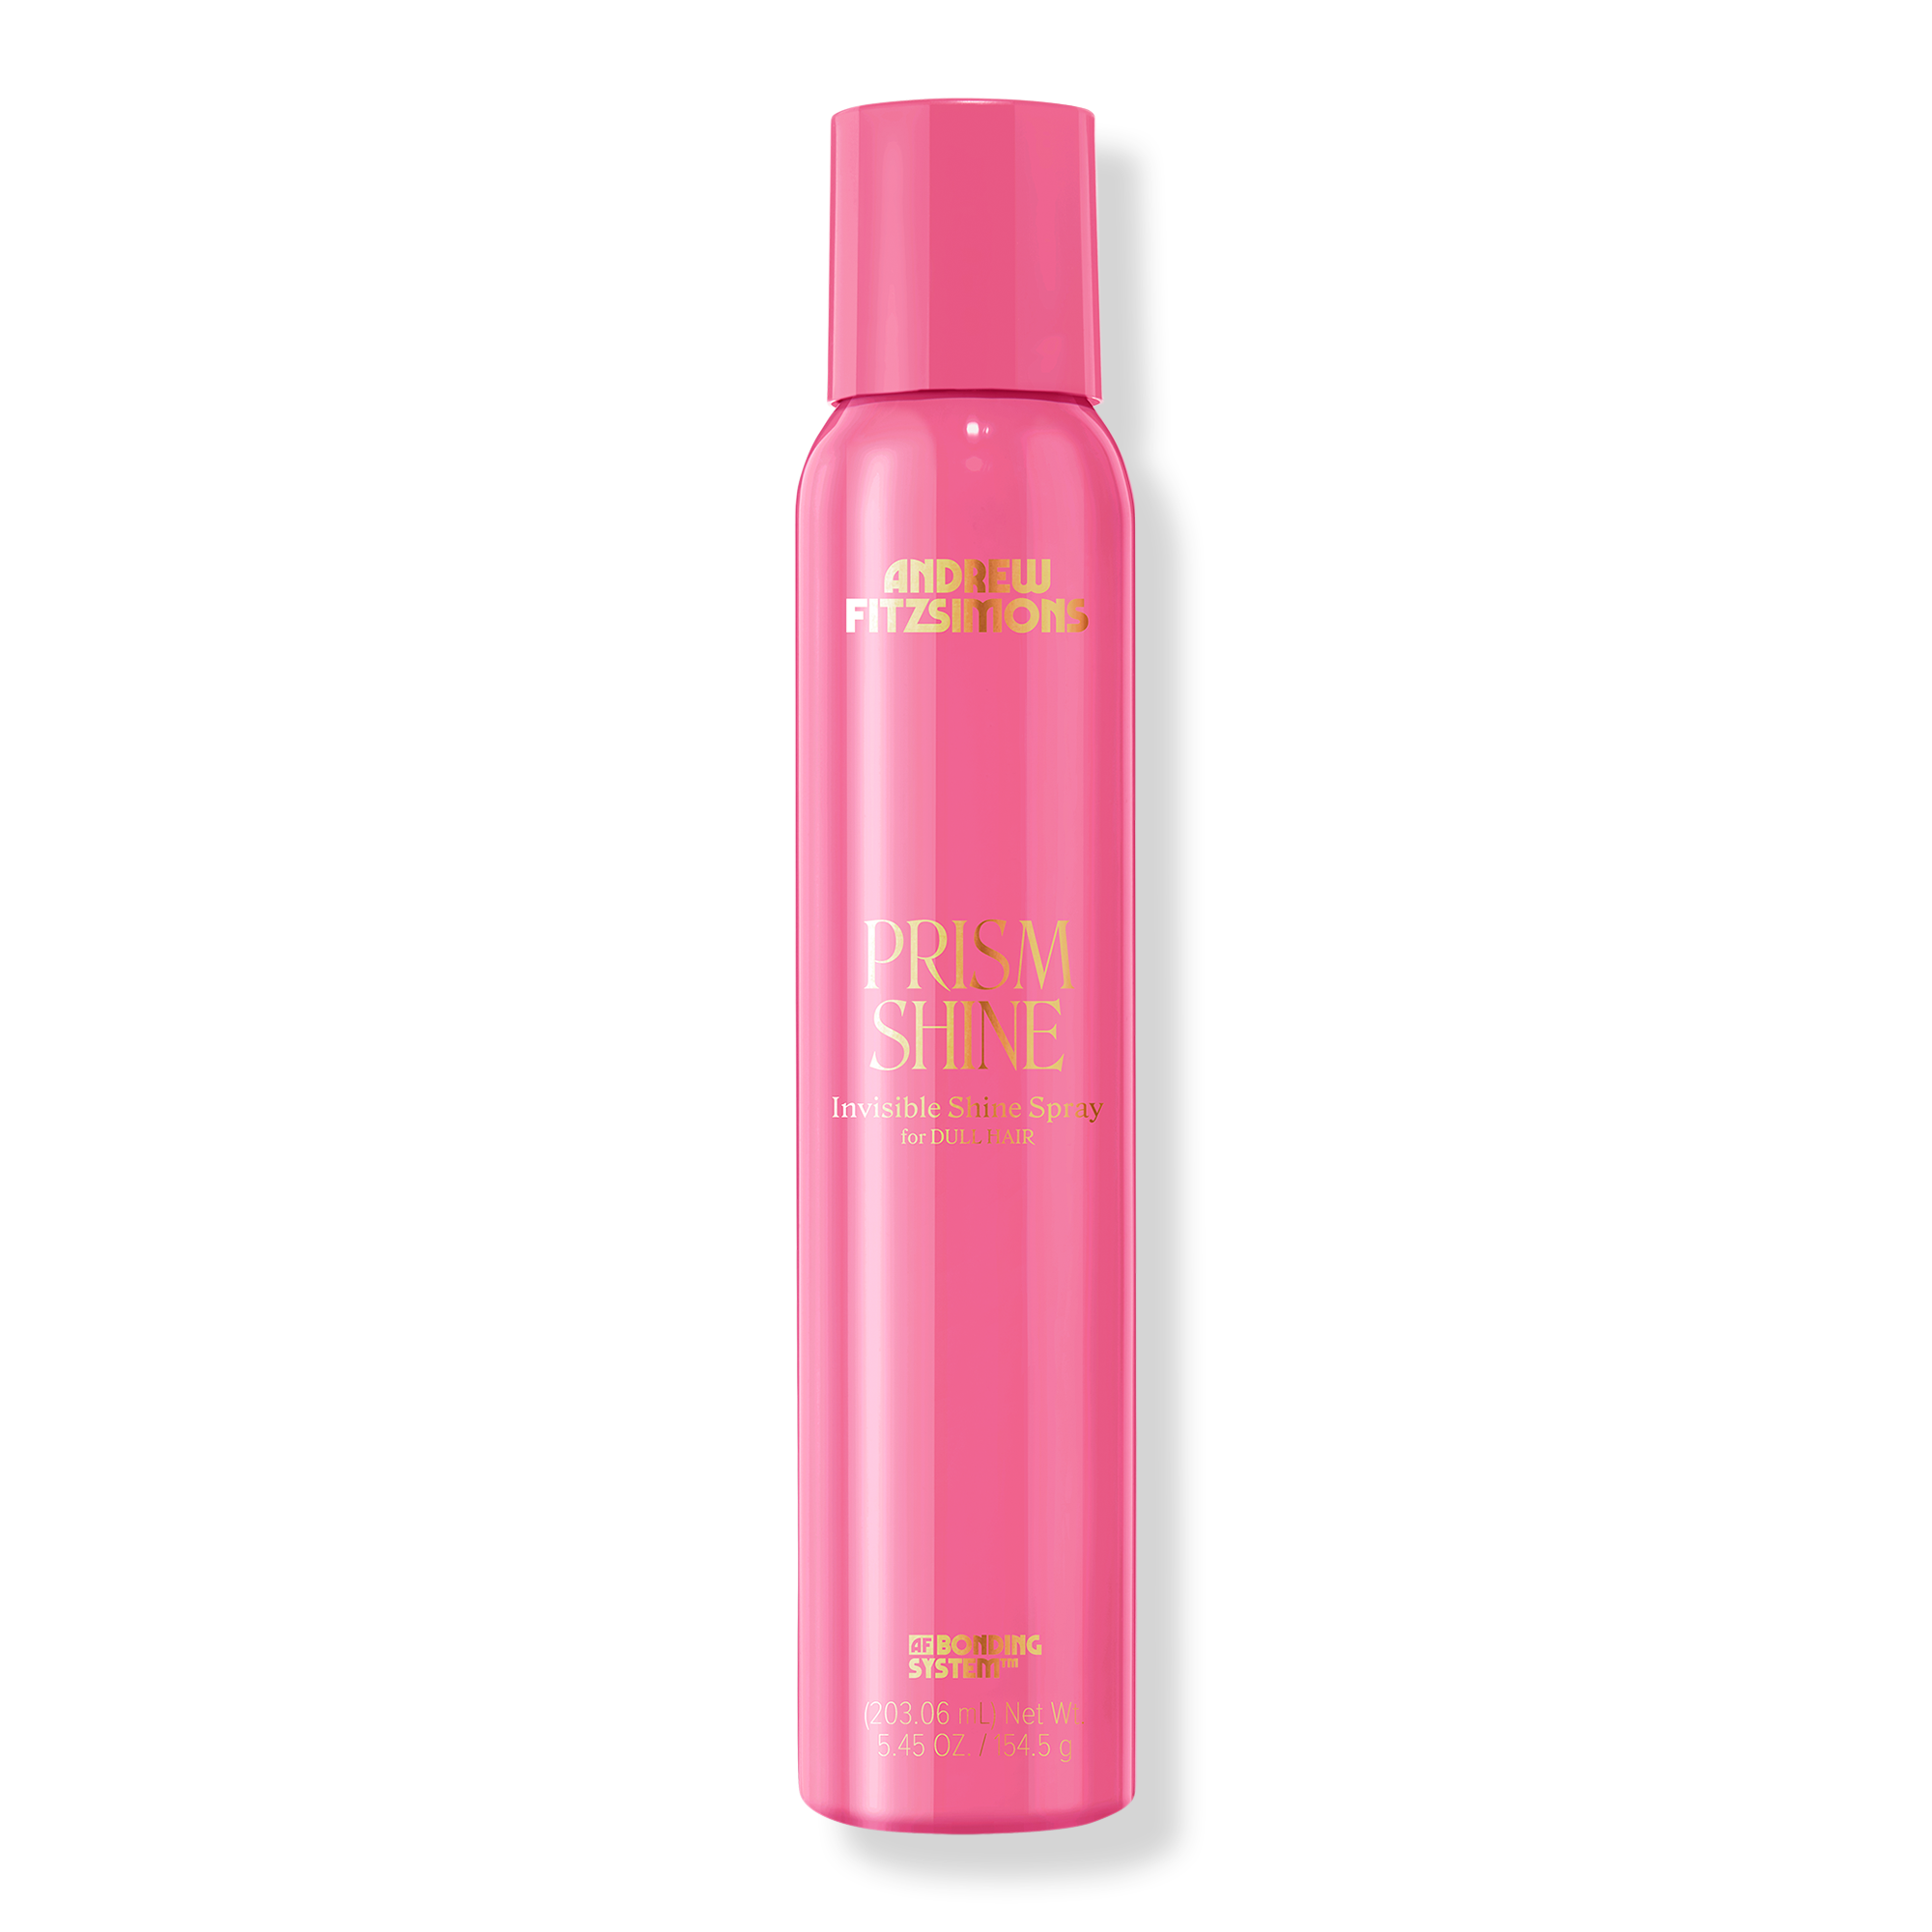
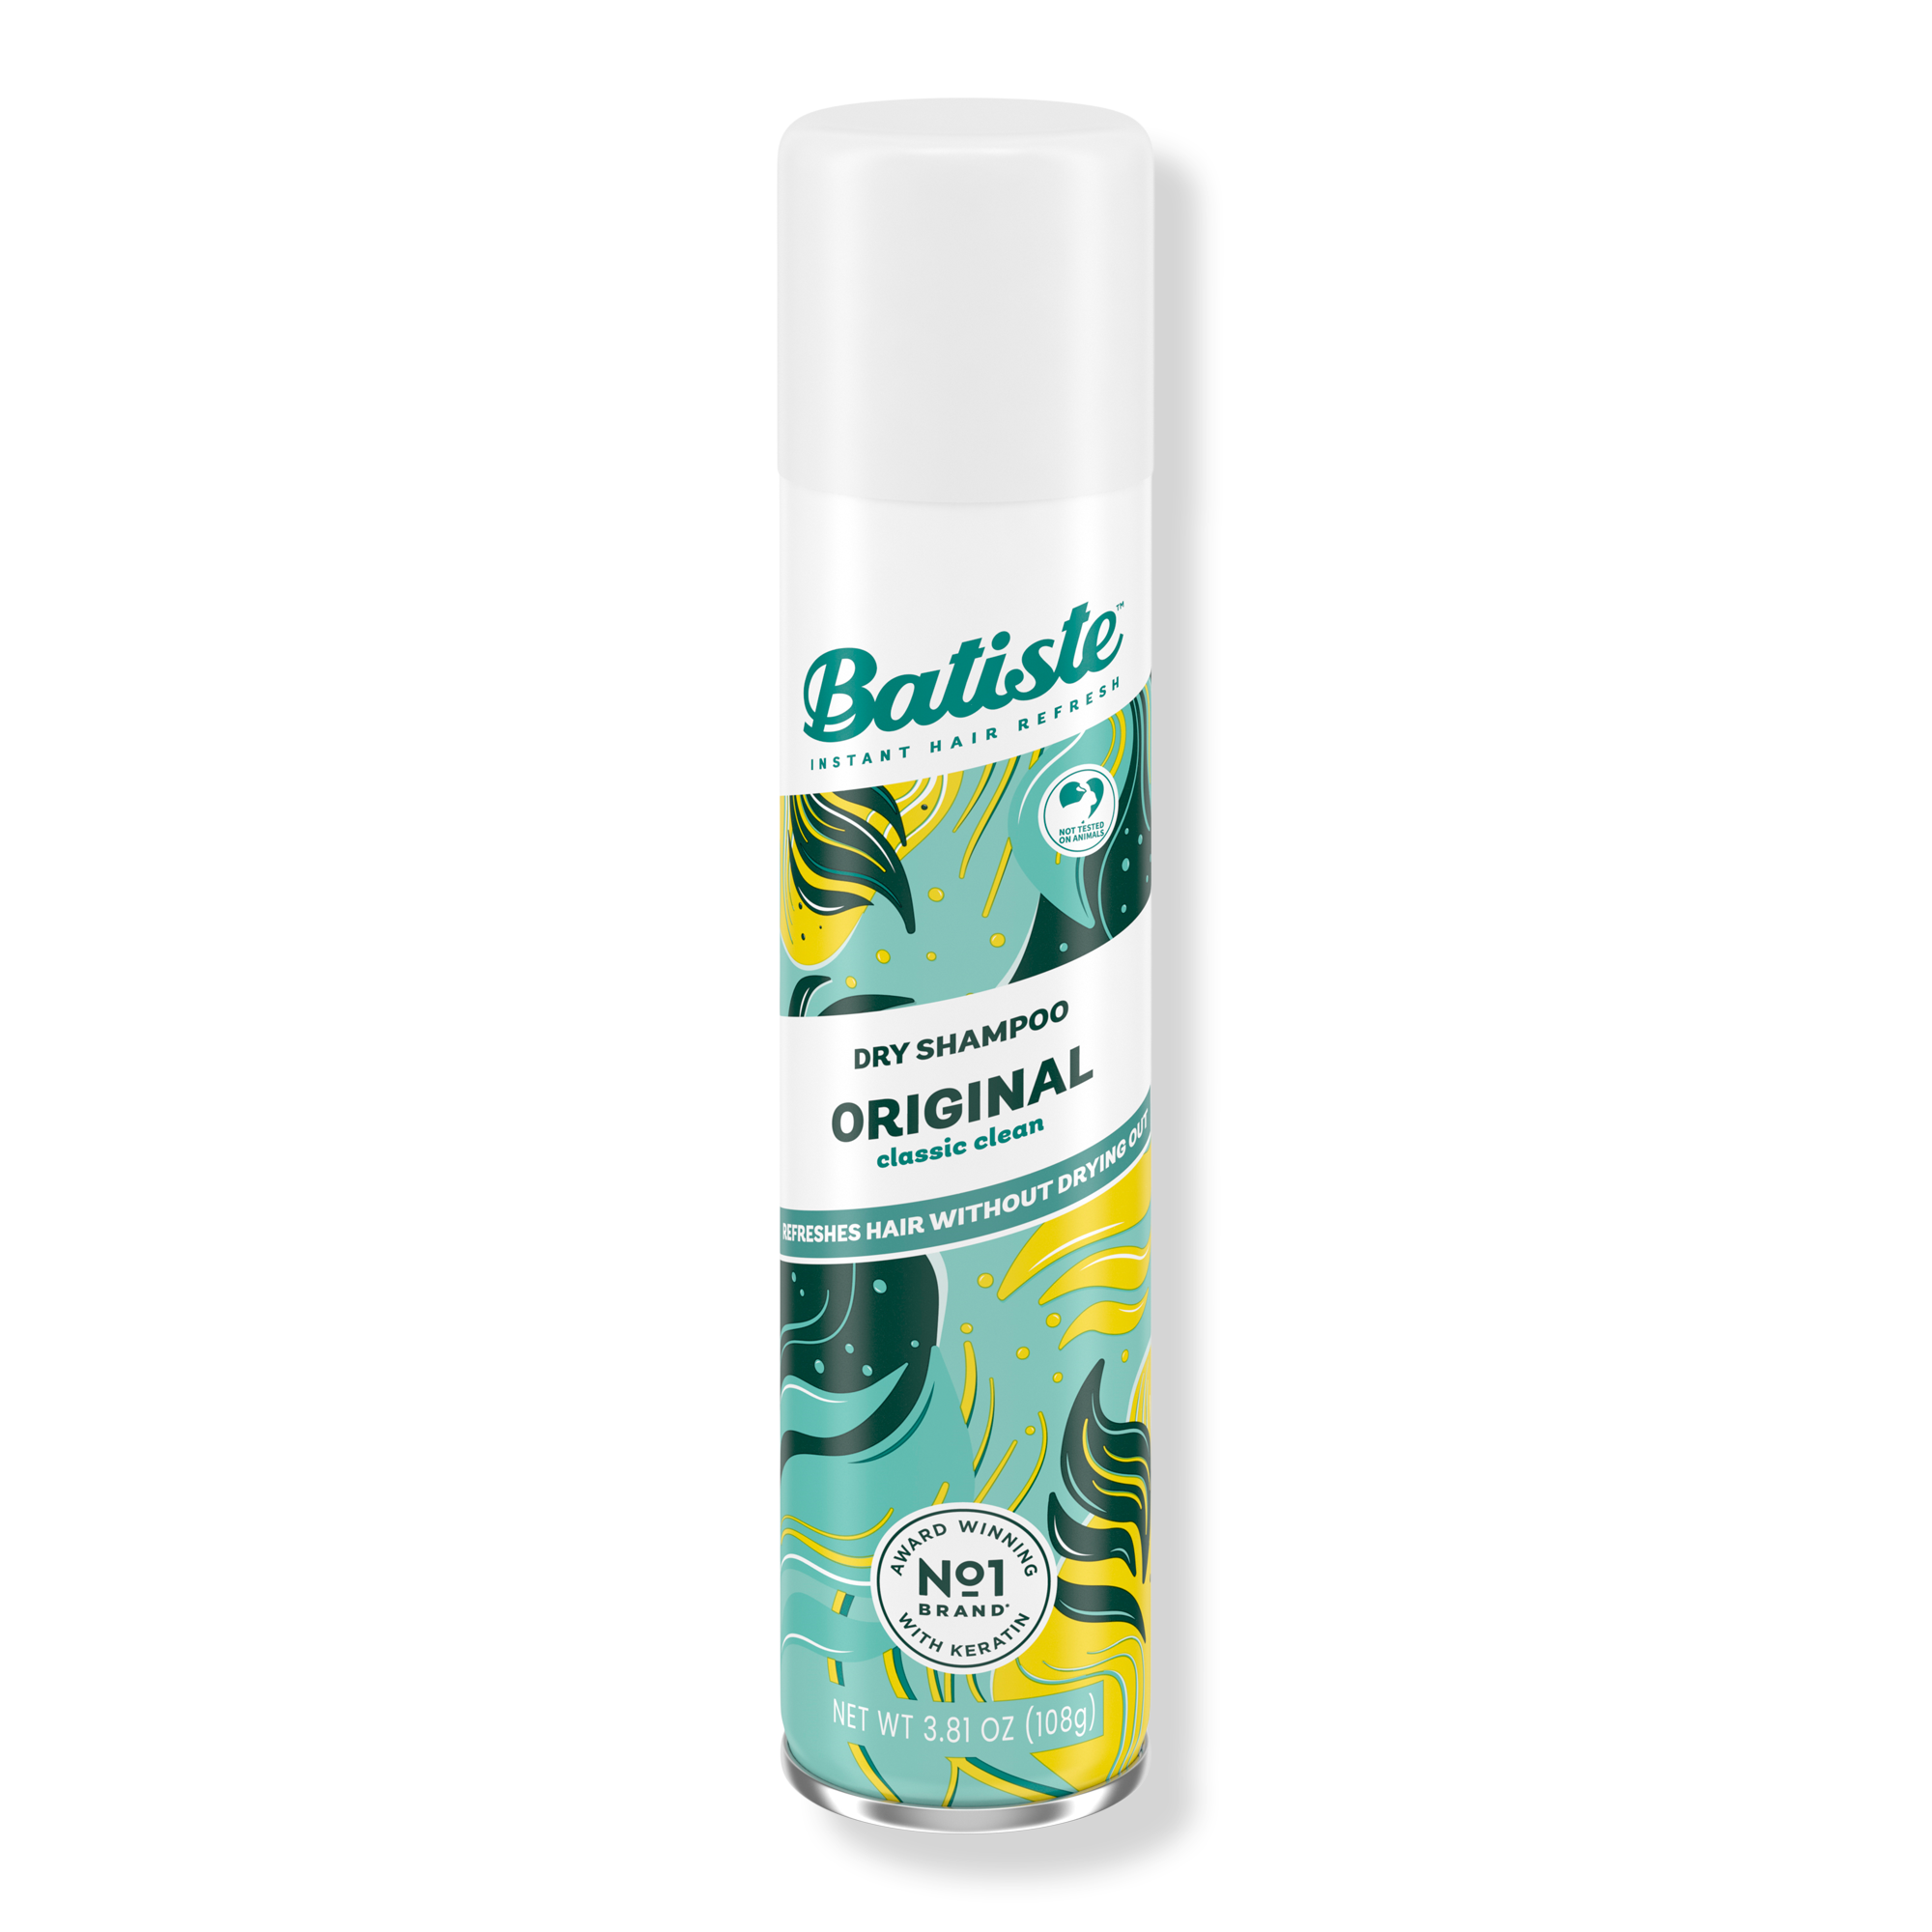
10 Styling Products to Use With the Dyson Airwrap
This article was originally published at an earlier date and has since been updated.
Prior to her time at Who What Wear, Katie Berohn worked as the beauty assistant for Good Housekeeping, Woman's Day, and Prevention magazines, all part of the Hearst Lifestyle Group. She graduated from the University of Colorado, Boulder, with a major in journalism and minor in technology, arts, and media, and earned her master's degree at NYU's graduate program for magazine journalism. In addition, Katie has held editorial internships at Denver Life magazine, Yoga Journal, and Cosmopolitan; a digital editorial internship at New York magazine's The Cut; a social good fellowship at Mashable; and a freelance role at HelloGiggles.
