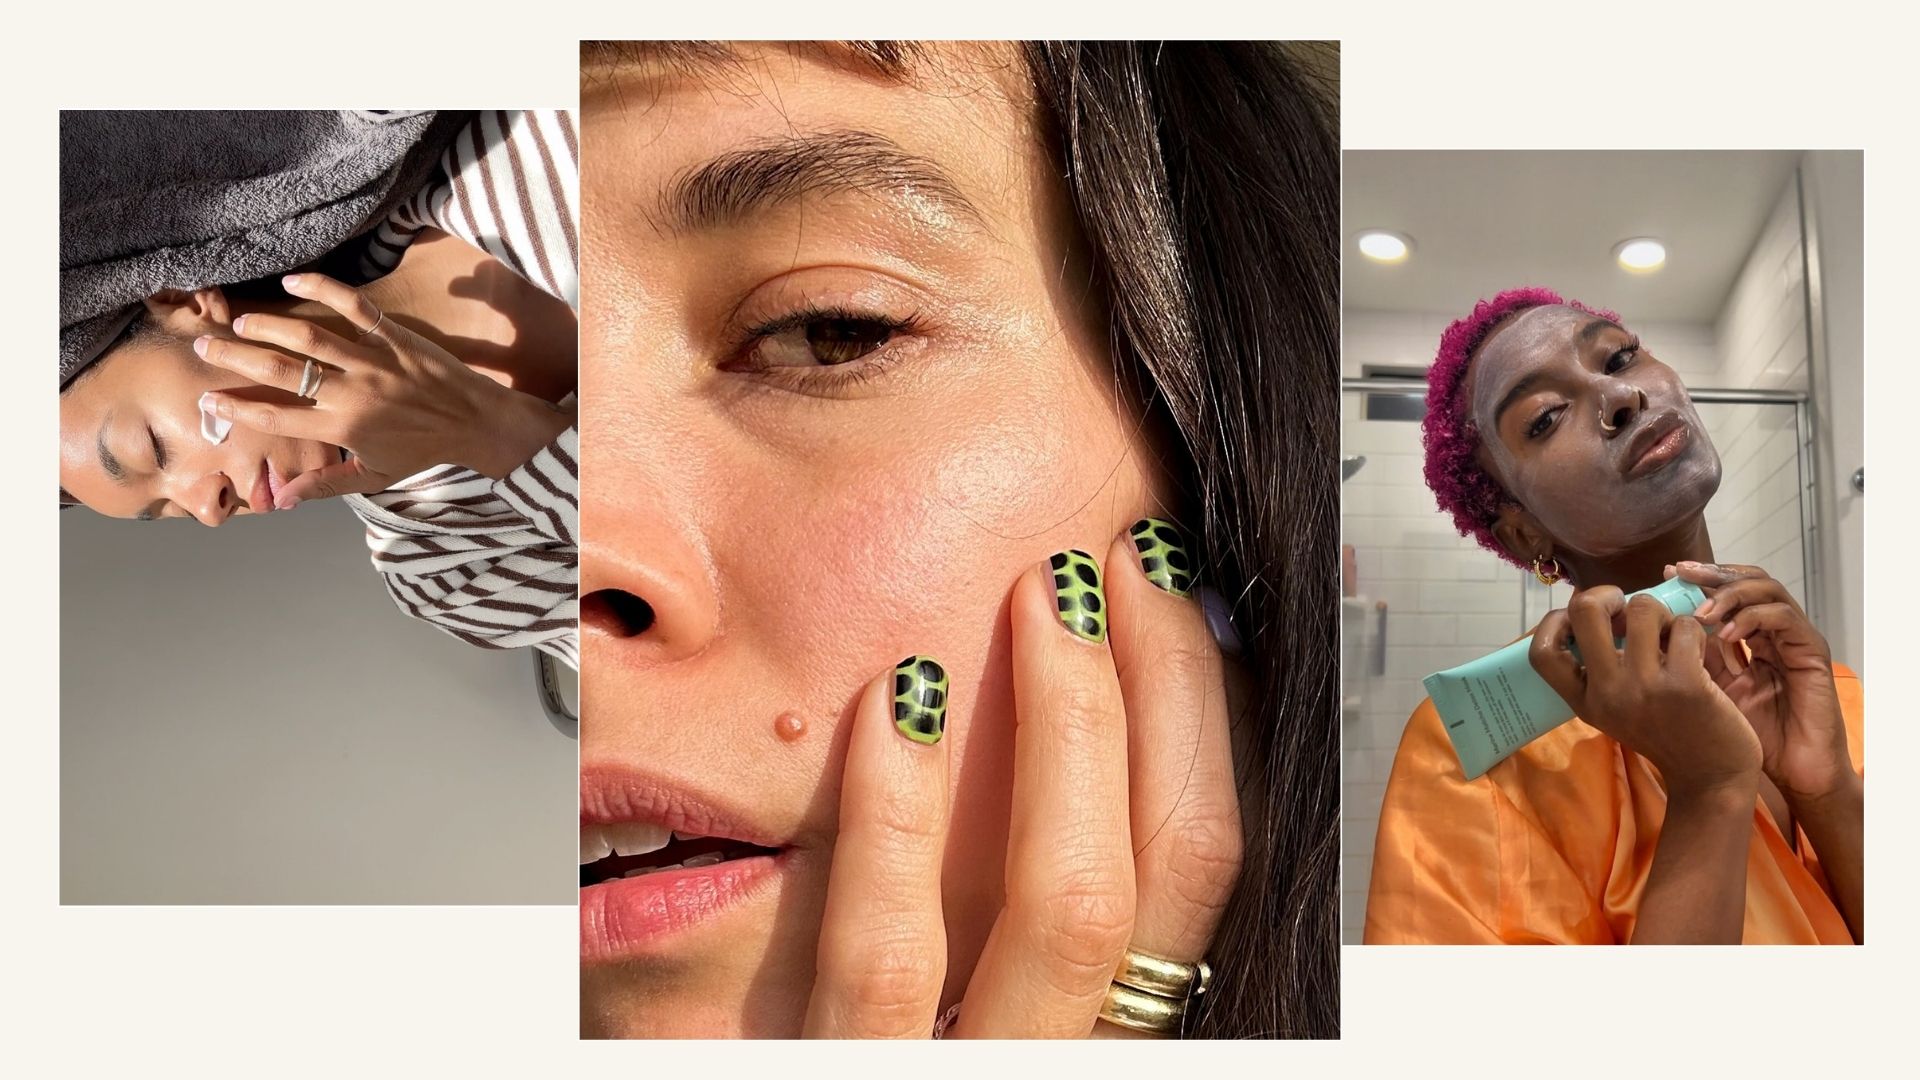
As an esthetician, I get asked this question about skincare routines more often than you might think: “Can I pop this pimple?” And my answer, almost every time, is the same: no. Really. My professional stance is clear—squeezing breakouts is one of the fastest ways to make a minor skin nuisance turn into a long-term regret. When you pop a pimple, you risk pushing bacteria deeper into the skin, increasing inflammation, prolonging healing time, and, worst of all, leaving a permanent mark or scar. It’s like turning a one-day inconvenience into a one-year reminder. Plus, even if the pimple looks small and harmless on the surface, the damage underneath is often invisible, but very real.
With that said, I understand why so many people can’t resist. There’s an undeniable satisfaction in seeing a blemish finally release what’s inside. Many of my clients confess that the urge hits them at the worst possible moments—right before an important event or a night out. And while I would never recommend it as a frequent solution, I like to take a judgment-free, educated approach. If someone is going to pop a pimple anyway, it’s far safer to do it properly, minimising the risk of scarring, infection, or irritation as much as possible. My job is to provide a method that reduces these risks, helping clients navigate the temptation without compromising their skin health.
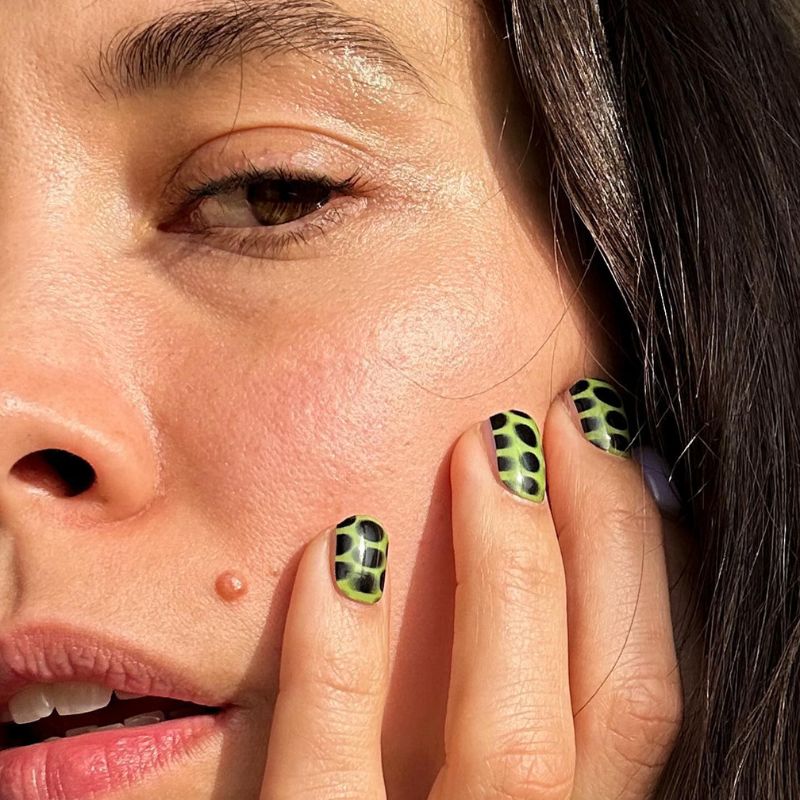
In this guide, I’ll walk you through the safest, most hygienic way to pop a pimple—step by step, and based on professional practices I use in my facials. From prepping the skin to aftercare, following these steps can significantly reduce complications. But if you’re not ready to touch your spots at all, don’t worry, I’ll also cover effective alternatives like spot patches and gentle acne products and treatments that encourage healing without any risk of damage. Consider this both a guide and a reminder—patience and proper technique are your skin’s best friends.
A Step-By-Step Guide to Popping Pimples
Step 1: Assess the Pimple
Before you reach for anything, take a close look at the pimple. Not all spots are created equal, and knowing whether it can safely be popped is critical. Whiteheads with a visible, soft tip are usually ready for gentle extraction, while red, inflamed pustules, cystic pimples, or nodules should never be squeezed. These deeper blemishes are highly prone to scarring and infection if manipulated. Look for swelling, tenderness and a clearly defined head. If it doesn’t feel ready, leave it alone and wait for a head to appear. Assessing the pimple first prevents unnecessary trauma and ensures that only blemishes likely to respond safely are addressed.
Step 2: Cleanse Thoroughly
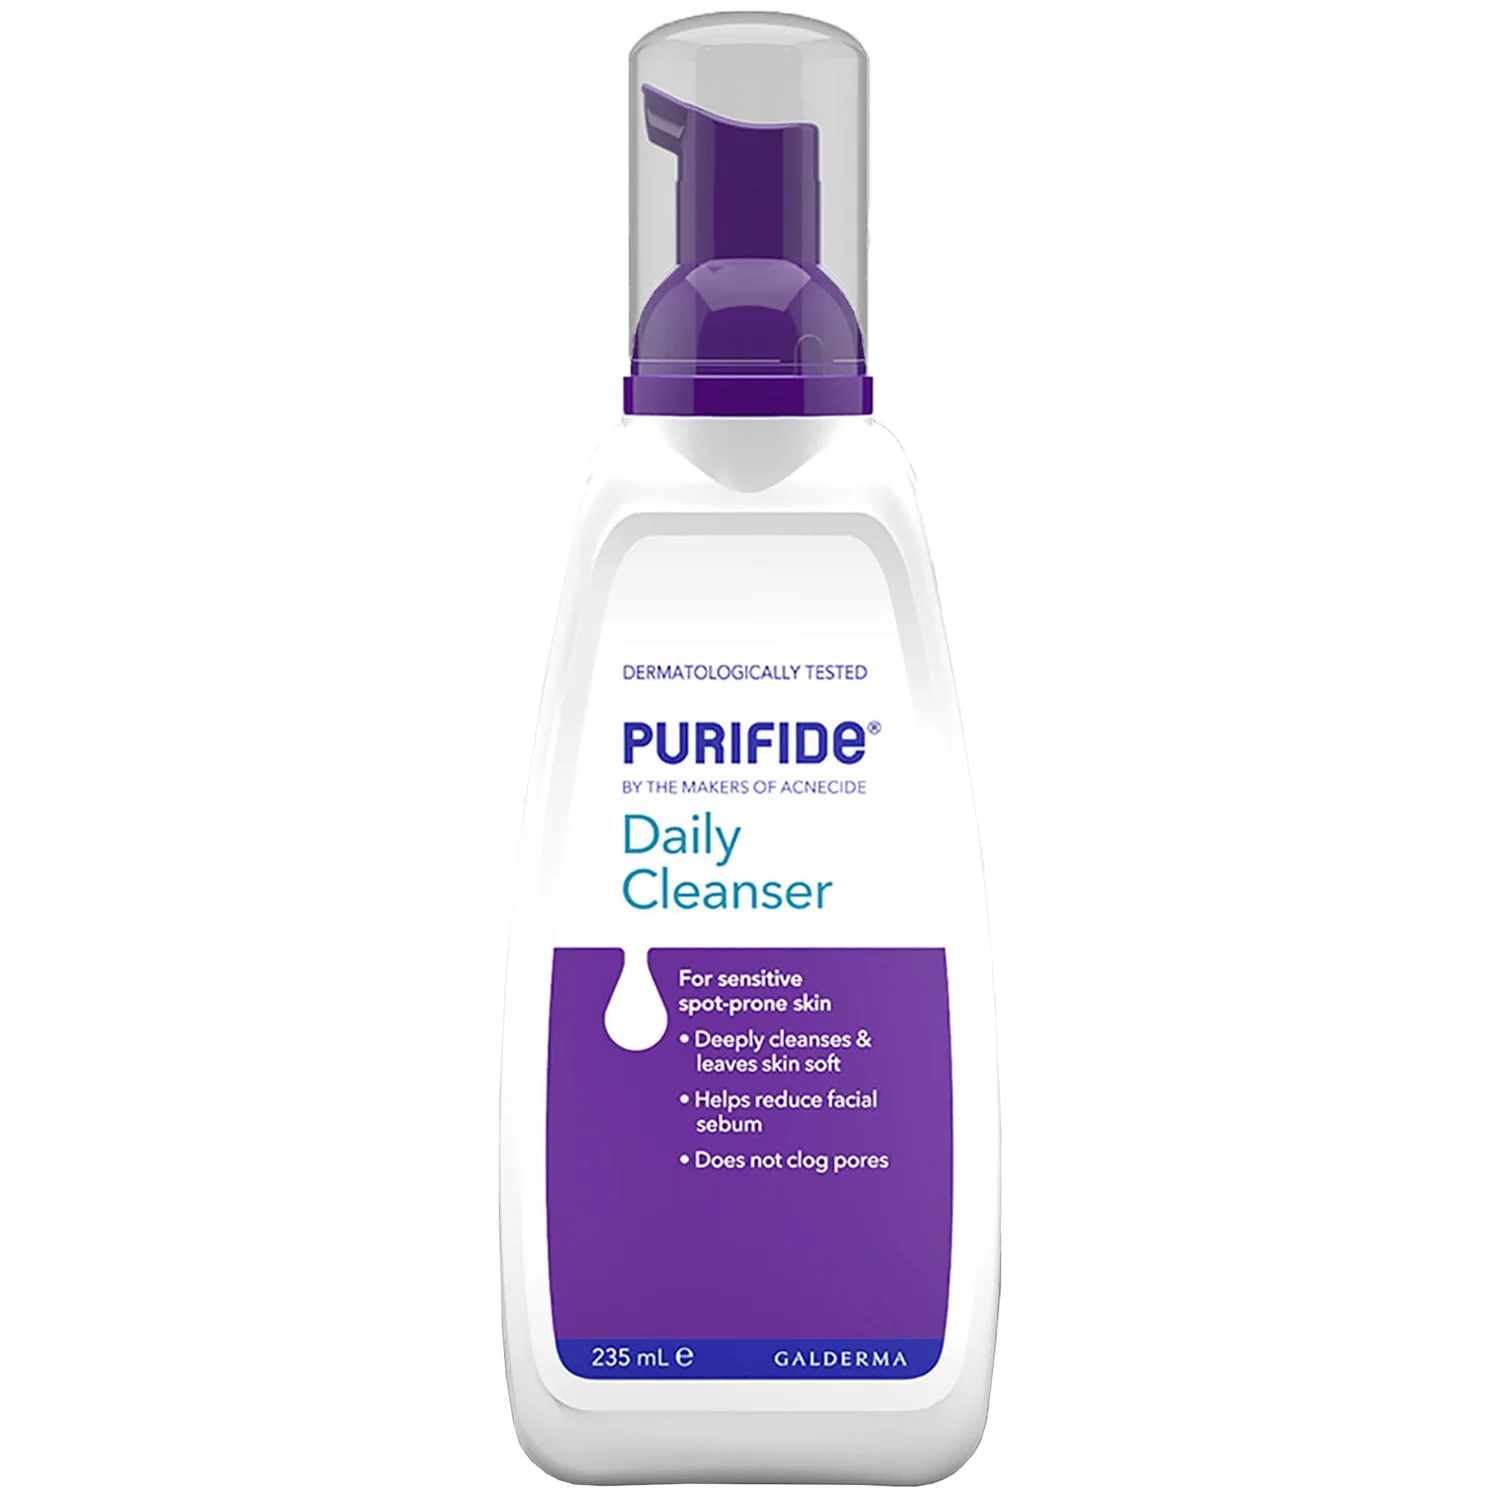
Before you even consider touching a pimple, the first step is to cleanse both your hands and face meticulously. Wash your hands for at least 30 seconds with soap and warm water to remove oils, dirt and bacteria. Then, gently cleanse your face with a mild, non-comedogenic face wash to ensure the area around the pimple is clean and free from debris.
After cleansing, apply a warm compress to the pimple for 5–10 minutes. The warmth softens the skin and draws pus to the surface, making the pimple easier to extract. Skipping this step increases the risk of pushing bacteria deeper and causing inflammation.
Step 3: Sterilise Skin
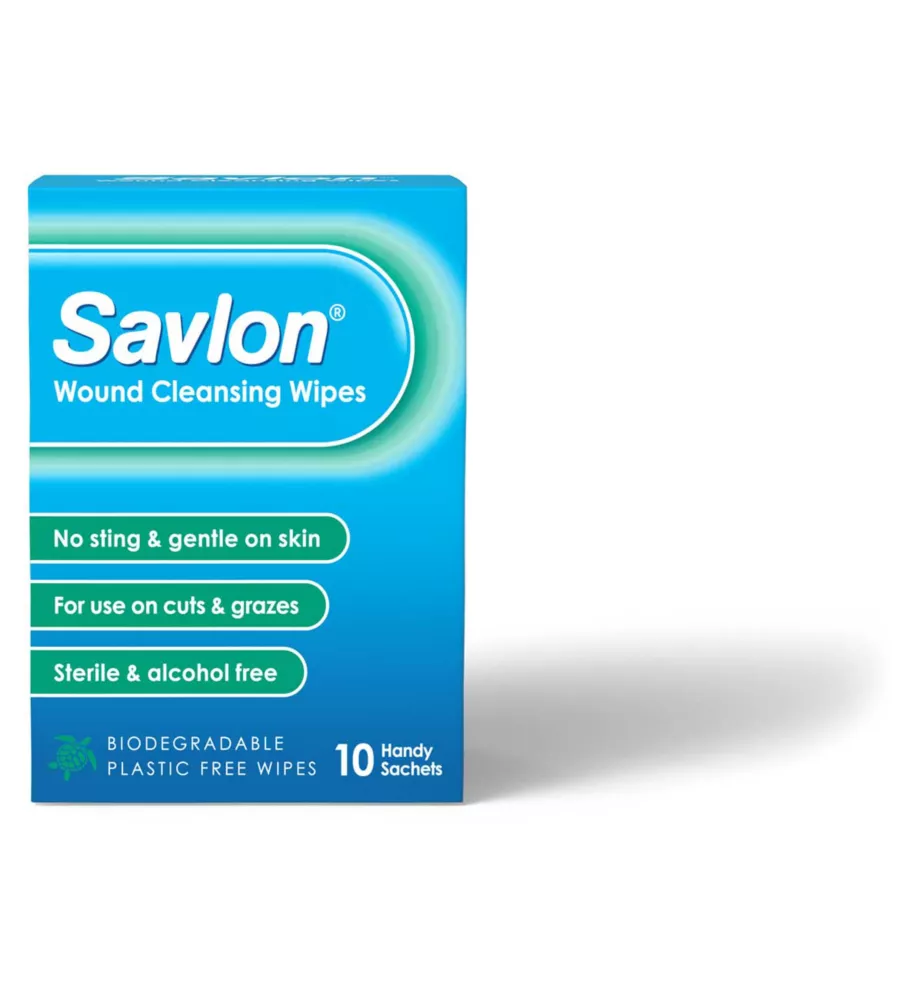
Next, clean the pimple and surrounding skin with an alcohol pad or antiseptic solution. This step is crucial because introducing bacteria to an open pore can quickly lead to infection or a worsening breakout.
Step 4: Apply Gentle Pressure
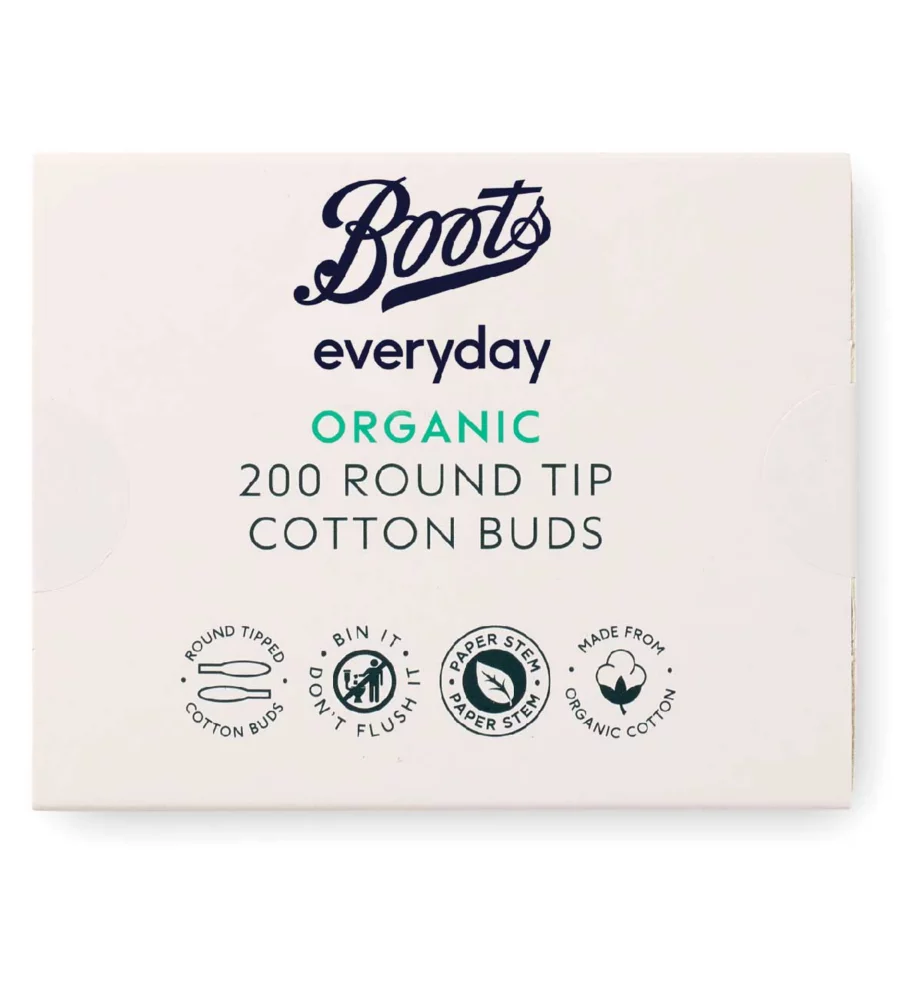
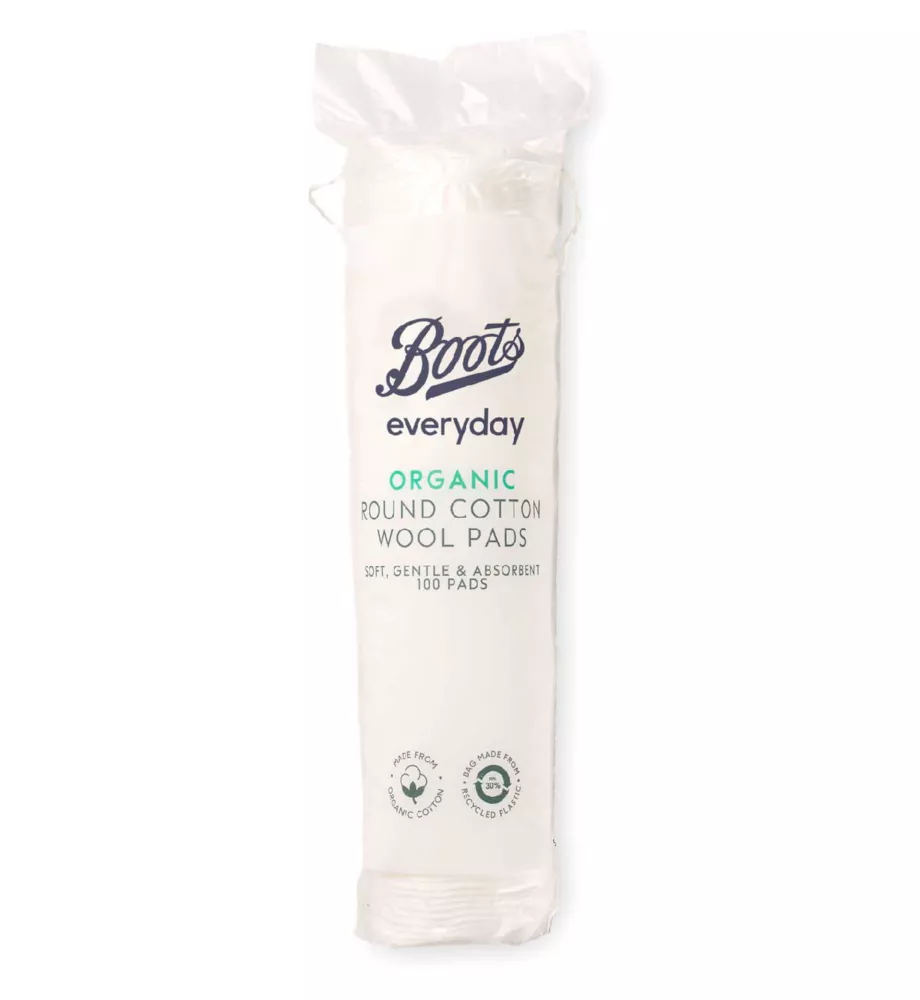
Now comes the fun part. Using two clean cotton swabs, gently press around the pimple, starting from the sides rather than the top. The goal is to encourage the pus to come out naturally, without forcing it, so squeeze the skin around the spot, rather than the spot itself. Wipe any pus away using a clean cotton pad.
If the pimple doesn’t release easily (I have a strict three squeezes rule), stop immediately—forcing it can rupture surrounding tissue, increase inflammation, and even cause scarring. Patience is key here. Many people rush and press too hard, but slow, controlled pressure helps minimise damage and keeps the surrounding skin intact. You’re coaxing the pimple out, not fighting it.
Step 5: Aftercare
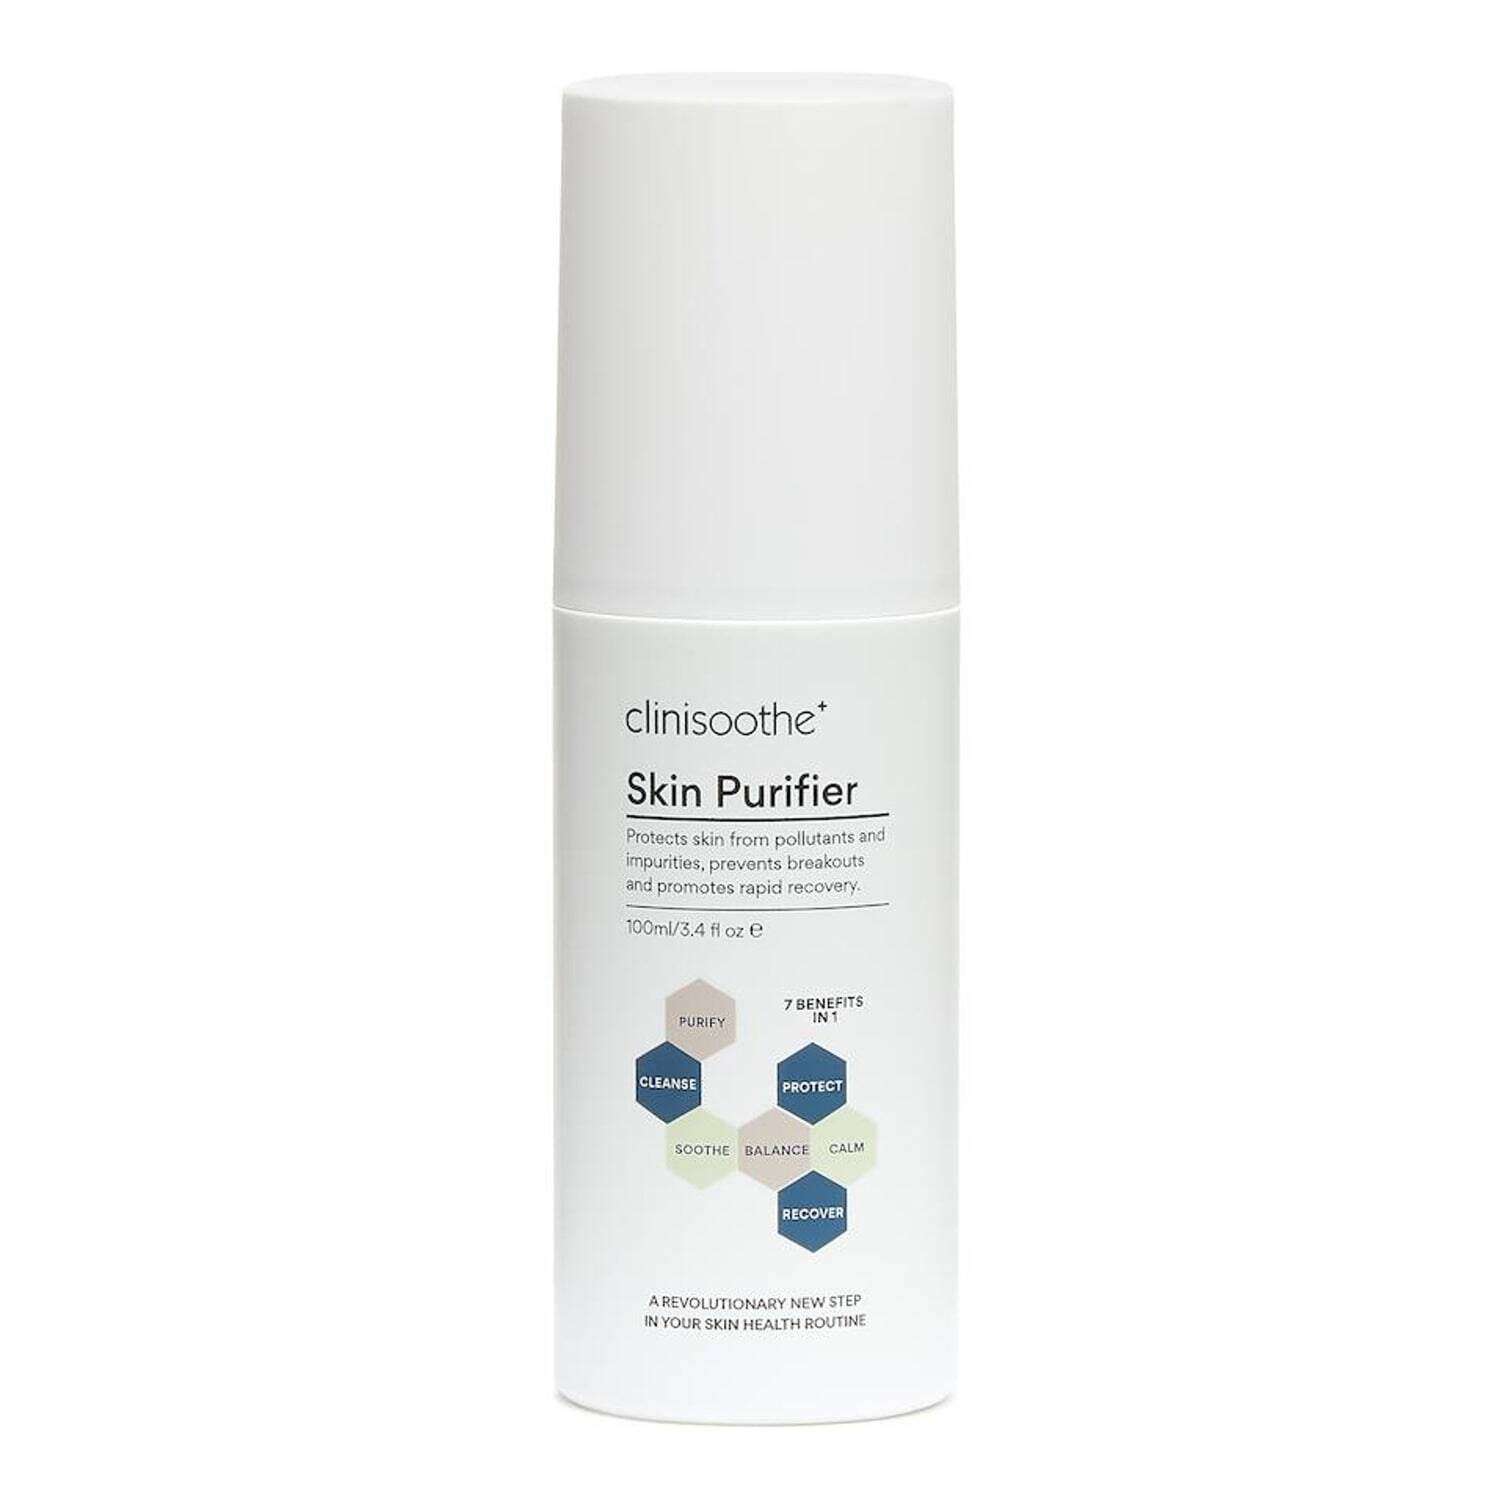
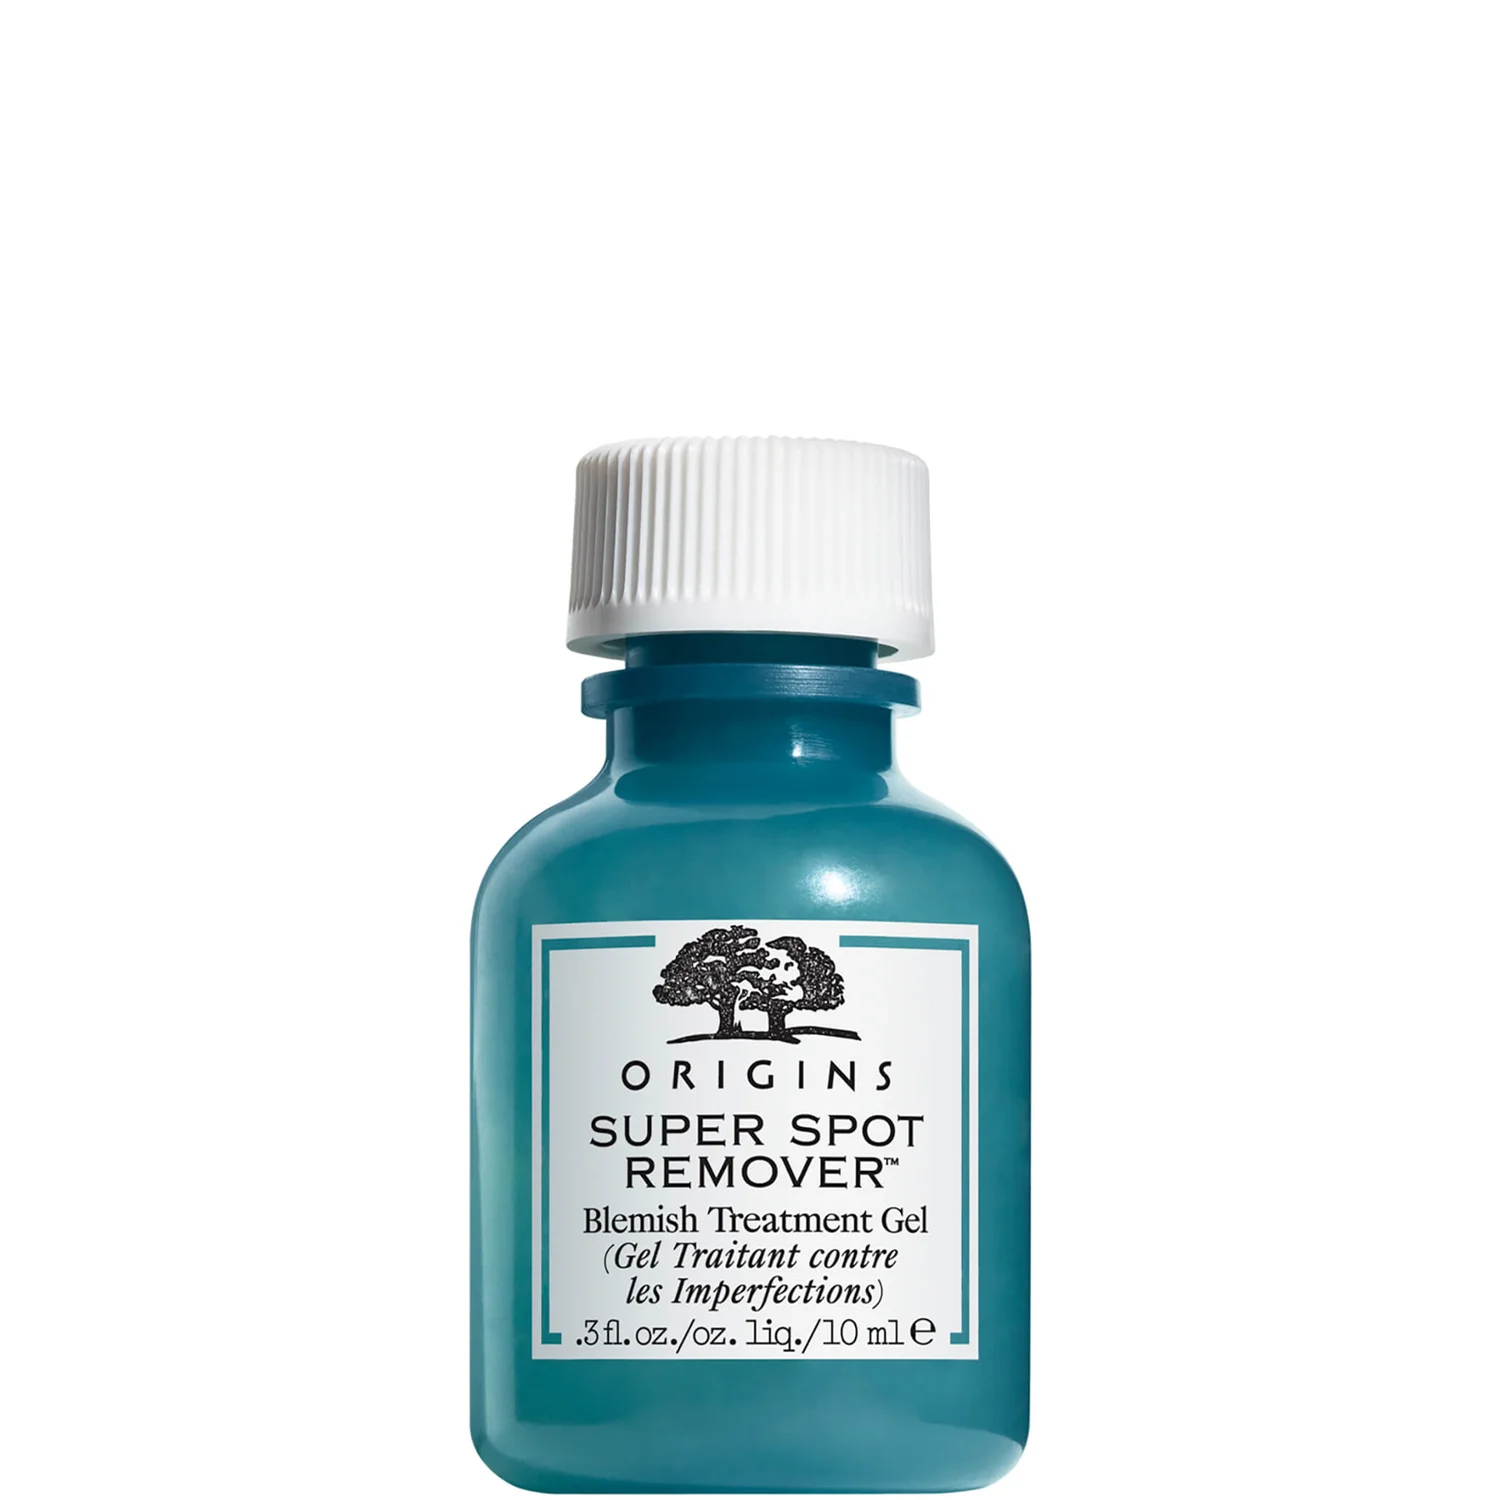
After the pimple has been drained, aftercare is crucial. Mist your face with a hypochlorous acid spray (such as Clinisoothe), then when dry, apply a gentle spot treatment containing antibacterial or anti-inflammatory ingredients, such as salicylic acid, benzoyl peroxide, or tea tree oil. These help prevent infection and calm redness. Avoid touching or picking at the area afterwards, as even slight irritation can prolong healing.
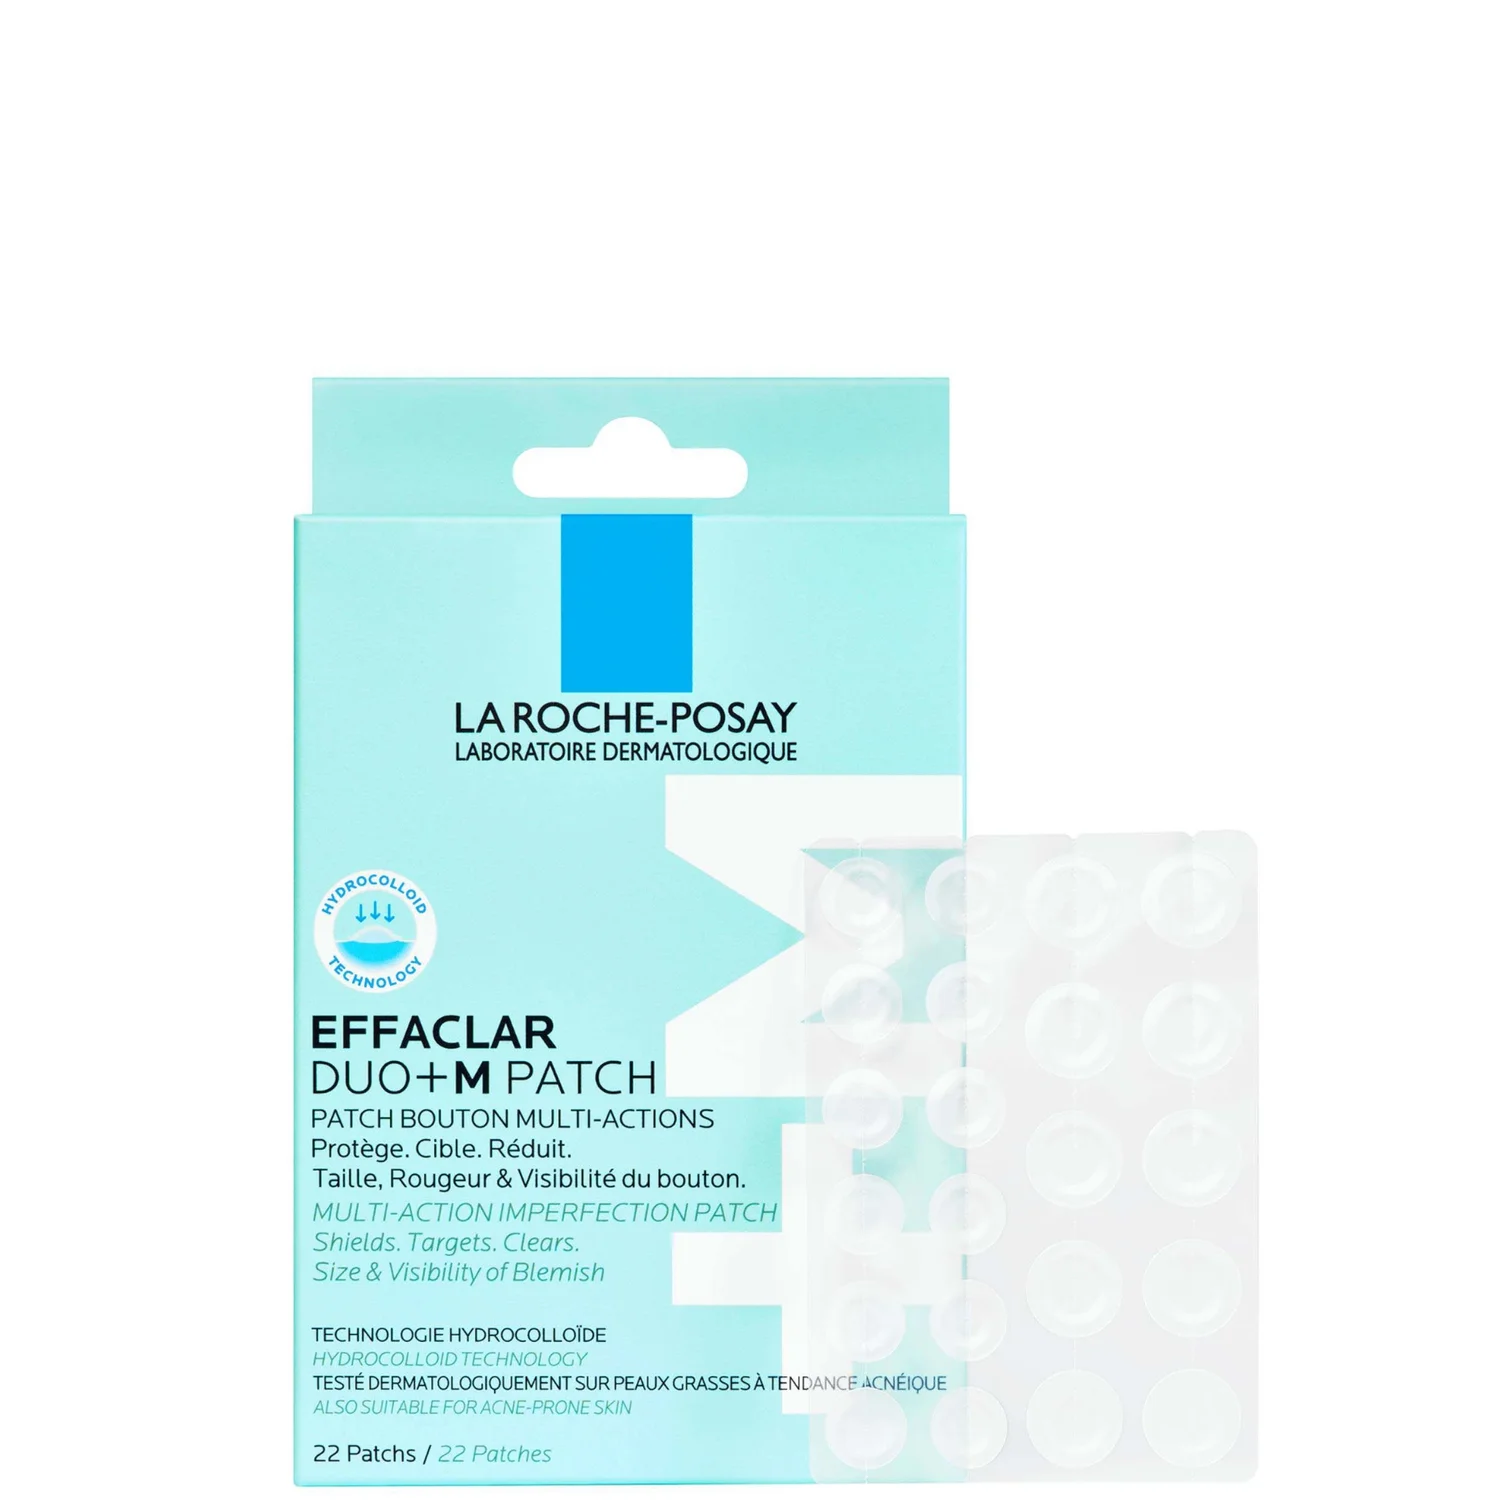
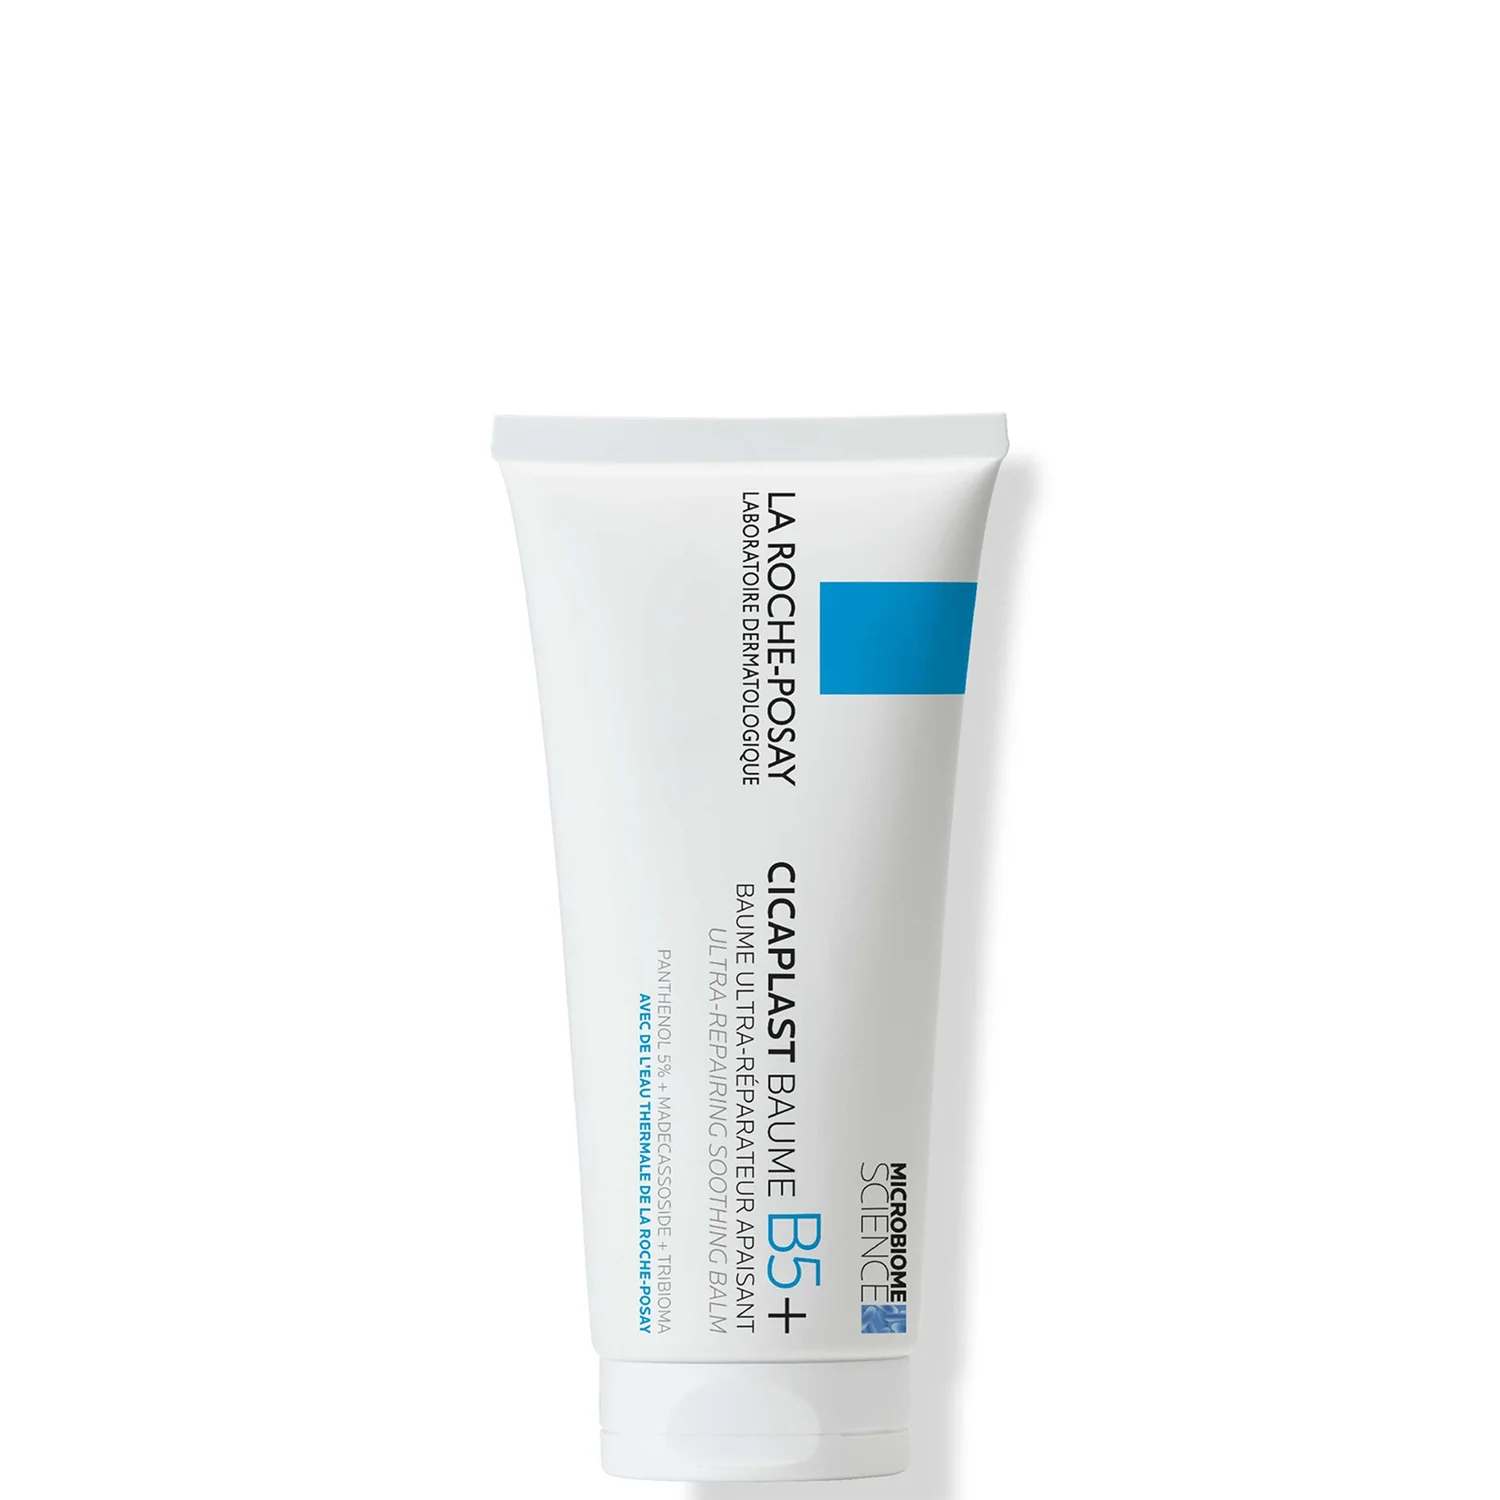
Cleanse your hands again and consider using a layer of soothing moisturiser to support barrier repair. Depending on your skin type, you may also want to apply a hydrocolloid patch overnight to protect the area and absorb any residual fluid. Proper aftercare ensures your skin recovers quickly and minimises scarring.
You Will Need:
Alternatives to Popping Pimples
1. Hydrocolloid Spot Patches
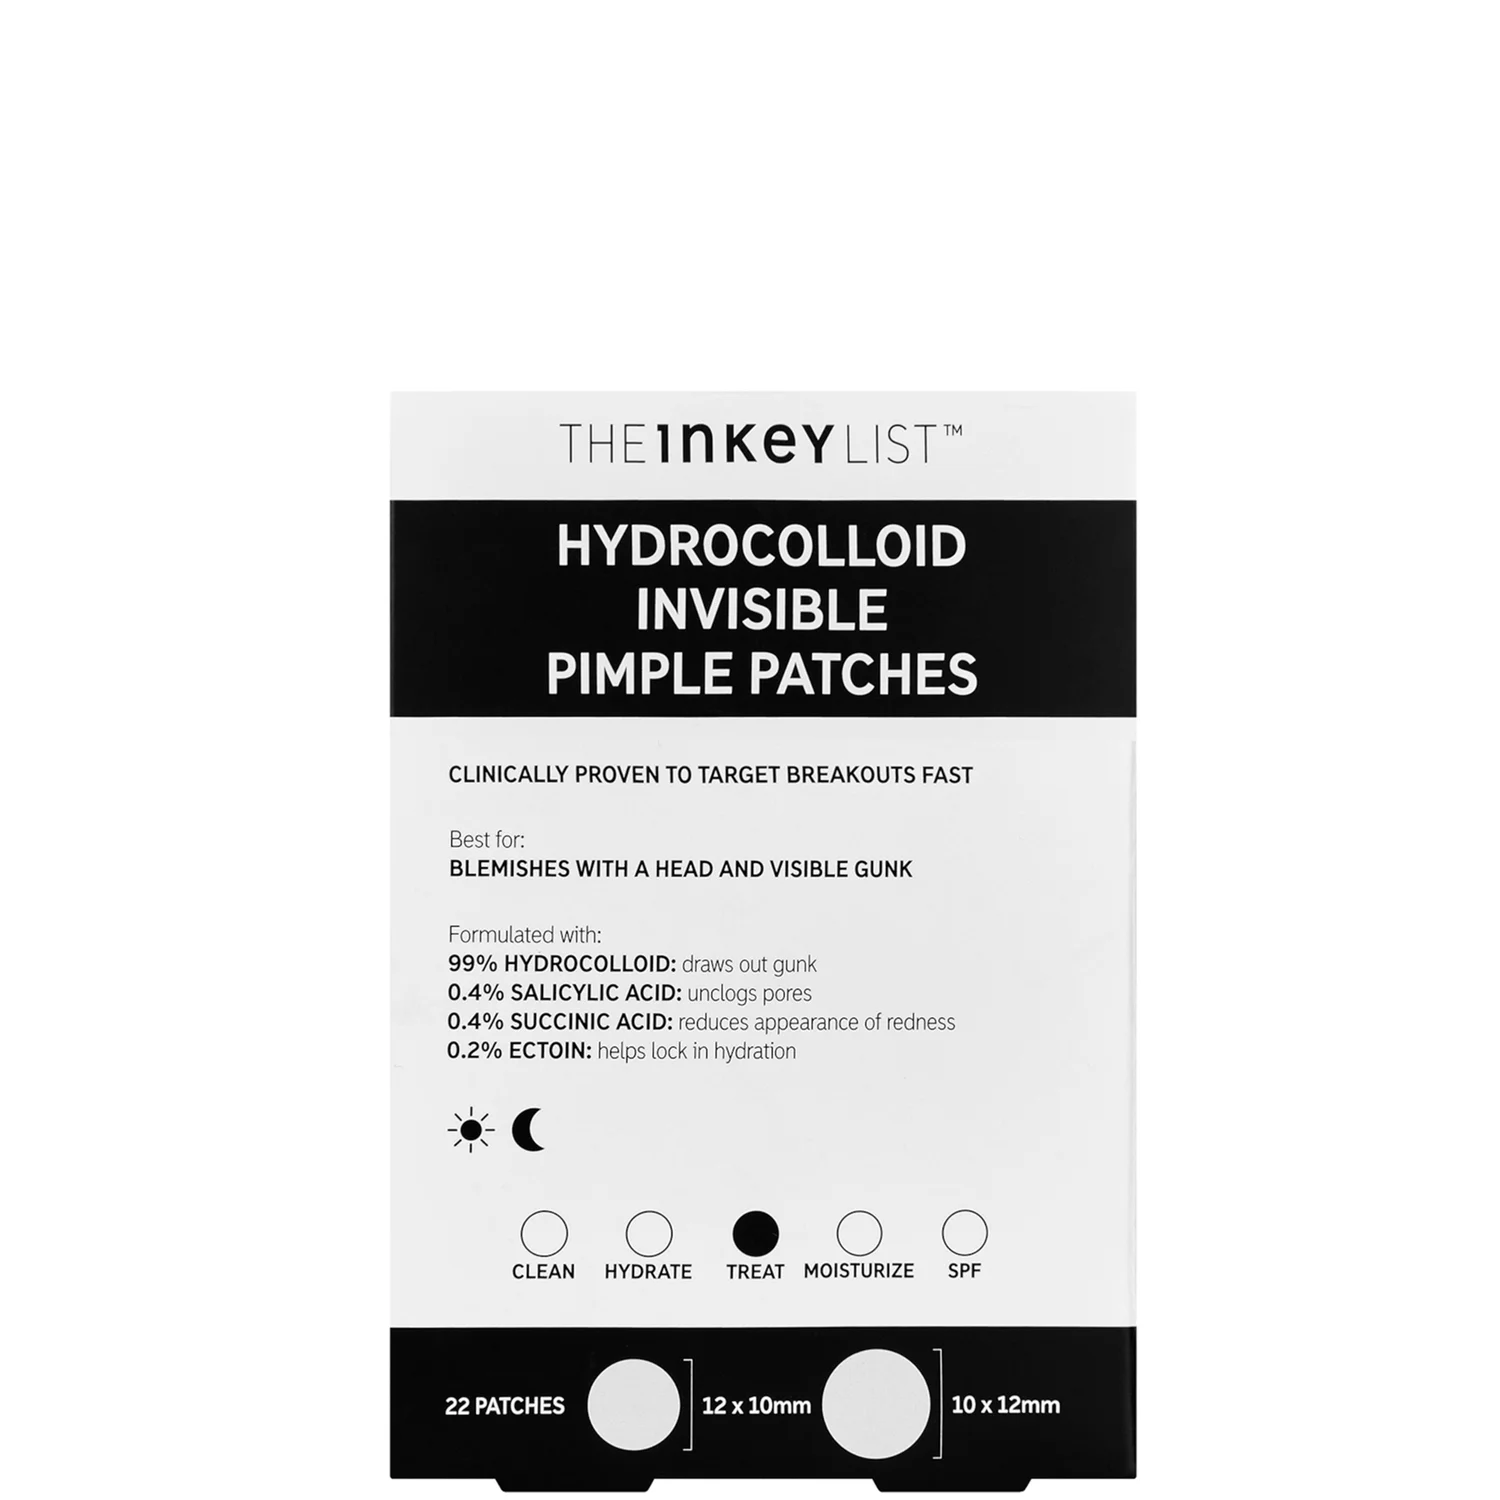
For anyone looking to skip the extraction altogether, there are several effective alternatives that promote healing while keeping your skin intact. One of the most popular options is hydrocolloid pimple patches. These thin, translucent stickers work by absorbing excess fluid from the pimple and forming a protective barrier against bacteria and environmental irritants. They can reduce inflammation overnight, will prevent accidental picking, and usually leave the skin smoother by morning. They’re especially effective on whiteheads, where pus is present and needs to be drawn out gently.
2. Targeted Spot Treatments
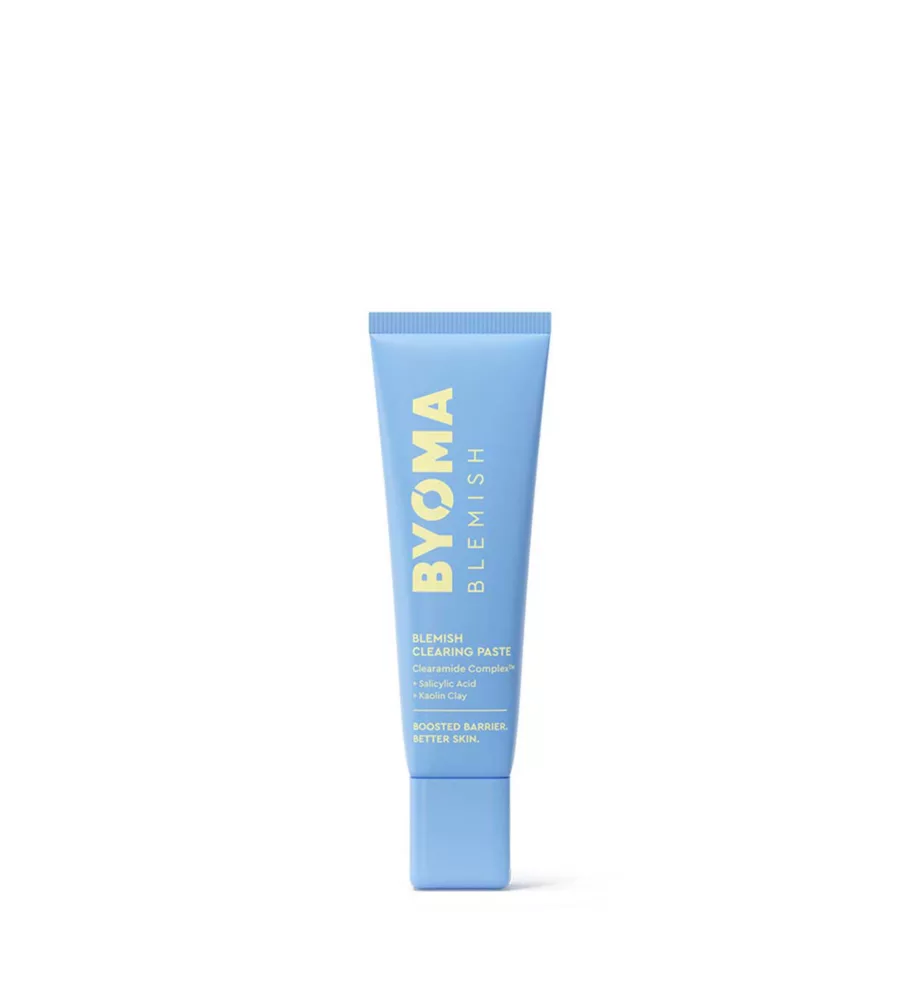
Another alternative is using spot treatments containing active ingredients like salicylic acid, benzoyl peroxide, or sulfur. These ingredients work by exfoliating inside the pore, reducing bacteria, and calming redness. Salicylic acid penetrates the pore to dissolve blockages, while benzoyl peroxide targets bacteria directly. Using these products consistently can help prevent new breakouts and shrink existing pimples without the need for manual extraction.
3. Icing
For pimples that feel sore and swollen but don’t have a visible head, icing can be a game-changer. Applying a wrapped ice cube directly to the blemish for one- to two-minute intervals helps reduce redness, swelling, and discomfort almost instantly. Ice constricts blood vessels, calming inflammation and making angry, cystic pimples look flatter and less noticeable. It won’t get rid of the spot overnight, but it can take down the heat and swelling that often make these types of breakouts painful. This method is especially helpful before an event, when you want the spot to appear less obvious without risking the damage that comes with squeezing.
4. A Warm Compress
Finally, simple warm compresses can work wonders, especially for pimples that are almost ready to come to a head. Applying gentle heat to a blemish for a few minutes increases blood flow and opens pores, encouraging natural drainage without physically touching it. Pairing this technique with a spot treatment or pimple patch can still deliver results without introducing bacteria or risking scarring.
Why Trust Us
At Who What Wear UK, we know that beauty isn’t one-size-fits-all. Our editors have tested thousands of products over the years— spanning skincare, makeup, hair and nails — and work closely with trusted experts including dermatologists, makeup artists and leading industry insiders to ensure every guide is well-researched, inclusive and relevant to you.
We focus on formulas that deliver, whether they’re affordable favourites or luxury investments. Our product selection is based on tangible results, ingredient know-how and what we’d truly recommend to a friend.
Grace Day is a beauty editor and content creator. She has over 10 years of beauty-industry experience, spanning editorial, retail, and e-commerce, which gives her a unique understanding into how people shop for their beauty routines.
While studying for a history degree (specialising in the history of beauty) and working as a beauty adviser in department stores, Grace started writing her own beauty blog in order to share the products she discovered while dealing with acne. After graduating, she moved to Beauty Bay as beauty editor and content manager. Grace is currently a beauty contributor to Who What Wear. She has also written for Hypebae and PopSugar and works as a brand consultant and copywriter.
